
Fence Staining for Different Wood Types
Not all wood fences absorb stain the same way, age at the same pace, or need the same level of protection. If you want a fence that looks great and stands up to weather, moisture, sun, and everyday wear, it helps to understand the wood species you are working with before opening a can of stain. The best results come from matching the product, preparation, and application method to the wood itself.
Whether you are planning on staining cedar fences, choosing the right pine fence stain, or learning better redwood fence care, the goal is the same: preserve the wood’s appearance while extending the life of the fence. In this guide, we’ll break down how different fence woods behave, what kinds of stains work best, and how to get a professional-looking finish that lasts.
Why Wood Type Matters When Staining a Fence
Wood is a natural material, and every species has its own grain pattern, density, oil content, and porosity. Those factors directly affect how stain penetrates and how the final color looks. A stain that performs beautifully on cedar may appear blotchy on pine or fail to penetrate oily redwood as evenly as expected.
That is why successful fence staining starts with two basic questions:
1. What kind of wood is the fence made from?
2. Is the wood new, aged, pressure-treated, or previously finished?
Once you know the answer, you can choose between transparent, semi-transparent, semi-solid, or solid stains with much more confidence. You can also avoid common issues like peeling, lap marks, over-darkening, or uneven absorption.
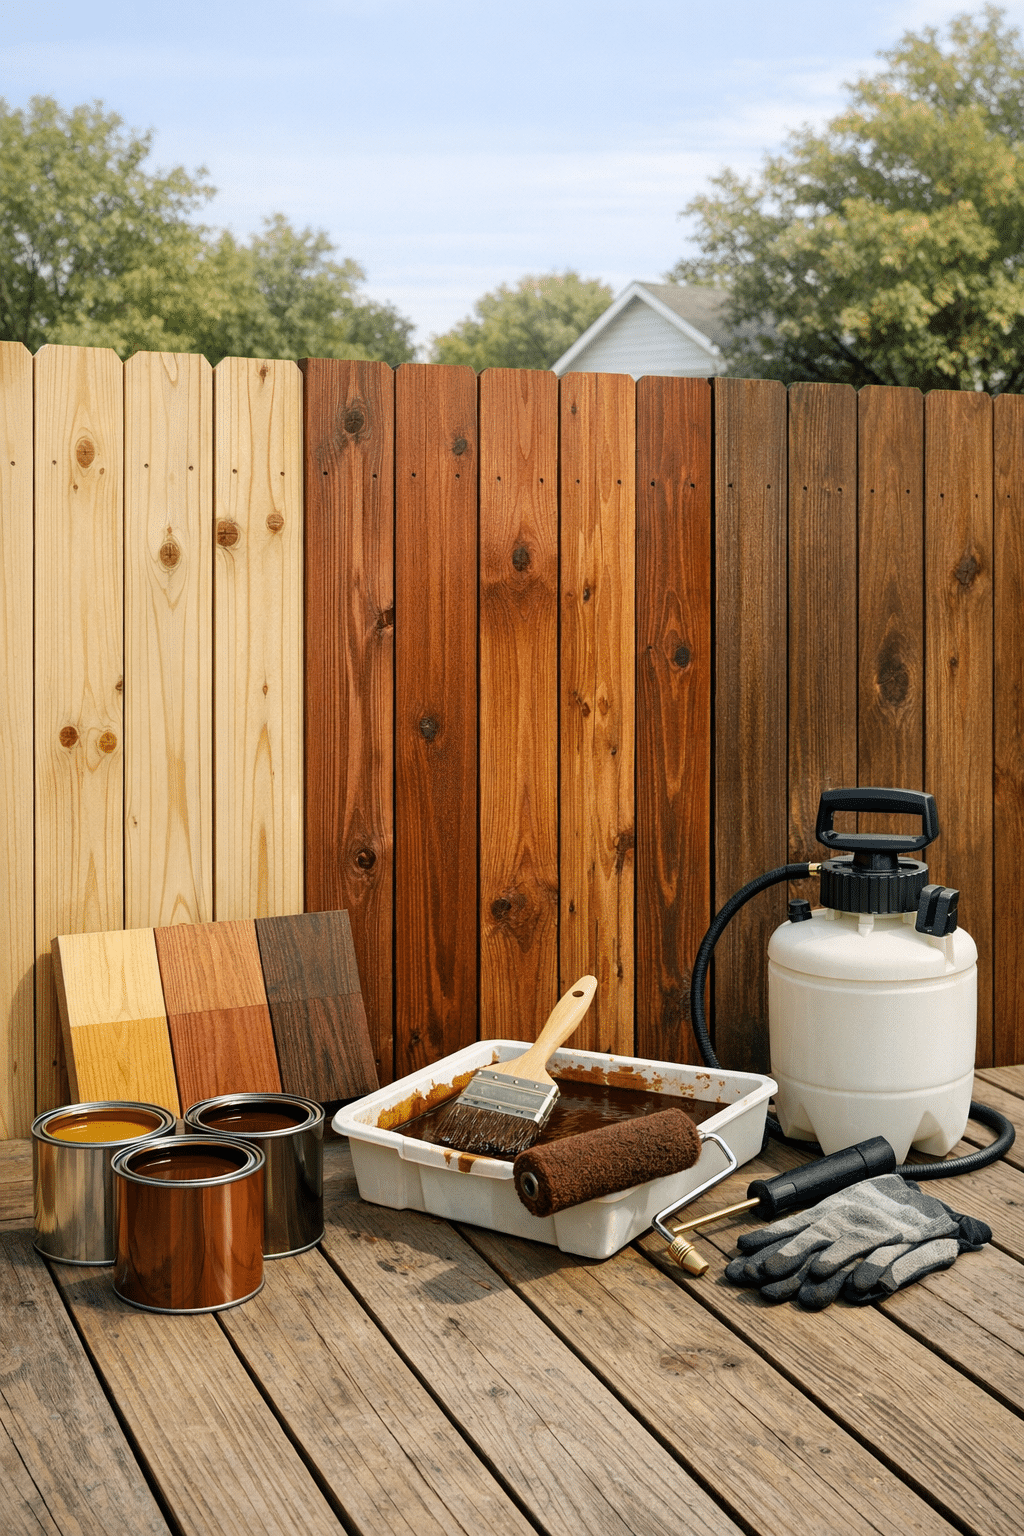
Understanding the Main Types of Fence Stain
Transparent Stain
Transparent stain offers the most natural look and allows the wood grain to show through almost completely. It is a popular choice for premium woods with attractive color and texture. However, it usually provides less UV protection than heavier-pigmented products.
Semi-Transparent Stain
Semi-transparent stain adds more color while still revealing the grain. For many homeowners, this is the sweet spot between protection and natural appearance. It is especially common for cedar and redwood fences.
Semi-Solid Stain
Semi-solid stain contains more pigment, which gives better UV defense and more uniform color. It is useful when the wood has slight imperfections or mixed tones but you still want some grain visibility.
Solid Stain
Solid stain looks more like paint but usually penetrates better than exterior paint. It hides much of the grain and is often chosen for older fences, weathered wood, or surfaces with inconsistent coloration. It can be a smart option for pine or heavily aged fencing.
Staining Cedar Fences
Staining cedar fences is one of the most common fence finishing projects, and for good reason. Cedar is naturally beautiful, durable, and resistant to insects and decay. It contains natural oils that help it perform well outdoors, but that does not mean it should be left unprotected forever. Sun exposure can quickly fade cedar’s warm tones into a silvery gray, and moisture can still cause surface wear over time.
Best Stain Choices for Cedar
Cedar typically responds well to transparent and semi-transparent stains. These products highlight the rich grain and color variation that make cedar so appealing. If the fence is older or has uneven weathering, a semi-solid stain may create a more consistent appearance while still preserving some natural character.
Oil-based and high-quality penetrating acrylic stains are both used for cedar. Penetrating products are often preferred because they soak into the wood instead of creating a thick film on the surface.
Tips for Staining Cedar Fences
When staining cedar fences, avoid rushing the prep process. New cedar should usually weather for a short period if it is very smooth or mill-glazed, though recommendations vary by manufacturer. Always confirm the wood is dry enough before staining.
Before applying stain:
Clean the fence to remove dirt, mildew, and mill residue.
Allow it to dry fully.
Test the stain on a small area to confirm color and absorption.
Apply thin, even coats to avoid shiny patches or over-saturation.
Cedar can absorb stain unevenly if some boards are denser than others, so maintaining a wet edge during application helps create a more uniform finish. Spraying followed by back-brushing is often an effective method for cedar fencing.
Choosing the Right Pine Fence Stain
Pine is affordable, widely available, and often used for residential fencing. It can look excellent when finished correctly, but it behaves differently from cedar and redwood. Pine is generally more porous and can absorb stain quickly, sometimes unevenly. If it is pressure-treated pine, moisture content becomes an even bigger factor.
Challenges with Pine
The biggest issue with selecting a pine fence stain is controlling blotchiness and making sure the wood is dry enough to accept the product. Fresh pressure-treated pine may contain significant moisture from the treatment process, and staining too soon can trap moisture or lead to poor penetration.
Unlike naturally durable woods, pine benefits greatly from a protective stain because it is more vulnerable to weathering, cracking, and UV damage over time.
Best Stain Options for Pine
A good pine fence stain is often a semi-transparent, semi-solid, or solid formulation, depending on the fence’s appearance and condition. If the pine has attractive grain and consistent color, semi-transparent stain can work well. If the surface looks uneven or you want longer-lasting color uniformity, semi-solid or solid stain may be the better choice.
Many homeowners prefer slightly tinted stains for pine rather than clear sealers. Pigment helps protect against sunlight and generally improves long-term performance.
Tips for Applying Pine Fence Stain
For the best pine fence stain results:
Wait until pressure-treated pine has dried adequately before staining.
Use a moisture meter if possible.
Clean and brighten the wood if it has weathered or developed surface grime.
Apply stain evenly and avoid overworking it once it begins soaking in.
Pine can absorb stain very fast in some sections and more slowly in knots or dense grain areas. Testing first is especially important. A stain color that looks light on the can may appear considerably darker on pine due to absorption.
Redwood Fence Care and Staining Best Practices
Redwood fence care starts with appreciating that redwood is a premium exterior wood known for its rich color, dimensional stability, and natural resistance to insects and decay. Like cedar, it contains natural oils and tannins that help it endure outdoor conditions. Even so, without routine care, redwood can fade and lose the warm, elegant look that makes it so desirable.
Best Stains for Redwood
When it comes to redwood fence care, transparent and semi-transparent stains are often top choices because they preserve the wood’s striking natural appearance. Many redwood owners want to enhance the existing tones rather than cover them.
If the fence is older or has started to discolor unevenly, a semi-solid stain can restore balance while still showing some grain. Deeply pigmented solid stains are less common on redwood unless the fence has heavy wear or the owner prefers a more uniform, painted look.
Redwood Fence Care Tips
Effective redwood fence care includes gentle cleaning, UV protection, and re-staining before the wood becomes excessively dry or faded. Redwood can darken or change tone depending on the stain’s pigment, so sample testing is essential.
To protect redwood properly:
Wash away dust, pollen, algae, and surface contaminants.
Choose a penetrating stain that complements the natural red and brown tones.
Apply in moderate weather conditions, not in direct intense sun or just before rain.
Inspect the fence regularly and maintain it before major weathering sets in.
One of the best things about careful redwood fence care is that regular maintenance tends to be simpler than waiting too long and needing major restoration.
How New Wood Differs from Older Wood
Wood age matters almost as much as wood type. A new fence may still have mill glaze, moisture, or manufacturing residue that limits stain penetration. An older fence may have gray fibers, UV damage, mildew, and prior coatings that require more preparation.
New Fence Staining
Always follow the stain manufacturer’s recommendations regarding waiting periods for new wood. Some products can go on relatively soon, while others recommend waiting weeks or even months depending on species and treatment level.
Older Fence Re-Staining
If a fence has already been stained, identify the previous finish. Recoating over a penetrating stain is usually easier than going over a film-forming product. If the old finish is peeling or patchy, stripping or aggressive cleaning may be necessary before reapplication.
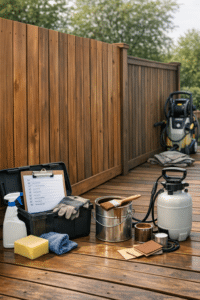
Preparation Steps for Any Wood Fence
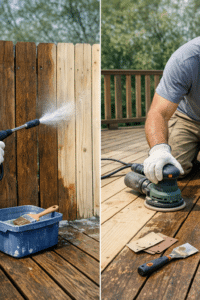
No matter the species, proper preparation is the foundation of a long-lasting finish. Skipping prep often causes more problems than using the wrong color.
1. Inspect the Fence
Check for cracked boards, popped nails, mildew, rot, and loose hardware. Repairs should come first.
2. Clean Thoroughly
Use a wood-safe cleaner to remove dirt, mildew, and oxidation. Pressure washing can help, but too much pressure can damage soft woods like cedar and pine.
3. Let the Wood Dry
Stain needs dry wood for proper penetration. Even a clean fence will perform poorly if moisture is trapped inside.
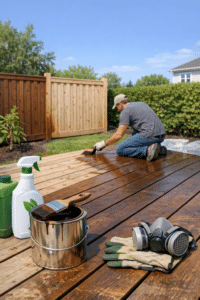
4. Protect Surrounding Areas
Cover plants, hardscaping, and nearby surfaces. Stain overspray and drips can be difficult to remove.
5. Test Before Full Application
Always test stain in an inconspicuous area. Wood species, age, and weathering can all affect final color.
Best Application Methods
Brushes, rollers, and sprayers can all work, but the best method depends on fence style and stain type.
Brush: Excellent for working stain into the grain and controlling coverage.
Roller: Useful on broad, flat sections but often needs back-brushing.
Sprayer: Fast and efficient for large fences, especially when followed by brushing for even penetration.
Apply stain in manageable sections and maintain a wet edge to avoid lap marks. Two thin coats may be appropriate for some products, while others are designed as a one-coat system. Always follow label directions rather than assuming more stain means more protection.
How Often Should You Re-Stain?
There is no one-size-fits-all schedule. Climate, sun exposure, stain opacity, and wood type all influence maintenance timing. Transparent stains may need refreshing sooner than semi-solid or solid products. South-facing fences and areas with heavy rain or intense sun usually weather faster.
As a general rule, inspect the fence yearly. If water no longer beads or the color looks faded and dry, it may be time for maintenance. Staying ahead of deterioration is especially important when staining cedar fences, maintaining a pine fence stain finish, or keeping up with consistent redwood fence care.
Common Fence Staining Mistakes to Avoid
Staining wet wood: This can prevent proper penetration and shorten finish life.
Using the wrong opacity: A clear or lightly pigmented product may not offer enough protection for highly exposed areas.
Skipping cleaning: Dirt and mildew interfere with stain adhesion and appearance.
Applying too much product: Over-application can lead to sticky surfaces, uneven drying, or shiny patches.
Ignoring wood species: Cedar, pine, and redwood each need a slightly different approach.
Final Thoughts on Fence Staining by Wood Type
The best fence stain job is never just about color. It is about understanding the wood, preparing it correctly, and choosing a product that complements its natural characteristics. Staining cedar fences usually means highlighting natural beauty with penetrating, lightly pigmented products. Selecting the right pine fence stain often requires extra attention to moisture and absorption. Strong redwood fence care focuses on preserving rich color and protecting a premium wood from fading.
When you match the stain to the species, your fence will not only look better now, but it will also stay stronger and more attractive for years to come.
Ready to upgrade your fence? Choose the right stain for your wood type, prep carefully, and give your fence the lasting protection it deserves. If you want the best results, contact a local fence staining professional or start with a test section this weekend.