
How to Remove Old Stain Before Applying New
If you want a fresh, even finish on a deck or fence, the first step is not choosing a new color. It is properly removing the old coating. Skipping this stage often leads to blotchy results, poor absorption, peeling, and a finish that wears out far too quickly. Whether you are refreshing a weathered backyard deck or reviving a tired fence, good stain removal is what sets up the entire refinishing project for success.
Old stain can fade unevenly, soak deeper into some boards than others, and trap dirt, mildew, or loose fibers on the surface. That is why homeowners often need a combination of cleaning, a quality deck stripper, and the right sanding techniques to prepare the wood correctly. In this guide, you will learn how to remove old stain safely and effectively before applying new stain, along with the tools, timing, and common mistakes to avoid.
Why Removing Old Stain Matters
New stain performs best when it can penetrate clean, bare, or properly prepared wood. If old stain is left behind, especially if it is peeling or heavily built up, the fresh coat may sit unevenly on the surface. This can create dark patches, shiny areas, and premature failure.
Proper stain removal also helps you:
Improve adhesion: New stain bonds more consistently to a clean, prepared surface.
Create a uniform appearance: Removing old product reduces color variation and patchiness.
Extend the life of the finish: Better prep usually means better durability.
Expose hidden damage: Once the old stain is gone, you can spot cracked boards, rot, raised grain, or mildew.
In short, if you want professional-looking results, surface prep is not optional.
How to Tell If Old Stain Needs to Be Removed
Not every project requires complete stripping, but many do. A simple inspection can help you decide how much prep is needed.
Signs full stain removal is the best option
You should usually remove the old stain if:
The finish is peeling or flaking: This is common with film-forming stains and sealers.
The wood has uneven color: Dark spots and faded areas often show that the stain has broken down inconsistently.
Water no longer absorbs evenly: Splash water on the wood. If some areas bead up and others soak in, the surface is not ready for a fresh coat.
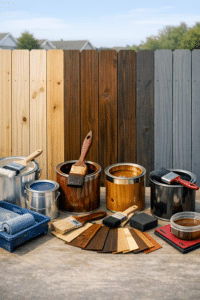
You are changing stain color or type: Switching from a solid stain to a semi-transparent product usually requires more complete prep.
There is mildew, grime, or gray weathering: These issues can interfere with stain performance.
If the previous finish is still in great shape and you are simply maintenance coating with the same product, a light clean and scuff sand may be enough. But for most older decks and fences, deeper prep is the safer choice.
Tools and Materials You May Need
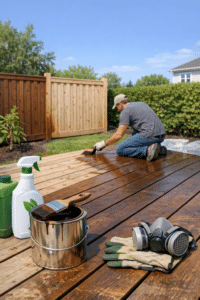
Before starting, gather the right supplies. Using proper tools will make stain removal faster, safer, and more effective.
Common materials include:
Deck cleaner or wood brightener
Deck stripper
Stiff-bristle brush or scrub brush
Garden hose or pressure washer on a low setting
Protective gloves and eyewear
Drop cloths or plastic sheeting for nearby plants
Pump sprayer or roller for applying stripper
Orbital sander or pole sander
Sandpaper in multiple grits
Wood filler for repairs if needed
Always read the label on any chemical product before use, especially if you are working near landscaping, painted surfaces, or metal hardware.
Step 1: Clean the Surface Thoroughly
Before using a deck stripper or sanding, start with a full cleaning. Dirt, algae, leaf stains, and loose debris can block the removal products from working evenly.
Sweep the deck or fence first. Remove furniture, planters, rugs, and anything else in the way. If there are greasy spots or mildew, use a cleaner designed for exterior wood. Scrub problem areas and rinse well.
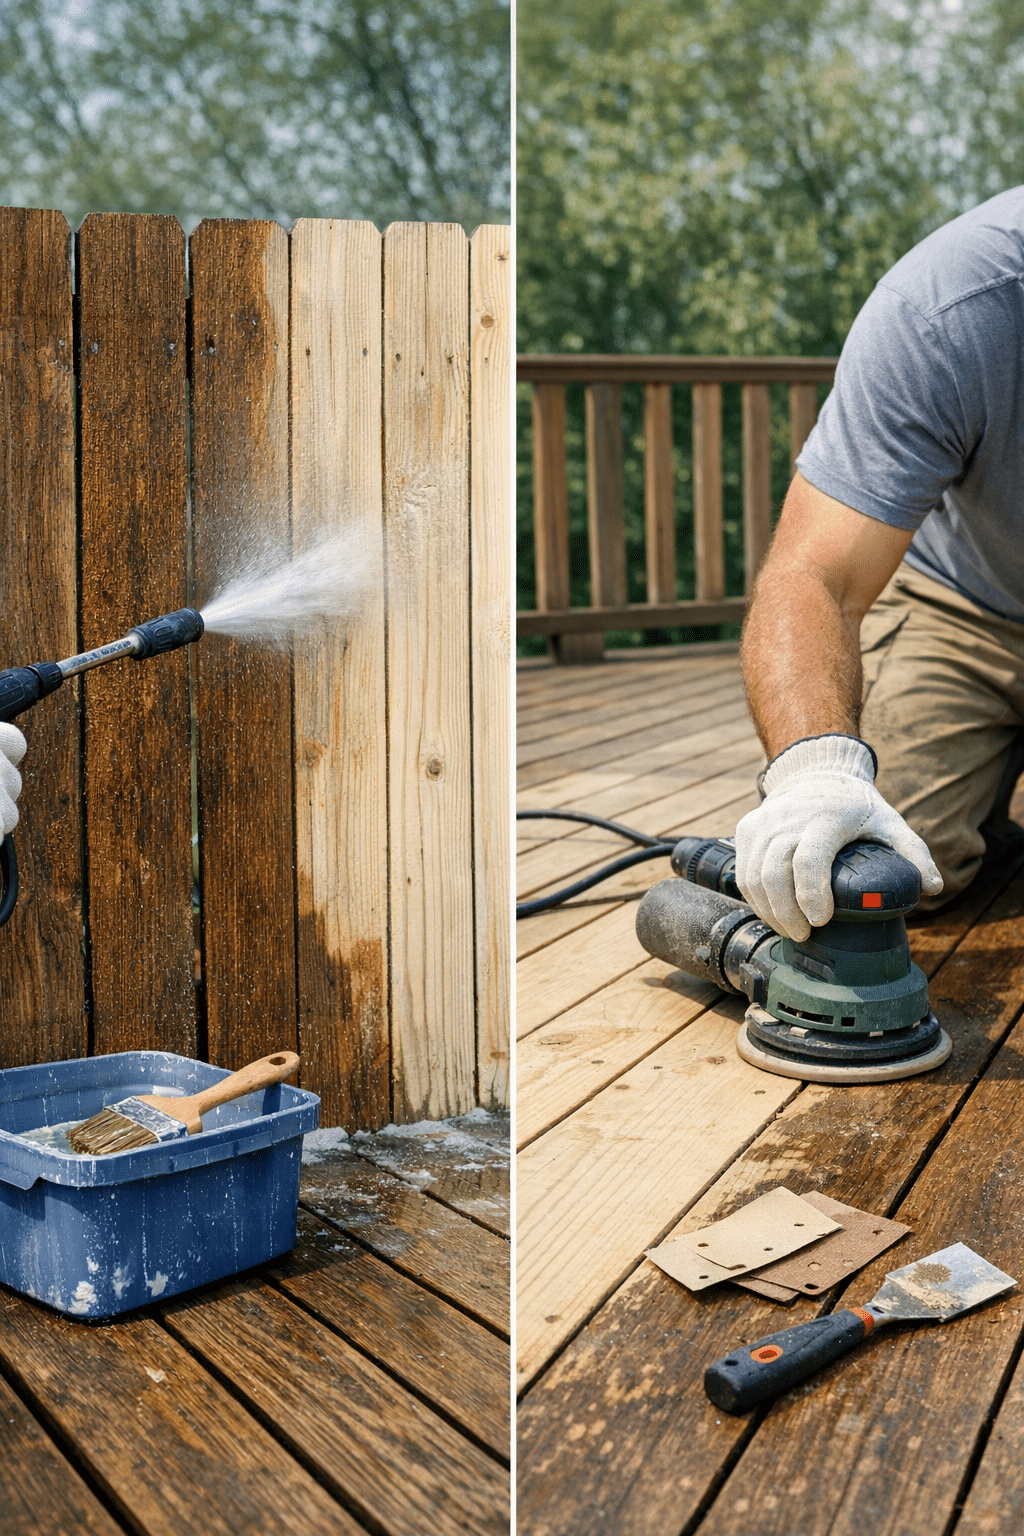
If you use a pressure washer, be cautious. High pressure can gouge wood fibers and create a fuzzy surface that requires more sanding later. Keep the pressure moderate, use a fan tip, and move with the grain. The goal is cleaning, not blasting the wood apart.
Let the surface dry enough that you can clearly see the remaining stain and trouble spots before moving to the next step.
Step 2: Use a Deck Stripper for Old or Stubborn Stain
For most refinishing projects, a deck stripper is the most effective way to break down old stain. These products are designed to loosen existing coatings so they can be scrubbed and rinsed away more easily than sanding alone would allow.
How a deck stripper works
A deck stripper softens or lifts old finishes from the wood surface. It is especially useful for water-based stains, worn sealers, and semi-transparent coatings that have penetrated unevenly. Some heavy finishes may require more than one application.
How to apply it properly
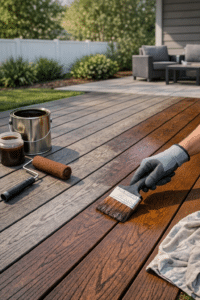
Wet nearby plants and cover them if needed. Apply the stripper evenly with a pump sprayer, brush, or roller, following the manufacturer’s directions. Work in manageable sections so the product does not dry before you can scrub or rinse it.
Let the stripper dwell for the recommended amount of time. This step matters. If you rinse too early, it may not fully release the stain. If you let it dry on the surface, it can become harder to remove.
Scrub with a stiff-bristle brush where buildup is heaviest, then rinse thoroughly. You may notice that some areas come clean quickly while others hold onto more color. That is normal with older wood. A second pass with the deck stripper may be needed for stubborn sections.
What to avoid
Do not mix chemical products unless the labels specifically allow it. Do not apply stripper in direct hot sun if the product may dry too fast. And do not assume the surface is ready just because it looks lighter when wet. Let it dry and inspect carefully.
Step 3: Neutralize and Brighten the Wood if Needed
Some stripping products raise the pH of the wood, which can interfere with staining if not corrected. That is why many professionals follow up with a wood brightener. This step helps restore a more natural wood tone and can improve how evenly the new stain absorbs.
Apply the brightener according to the product instructions, then rinse well. While it may seem like an extra step, it often makes a noticeable difference in the final appearance, especially on older decks with tannin stains, gray weathering, or patchy discoloration.
Step 4: Let the Wood Dry Completely
This is one of the most overlooked parts of deck and fence prep. Wood must be dry before sanding and especially before staining. If moisture remains trapped in the boards, new stain may not penetrate properly.
Drying time depends on temperature, humidity, shade, and the thickness of the boards, but many projects need at least 24 to 48 hours after washing or stripping. In humid weather, it may take longer.
If you have access to a moisture meter, use it. If not, wait until the wood looks and feels completely dry and the weather forecast is clear.
Step 5: Use Proper Sanding Techniques
Even after chemical stain removal, some areas may still have residue, rough grain, or uneven patches. That is where smart sanding techniques come in. Sanding should refine the surface, not aggressively reshape it.
Choose the right grit
For most decks and fences, start with a medium grit such as 60 to 80 if the surface is rough or still has stubborn stain patches. Follow with 80 to 100 grit for a smoother finish. Going too fine can actually reduce stain absorption, especially on dense wood, so avoid polishing the surface excessively.
Sand with the grain
One of the most important sanding techniques is to move with the wood grain whenever possible. This helps prevent visible scratch patterns and creates a more natural finished look. On flat deck boards, an orbital sander works well. On railings, posts, or fence slats, detail sanding may be necessary.
Do not over-sand soft wood
Cedar and pine can be damaged by aggressive sanding. Pressing too hard can leave swirl marks, dips, or shiny burnished spots that accept stain differently. Let the sander do the work and keep it moving steadily.
Vacuum or blow off dust afterward
After using your sanding techniques, remove all dust before staining. Fine particles left on the surface can mix with stain and create a muddy or uneven finish.
Common Problems During Stain Removal
Some stain remains in the grain
This is common with older or deeply absorbed stain. As long as loose product is gone and the surface is clean, a small amount of embedded color may be acceptable, especially if you are applying a similar or darker tone.
Fuzzy wood fibers appear after washing
This often happens when the wood is pressure washed or chemically stripped. Light sanding usually fixes it.
Dark spots remain after stripping
These may be mildew, tannin bleed, nail stains, or deeply weathered areas rather than leftover stain. A brightener or specialty cleaner may help, but some marks may require spot sanding or board replacement.
The new stain is not absorbing in some areas
This usually means old finish is still present or the wood is not fully dry. Test small spots before coating the entire surface.
Tips for Better Results on Decks and Fences
Work in sections and maintain a wet edge when applying chemical products. Avoid extremely hot days, as cleaners and strippers can dry too fast. Test your process in a hidden area before doing the whole project. And if the wood is badly cracked, splintered, or rotten, repair those boards before refinishing.
It is also wise to match your prep to the type of finish you plan to use. Transparent and semi-transparent stains highlight the wood grain, so prep quality matters even more. Solid stains hide more imperfections, but they still need a stable, clean surface.
When to Call a Professional
Some jobs are larger or more delicate than they first appear. If your deck has multiple layers of old coating, extensive mildew, structural damage, or difficult-to-remove stain, hiring a professional can save time and prevent expensive mistakes. The same is true if you are working with hardwood decking, large multi-level structures, or older fencing with fragile boards.
A professional may also have access to stronger commercial-grade products and equipment for more efficient stain removal, while still using controlled methods that protect the wood.
Final Thoughts
Removing old stain before applying new is the key to a cleaner, longer-lasting finish. With the right process, including washing, using a quality deck stripper, allowing proper dry time, and applying careful sanding techniques, you can transform worn wood into a surface that is ready to accept stain evenly and beautifully.
Take the time to prep it right, and your deck or fence will reward you with better color, better durability, and a far more professional result. If you are planning a refinishing project, start with proper stain removal and give your new stain the solid foundation it needs. Ready to refresh your outdoor wood? Gather your supplies, test your method, and get started today.