
How to Fix a Blotchy Fence or Deck Stain
A freshly stained fence or deck should bring out the natural beauty of the wood, not leave behind dark patches, lap marks, or streaky color. If your project dried unevenly, do not panic. In many cases, a blotchy finish can be improved with the right prep, the right product, and a careful repair plan. Whether you are dealing with light and dark spots, obvious overlap marks, or areas that absorbed stain differently, there are effective ways to restore a more consistent look.
This guide walks you through a practical stain blotch repair process for fences and decks, explains why uneven stain happens in the first place, and shows you when simple deck stain touch-ups will work versus when a broader uneven staining fix is the better choice.
Why Fence and Deck Stain Turns Blotchy
Before you start correcting the problem, it helps to know what caused it. Blotchiness is usually the result of uneven absorption or inconsistent application. Exterior wood surfaces are especially prone to this because they face sun, moisture, dirt, mildew, and heavy wear.
Common Causes of Uneven Stain
1. Inadequate surface preparation
If one area of the deck was cleaner than another, or if old stain remained in patches, the new stain likely soaked in unevenly. Dirt, mildew, and leftover finish create a barrier that changes how the stain bonds to the wood.
2. Moisture differences in the wood
Wood that is damp in some places and dry in others will not absorb stain evenly. This often happens after recent rain, washing, or morning dew.
3. Overapplication
Applying too much stain can create shiny, sticky, or darker areas. This is especially common with oil-based stains or when stain is not back-brushed after spraying.
4. Lap marks
Stopping and restarting in the middle of a board can leave visible overlap lines. These marks are a major reason homeowners search for an uneven staining fix.
5. Mixed wood porosity
Older decks and fences often contain boards that weather differently. Replacement boards may also absorb stain at a different rate than original wood.
6. Wrong product for the wood type
Some stains are more forgiving than others. Softwoods like pine and cedar can sometimes absorb stain irregularly, making careful application even more important.
How to Assess the Severity of the Problem
Not every blotchy stain job requires a full reset. Start by evaluating the surface in natural daylight.
If the issue is minor, such as a few darker lap marks or one or two light areas, targeted deck stain touch-ups may be enough. If the entire surface looks patchy, sticky, or heavily streaked, you may need to clean, strip, or recoat a much larger section.
Ask yourself these questions:
Is the stain too dark in some areas? Dark spots usually mean excess stain remained on the surface instead of penetrating evenly.
Are there pale or dry-looking areas? These spots may not have received enough stain, or the wood may have absorbed it too quickly.
Is the finish tacky? A sticky finish often signals overapplication and may require wiping, cleaning, or stripping before recoating.
Are the blotches isolated or widespread? Isolated issues are easier to repair locally. Widespread blotches usually call for a more complete stain blotch repair approach.
Tools and Materials You May Need
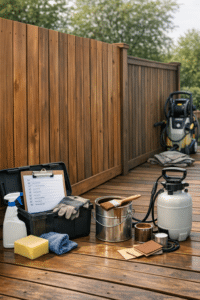
Depending on the extent of the issue, gather the following:
Clean rags, a stain brush or pad, a pump sprayer, mild wood cleaner, deck brightener, sandpaper or a pole sander, a stain stripper if needed, protective gloves, and matching stain. If you still have the original stain can, use that exact product for the best color match.
Step-by-Step Stain Blotch Repair
Step 1: Clean the Surface First
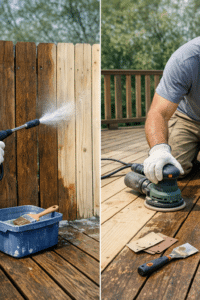
Even for a small repair, start with a clean surface. Sweep away debris and wash the area with a wood cleaner suitable for decks or fences. If mildew or grime is present, remove it completely. Let the wood dry thoroughly before moving to the next step.
This step matters because a dirty surface can make your deck stain touch-ups stand out even more. Clean wood gives you a more accurate view of the stain color and allows any new product to absorb more consistently.
Step 2: Lightly Sand Problem Areas
For dark blotches, lap marks, or glossy spots, lightly sand the affected areas to reduce the concentration of stain on the surface. Focus on feathering the edges so the repair blends into surrounding boards. Avoid aggressive spot sanding that creates obvious light patches unless you plan to recoat a wider section.
If the whole board looks uneven, it is often better to sand and restain the entire board from end to end. This prevents the repaired section from appearing like a patch.
Step 3: Use a Wood Brightener if Needed
If cleaning or sanding exposes dull, gray, or discolored wood, a wood brightener can help even out the tone before staining again. This is especially useful after stripping or deep cleaning. A brightener can improve the final appearance and make an uneven staining fix more successful.
Step 4: Reapply Stain Sparingly
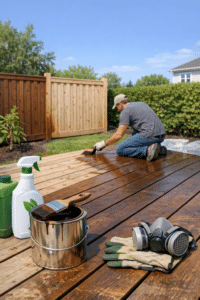
When it is time to restain, less is usually more. Apply a thin, even coat using a brush, pad, or sprayer followed by back-brushing. Work in manageable sections and maintain a wet edge. On decks, coat one or two boards at a time from one end to the other. On fences, stain full boards or panels to natural break points.
For lighter spots, blend stain outward beyond the immediate patch so the color transition looks natural. For darker spots, only add stain after you have reduced the excess buildup through wiping, sanding, or stripping.
Step 5: Wipe Off Excess Stain
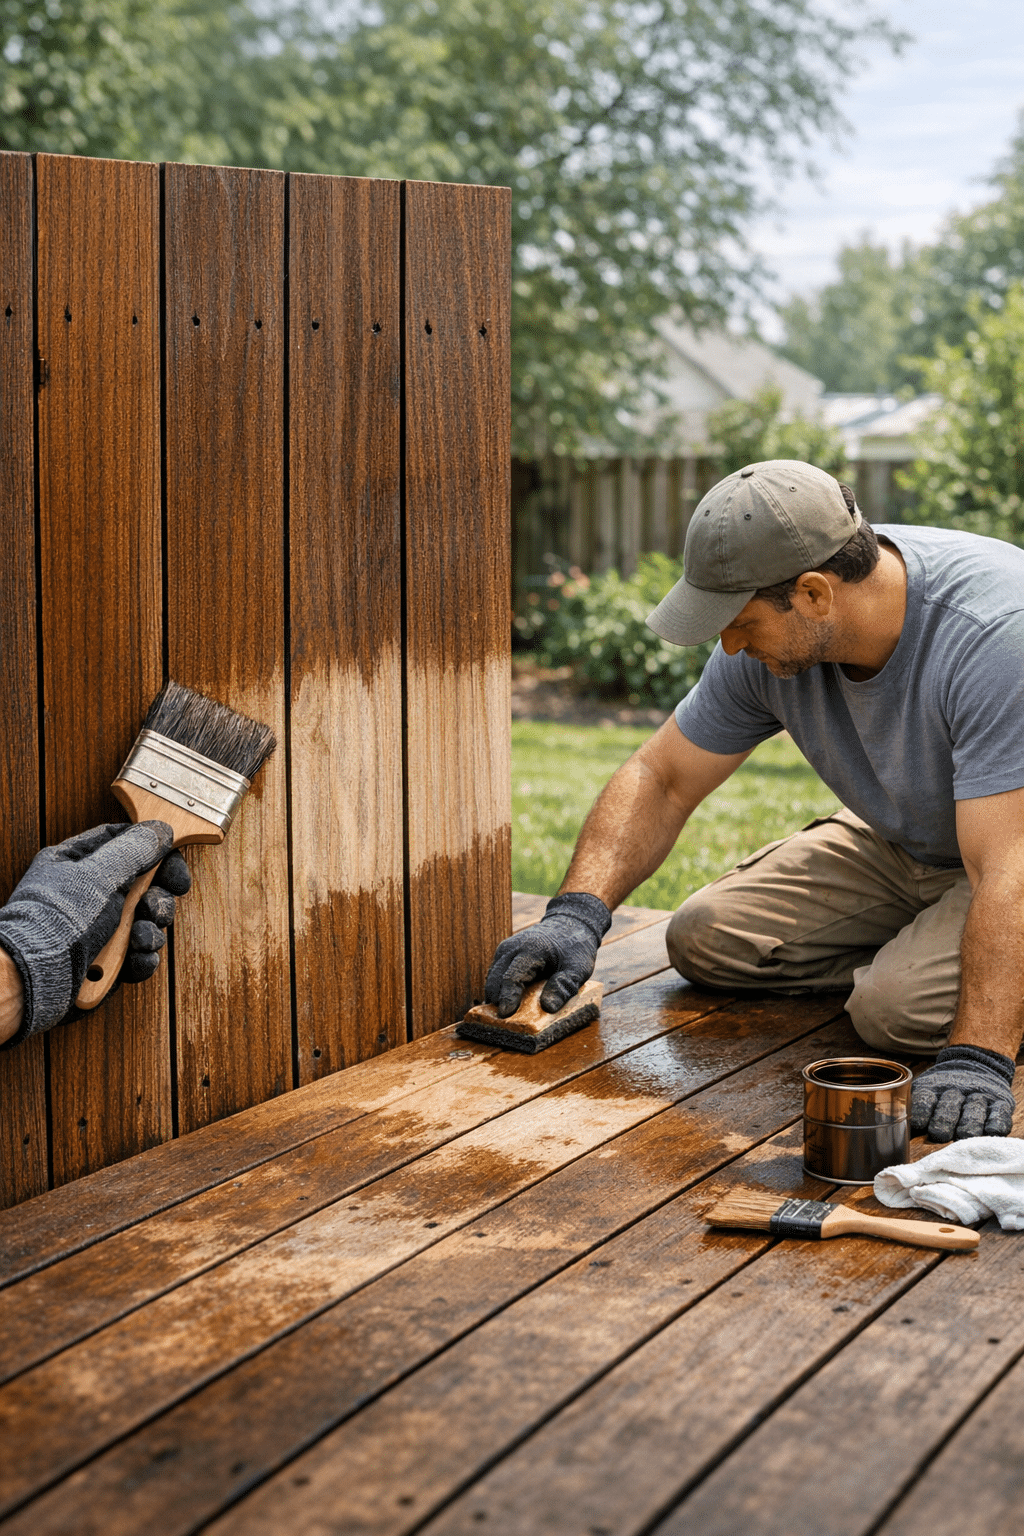
This is one of the most overlooked parts of stain blotch repair. If stain sits too long on the surface, it can dry unevenly and create another blotchy area. Use a clean rag or brush to remove excess product, especially in low spots, corners, and overlap zones.
Step 6: Let It Dry and Reevaluate
Stain often looks different while wet than it does after curing. Let the repaired section dry fully according to the product directions before deciding whether another adjustment is needed. Many homeowners rush into additional coats too soon and make the problem worse.
How to Fix Specific Types of Blotchy Stain
Dark Patches or Sticky Spots
If the stain feels tacky or looks much darker than surrounding areas, there is probably too much product on the surface. Try rubbing the area with a rag dampened with the same stain or mineral spirits if appropriate for the product. This can sometimes redistribute and lift excess stain. If that does not work, light sanding or stripping may be necessary before recoating.
Light, Dry, or Faded Areas
These spots usually need more stain, but apply it carefully. Small deck stain touch-ups can work well if you feather the edges and wipe off any excess. If several boards are affected, staining entire boards will create a more uniform look.
Lap Marks and Overlap Lines
Lap marks are among the most common requests for an uneven staining fix. Lightly sand the line, then recoat the full board or section while keeping a continuous wet edge. On large surfaces, working with two people can help prevent new overlap marks.
Patchy Boards With Mixed Absorption
When wood absorbs stain irregularly due to age or porosity, spot fixes may only partly improve the appearance. In this case, the best stain blotch repair may be to clean and recoat the whole board, or even the whole section, so color looks intentionally consistent.
When You Need to Strip and Start Over
Sometimes a blotchy finish is too severe for simple repairs. Consider stripping and restaining if:
The stain is peeling or failing, large sections are sticky, many boards have heavy dark patches, or the color is dramatically inconsistent across the entire surface. While a full reset takes more effort, it often delivers the best long-term result.
After stripping, clean and brighten the wood, let it dry fully, and then apply stain carefully in thin coats. This gives you the best chance of avoiding the same problem again.
Tips to Prevent Blotchiness Next Time
The best repair is prevention. Follow these simple practices on your next staining project:
Prep thoroughly. Clean off dirt, mildew, and old residue before staining.
Check the weather. Avoid staining in direct hot sun, before rain, or when humidity is very high.
Test first. Try the stain on a small hidden section to see how the wood absorbs it.
Use the right amount. Do not flood the surface. Apply thin, even coats.
Work board by board. This helps prevent lap marks and supports a better uneven staining fix if any board needs correction later.
Back-brush after spraying. This evens out application and improves penetration.
Stir stain often. Pigment can settle, causing color inconsistency.
Let wood dry completely. Moisture content plays a major role in how stain performs.
Are Deck Stain Touch-Ups Always a Good Idea?
Not always. Deck stain touch-ups work best when the repair area is small and the original stain is still in good condition. If the surface has already weathered unevenly, touch-ups may stand out because fresh stain is richer in color than the older finish around it.
For the best visual result, touch up full boards instead of tiny sections whenever possible. On fences, use posts, rails, or panel edges as natural stopping points. This helps the repair blend in instead of looking like a spot treatment.
Final Thoughts on Uneven Stain Repair
Blotchy stain can be frustrating, but it is usually fixable. With the right cleaning, light sanding, careful blending, and restrained reapplication, many fences and decks can be brought back to a much more even finish. The key is choosing the right repair method for the problem, whether that means simple deck stain touch-ups, a focused stain blotch repair, or a more complete uneven staining fix across larger sections.
If your fence or deck stain does not look the way you hoped, take the time to correct it properly rather than covering it up with more product. A careful repair now can save you from bigger refinishing work later. If you want a flawless finish and long-lasting protection, consider reaching out to a professional staining expert for advice or service.