
How to Prepare a Fence or Deck for Staining After Winter
When the snow finally melts and temperatures rise, your outdoor wood surfaces reveal exactly what winter left behind: grime, gray fibers, and sometimes cracking or mildew. Thoughtful preparation now will determine how well your new stain bonds, how long it lasts, and how beautiful your wood looks all season. This step-by-step guide walks you through effective winter damage stain prep, practical fence cleaning spring techniques, and smart deck maintenance habits so your stain performs at its best.
Why Winter Takes a Toll on Wood
Winter’s moisture, freeze–thaw cycles, and de-icing chemicals wreak havoc on fences and decks. Water swells wood; cold snaps shrink it. That movement loosens fasteners, opens checks and cracks, and weakens old finishes. Grit and organic debris trap moisture, encouraging mildew. UV exposure, even in winter, bleaches lignin and accelerates graying. Addressing these issues with targeted winter damage stain prep ensures your new coating adheres evenly and protects against future wear.
Step 1: Inspect and Plan
Start with a methodical inspection before you buy supplies or start scrubbing. A clear plan keeps you efficient and avoids costly mistakes.
Look for:
Finish failure: Peeling, flaking, glossy areas that repel water, or blotchy color indicate your previous coating may require stripping rather than simple cleaning.
Structural issues: Spongy boards, rot near posts, loose rails, lifted nail heads, or corroded fasteners must be fixed prior to staining.
Surface contamination: Mold, mildew, algae, tannin bleed, grime, and embedded leaf stains all interfere with adhesion and color uniformity.
Moisture traps: Soil piled against the bottom of fence pickets, planters on deck boards, or matted leaves between boards hold water and invite decay.
Document repairs, measure square footage, and note sun/wind exposure. Planning now streamlines your fence cleaning spring workflow and keeps your project on schedule.
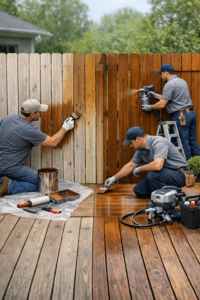
Step 2: Clean Thoroughly
Professional-looking results start with meticulous cleaning. The goal is to remove dirt, mildew, oxidized gray fibers, and failed stain without gouging the wood.
Choose the Right Cleaner
Use an oxygenated cleaner (sodium percarbonate) for general cleaning and organic stains. It lifts grime effectively and is gentler on wood fibers than chlorine bleach. For stubborn mildew or algae, a diluted hypochlorite solution can help, but rinse thoroughly and avoid contact with plants and metals. Always follow the manufacturer’s instructions and protect landscaping with water pre-soaks and tarps.
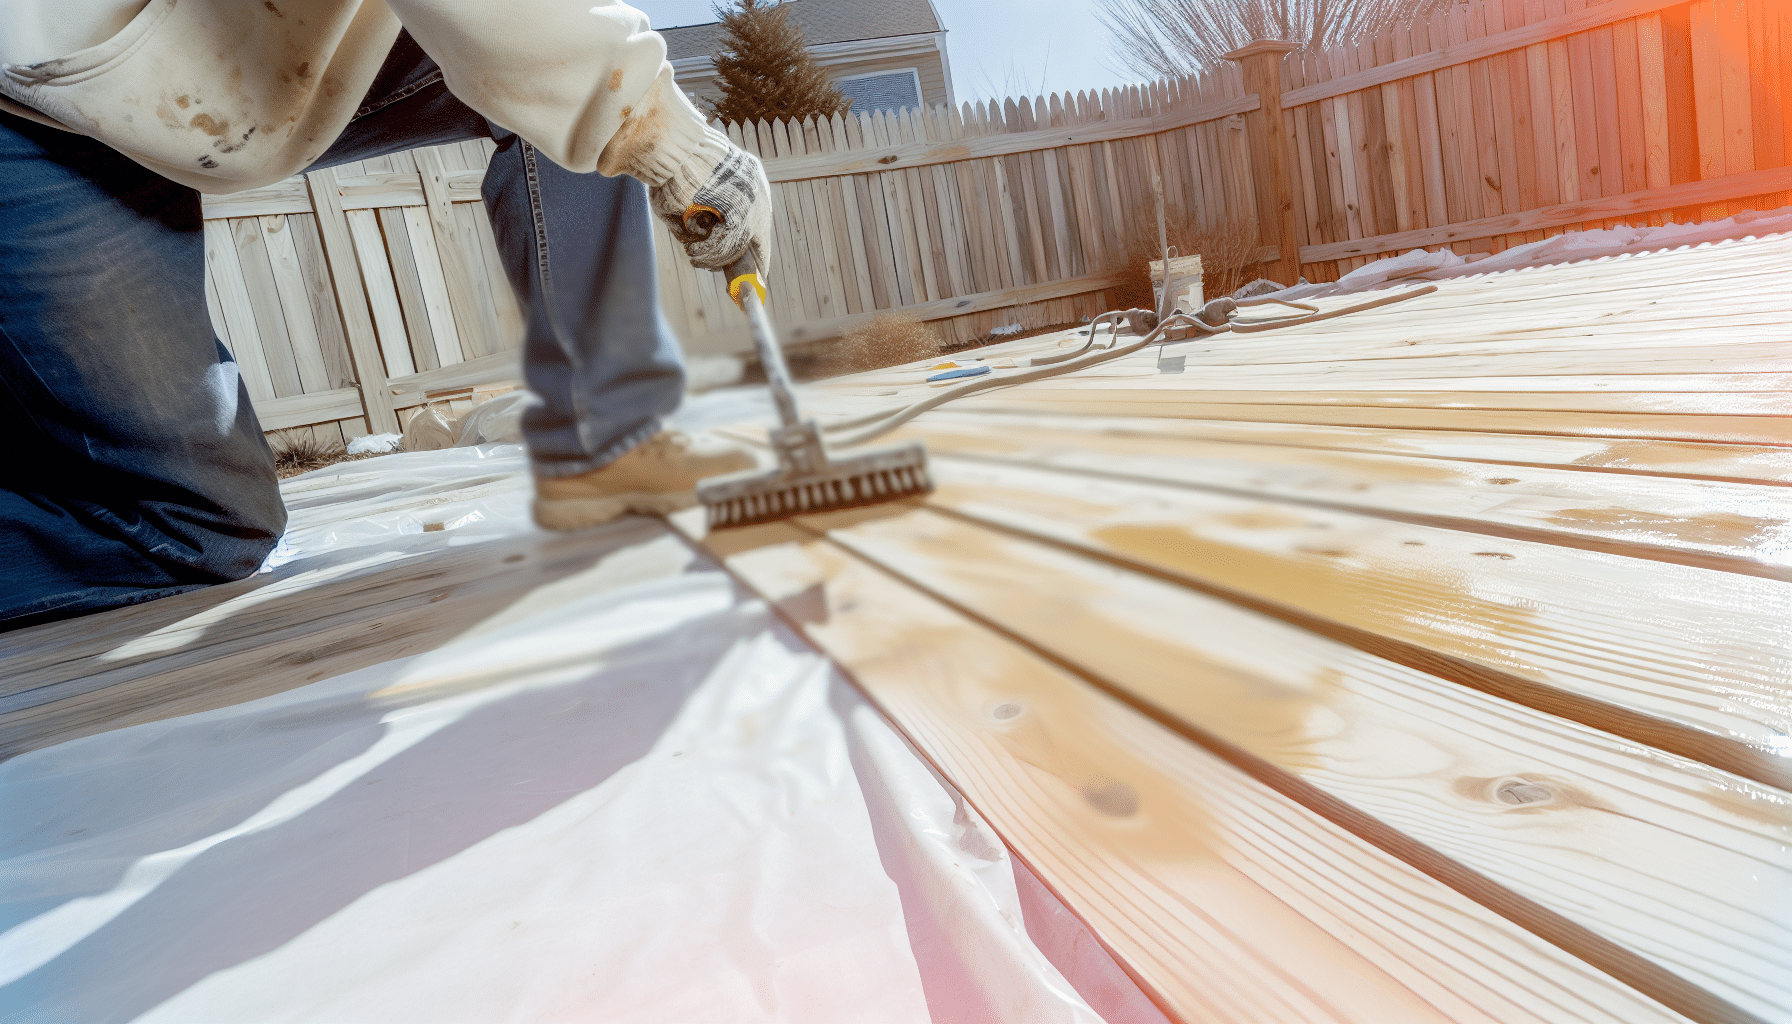
Cleaning Technique
Apply cleaner on a cool, overcast day so it doesn’t flash-dry. Keep the surface wet during dwell time (typically 10–15 minutes). Agitate with a soft to medium nylon brush along the grain to minimize fuzzing. Rinse completely until runoff is clear.
Pressure Washing: Use With Care
If you use a pressure washer, keep pressure low (500–800 PSI for softwoods like cedar and pine; up to 1,200 PSI for harder species) and a 25°–40° tip at a safe distance. Work with the grain in smooth, overlapping passes to avoid zebra-striping or etching. Remember, the goal is rinsing and lifting—not blasting. Gentle technique reduces the sanding needed later during winter damage stain prep.
Step 3: Strip Old Stain When Needed
If water beads on contact, or if you see peeling, shiny spots, or color build-up, cleaning alone won’t cut it. You’ll need a dedicated stain/finish stripper.
How to Strip Properly
Apply a quality wood stripper per label directions. Keep it wet during dwell and test a small area first. Once the coating softens, rinse at low pressure. After stripping, use a wood brightener (often oxalic acid based) to neutralize pH, restore natural color, and open the pores for better stain penetration. Skipping the brightener is a common cause of poor adhesion and uneven color.
Step 4: Repair and Sand
With the surface clean and stripped (if needed), it’s time to fix winter-related damage and smooth the wood.
Make Repairs
Replace rotted boards and severely split pickets. Tighten or replace corroded fasteners with exterior-grade screws. Countersink protruding nails and tap them below the surface. Avoid heavy use of wood filler on decks; many fillers don’t accept stain like surrounding wood and will telegraph. For fences, use exterior-grade fillers sparingly and only where necessary.
Sand for Smoothness and Adhesion
Light sanding removes raised grain and prepares the surface for uniform absorption. For decks, 60–80 grit is ideal for flat walking surfaces to balance traction and smoothness. For fences and rails, 80–120 grit helps refine appearance. Always sand with the grain, dust off thoroughly, and vacuum crevices. Proper sanding is a vital part of winter damage stain prep and dramatically reduces blotchiness.
Step 5: Let the Wood Dry to the Right Moisture Level
Clean wood needs time to dry before you stain. Aim for a moisture content below 15% (a moisture meter is a smart, inexpensive tool). If you don’t have a meter, allow 24–72 hours of dry, breezy weather after cleaning—longer for shaded or dense hardwoods. Staining damp wood traps moisture, leading to premature failure, mildew growth, and peeling.
Step 6: Choose the Right Stain and Tools
Selecting the correct stain ensures durability and appearance that matches your goals and climate.
Oil-Based vs. Water-Based
Oil-based stains typically penetrate deeper and are more forgiving on weathered wood; they enhance grain and are easy to recoat. Water-based stains offer quicker dry times, lower odor, and better color retention in intense sun. Check local VOC regulations and manufacturer recommendations for your wood species.
Opacity Levels
Clear shows maximum grain but minimal UV protection. Semi-transparent balances grain visibility with protection and is often ideal for decks and fences. Semi-solid and solid offer more color uniformity and UV defense but can hide grain. Match opacity to wood condition—older, patchy wood often looks best with semi-solid or solid.
Tools to Have Ready
Quality brushes for back-brushing, stain pads for deck boards, and low-pressure pump sprayers for fences can speed application. Have drop cloths, painter’s tape, and gloves ready. Good tools support efficient deck maintenance and improve final results.
Step 7: Watch the Weather and Apply with Technique
Successful staining is as much about timing as it is about products.
Ideal Conditions
Target 50–90°F temperatures, low to moderate humidity, and overcast or shaded conditions. Avoid hot surfaces and direct sun, which cause lap marks and poor penetration. Check for 24–48 hours of dry weather after application to support proper curing.
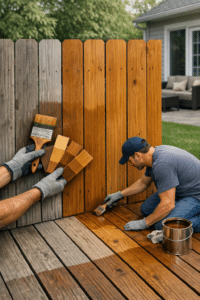
Application Best Practices
Stir, don’t shake, to avoid bubbles. Work small sections and maintain a wet edge. On decks, follow the “two-board rule”: coat two or three full-length boards at a time to prevent lap lines. On fences, work picket by picket, top to bottom. Apply thin, even coats—heavy application can cause sticky surfaces and sheen inconsistencies. Always back-brush to drive stain into pores and even out color. Seal end grain thoroughly; it’s the thirstiest and most vulnerable area.
Second Coats and Dry Times
Follow the label for recoat windows. Many penetrating stains require a “wet-on-wet” second coat within a set timeframe; others need full dry between coats. Touch-test an inconspicuous area and avoid traffic until fully cured.
Safety and Environmental Considerations
Wear gloves, eye protection, and a respirator if using solvents or sanding dust-producing tools. Pre-wet plants, divert runoff away from drains, and capture debris with tarps. Store oily rags in a sealed metal container to prevent spontaneous combustion. Responsible practices make your fence cleaning spring routine safer for you and your landscape.
Common Mistakes to Avoid
Skipping the brightener after stripping: Leads to adhesion problems and blotchy color.
Power washing too aggressively: Etches wood and creates fuzzy fibers that soak stain unevenly.
Staining damp wood: Traps moisture and accelerates failure.
Over-application: Thick coats form a film that can peel; penetrating stains should soak in, not sit on top.
Ignoring fasteners and structural issues: Cosmetic fixes won’t last if the substrate moves or fails.
Build a Simple Deck Maintenance Plan
Protect your investment with an easy, seasonal deck maintenance schedule that preserves your finish longer and avoids major rehabs.
Seasonal Checklist
Spring: Rinse pollen and debris, clean spills promptly, and inspect high-traffic zones for early wear. This complements your winter damage stain prep by keeping surfaces contaminant-free.
Summer: Sweep weekly and shade freshly stained areas for the first week if possible. Use furniture pads and avoid dragging planters.
Fall: Clear leaves quickly; tannins can stain and encourage mildew. Light wash with an oxygenated cleaner if needed.
Winter: Keep snow removal gentle; use plastic shovels and move with the board direction. Avoid piling salty snow on wood.
Every 12–24 months (or as recommended), perform a light cleaning and touch up wear paths before they expose bare wood. Timely touch-ups extend full recoat intervals and maintain curb appeal.
Quick FAQs
How can I tell if I need to strip instead of just clean?
Sprinkle water on the surface. If it beads everywhere, the old finish is still blocking absorption and likely needs stripping. If water soaks in uniformly and the color is even, cleaning and brightening may be enough.
Do I have to sand after pressure washing?
Not always, but any raised grain, fuzz, or etching benefits from a light sand. It improves appearance and ensures the stain absorbs consistently.
How long should I wait to stain after cleaning?
Typically 24–72 hours of dry weather, but hardwoods and shaded areas may need longer. Use a moisture meter to confirm under 15% before staining.
Putting It All Together
Great results hinge on smart preparation: assess winter wear, clean methodically, strip and brighten when needed, repair and sand, confirm dry wood, and apply the right stain under the right conditions. With thoughtful winter damage stain prep, thorough fence cleaning spring practices, and a straightforward deck maintenance plan, your outdoor wood will look richer, protect better, and last longer.
Ready to Refresh Your Fence or Deck?
If you’re ready to turn winter’s aftermath into a beautiful, durable finish, gather your supplies and schedule a fair-weather weekend. Want expert help choosing products or planning your project? Contact our team today for personalized recommendations and step-by-step support—then enjoy your refreshed outdoor space all season long.