
Best Practices for Applying Multiple Coats of Stain
Applying several coats of stain can transform ordinary wood into a richly colored, durable surface. But getting deep, even color without sticky residue or blotches requires the right plan and technique. This comprehensive multiple coats guide explains how stain works, when to add more coats, and exactly how to apply them for beautiful results and lasting protection—while avoiding common pitfalls like lap marks and stain build-up.
How Stain Works—and What Multiple Coats Really Do
Before you start layering, it helps to understand that most stains color the wood but provide little to no protective film. The real protection usually comes from a clear topcoat such as polyurethane, lacquer, shellac, or waterborne finishes. Stain’s role is primarily about color—deepen tone, highlight grain, and even out a surface—so the way you apply multiple coats will affect color depth and uniformity rather than durability.
There are several types of stain, each behaving differently when layered:
Oil-based penetrating stains: Soak into the wood fibers, offering rich color. After one or two coats, pores can partially seal, so additional coats may yield diminishing darkening. Wipe off all excess to prevent tackiness.
Water-based stains: Dry quickly, raise the grain more than oil, and allow multiple coats with short recoat windows. They tend to build color predictably if the surface remains open.
Gel stains: Thicker and great for blotch-prone woods or previously finished surfaces. They build color on the surface rather than deep penetration; avoid overapplication to prevent uneven sheen and sticky spots.
Dyes and toners (advanced): Dyes can be layered for vivid color, while spray toners or glazes can adjust color between coats. These require more experience and careful testing.
Multiple Coats Guide: Plan and Prep for Success
Better prep makes every coat count. Here’s how to set the stage for even, predictable color that doesn’t blotch or build up in problem areas.
Choose the right product for your project
Match stain type to wood species and project use. Softwoods like pine or fir often benefit from gel stain or a pre-stain conditioner. Tight-grained woods (maple, cherry) can blotch and may need a washcoat or gel stain. For outdoor decks, follow the stain manufacturer’s direction closely—many call for a single flood coat with immediate back-brushing, or a controlled second coat applied wet-on-wet.
Dial in surface preparation
Sand thoughtfully. For most interior projects, finish-sand to 180–220 grit. Sanding too coarse leaves scratches that catch extra color; too fine can polish the surface and limit penetration. Remove all dust with vacuum and a clean lint-free cloth—dust left behind turns into dark specks and uneven areas.
Pro tip: Water-based stain raises grain; consider “water popping” the surface before staining. Lightly dampen the wood with water, let it dry, then sand very lightly to 220 to knock down raised fibers. This improves uniformity across coats.
Control your environment
Stain in a stable, moderate climate—ideally 60–80°F (16–27°C) with relative humidity below ~65%. Avoid direct sun and strong airflow that dries edges unevenly and causes lap marks. Provide ventilation, but don’t blast the surface with fans. Always stir stains thoroughly before and during use to reincorporate settled pigments—shaking can create bubbles.
Test boards remove guesswork
Always make a sample on scrap from the project or an inconspicuous area. Apply one, two, and three coats to see the practical limit of darkening and how the wood responds. Note wiping times and dry times. Your test becomes a color map and timing reference during the final application.
Step-by-Step Application Tips for Consistent Color
Use these application tips to achieve predictable color build with each coat.
1) Pre-condition blotch-prone woods
On pine, fir, maple, alder, or cherry, apply a pre-stain wood conditioner or a light washcoat of dewaxed shellac thinned with alcohol as directed. This evens absorption and reduces splotches. Let it dry fully and scuff lightly if recommended before staining.
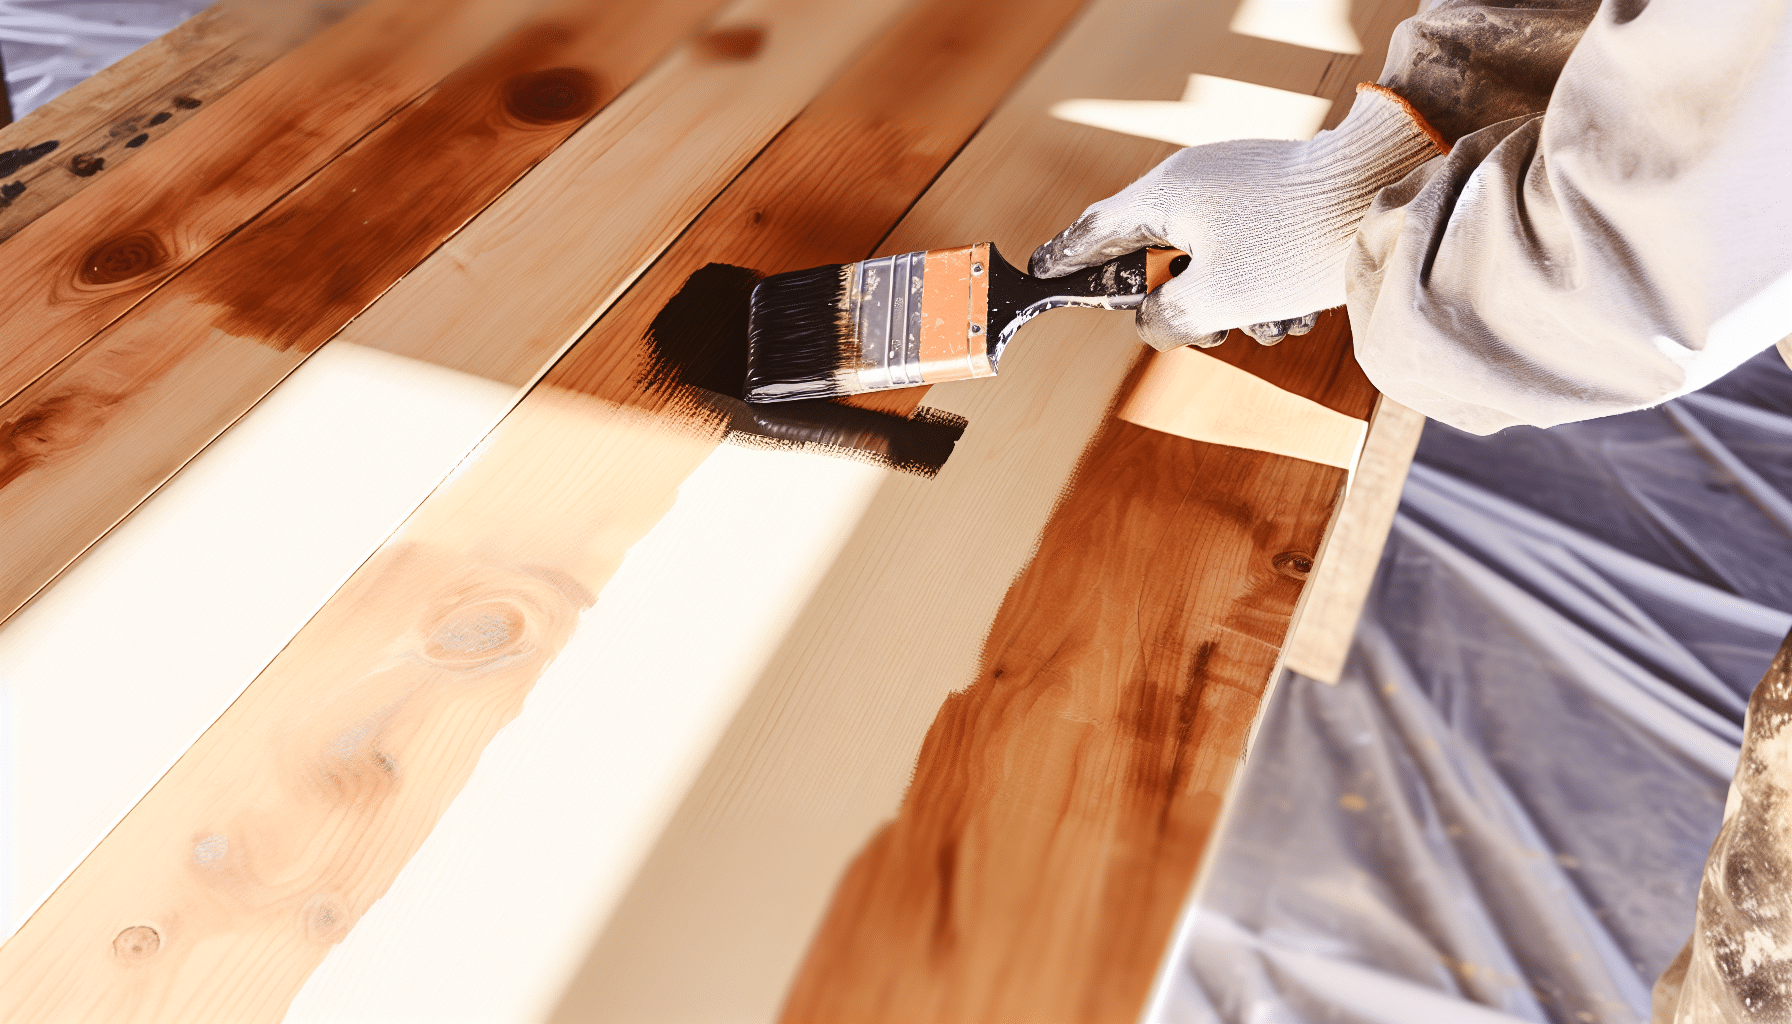
2) Coat 1: Flood, work, and wipe
Apply stain generously with a brush, foam applicator, or lint-free cloth. Work in manageable sections, maintaining a wet edge. Allow a short dwell time (often 2–5 minutes for oil-based; shorter for water-based) so color penetrates evenly. Then wipe off all excess with clean cloths, following the grain. Never leave a film of wiping stain on the surface.
3) Let it fully dry—and verify
Dry times vary: water-based may recoat in 1–2 hours; oil-based often needs 6–24 hours. Cool temps and high humidity lengthen this. Confirm dryness by touch (no cool, tacky feel), appearance (even sheen with no wet patches), and smell (reduced solvent odor). When in doubt, wait longer.
4) Light scuff between coats
Once dry, scuff-sand lightly with 320–400 grit to remove raised fibers or dust nibs. Don’t sand through color; a light touch is enough. Vacuum and wipe the surface clean before the next coat.
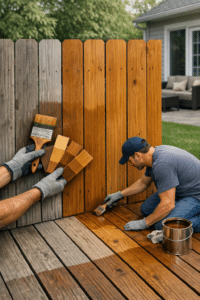
5) Coat 2: Refine and even out
Apply the second coat slightly lighter and more controlled than the first, focusing on areas that need depth. Keep your application consistent to avoid striping or over-darkening end grain. Wipe thoroughly and evenly. This coat typically delivers the target depth for most projects.
6) Evaluate color limits
If you want still-deeper color, consider whether the wood is accepting stain or starting to resist it. Additional coats of penetrating stain may yield only marginal darkening once pores are sealed. At that point, consider a gel stain glaze or a toner between clear coats for fine-tuning color instead of more penetrating stain.
7) Topcoat for protection
After the final stain coat is fully dry, apply a protective clear finish. Waterborne topcoats often require longer waits over oil-based stains (48–72 hours) or a barrier coat of dewaxed shellac. Follow finish manufacturer guidance for adhesion and recoat timing.
Avoiding Stain Build-Up, Blotches, and Lap Marks
Stain build-up happens when excess stain isn’t wiped off, leaving a gummy layer that doesn’t cure properly. It can also occur when adding coats too quickly or applying gel stains too thickly. Here’s how to prevent it:
Wipe aggressively and change rags often: Keep turning your cloth to a clean face. Excess left on the surface is the number one cause of tacky finishes and uneven sheen.
Work small sections and maintain a wet edge: Overlaps on already-drying stain create dark lap marks. Feather edges into the next wet area for seamless transitions.
Pre-seal end grain lightly: End grain drinks stain and goes too dark. A brief wipe of conditioner or finish thinned 1:1 can even absorption before your first coat.
Go thin with gel stains: Treat gel as a color glaze, not paint. Apply thin, even coats and wipe uniformly. Thick layers lead to blotches and slow cure.
Respect the recoat window: If a label says wait 6–8 hours before recoating, give it time. Recoating too soon traps solvents and causes soft, sticky layers.
Fixing tacky or uneven areas
If you have sticky spots, first try wiping with the stain’s solvent (mineral spirits for most oil stains, water for water-based) to remove uncured residue. Let the area dry thoroughly. If that fails, lightly sand back to an even surface, allow more drying time, and reapply a thin coat with diligent wiping. For severe build-up, you may need to strip and restart.
Timing, Compatibility, and When to Stop Adding Coats
Layering is as much about patience as it is about technique. Keep these timing and compatibility rules in mind:
Oil over water, water over oil: You can generally apply oil-based stain under a waterborne topcoat, but allow extended dry time (often 72 hours) or seal with a thin coat of dewaxed shellac to ensure adhesion. Always test.
Know when to stop: If additional coats aren’t producing meaningful darkening, you’ve likely sealed the pores. Switch strategies: glaze with gel stain, use a toner in your clear, or accept the current tone and let the topcoat and lighting complete the look.
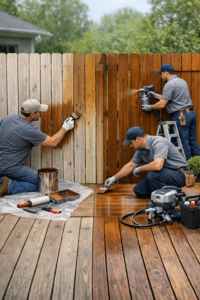
Outdoor projects differ: Many deck and fence stains are designed for one saturating coat with immediate back-brushing; some permit a second wet-on-wet pass. More is not better—excess on exterior wood often peels faster. Follow the label closely.
Special Considerations by Wood Type and Project
Softwoods (pine, fir, spruce): Most prone to blotching. Use conditioner or gel. Expect more color from the first coat and diminishing returns after the second.
Hardwoods (oak, walnut, mahogany): Open-pored species like oak accept stain evenly; filling the grain before or after staining changes the look. Closed-grain woods like maple need careful prep to avoid blotchiness and may respond better to dyes or gel.
Veneers: Veneer is thin; sand minimally and avoid aggressive scuffing between coats. Test first—penetrating too far can burn through or create unevenness.
Cabinets and furniture: Aim for color consistency and a smooth surface ready for a durable topcoat. Consider a toner in the first clear coat for fine-tuning color instead of a third stain coat.
Decks and exterior trim: Clean and brighten first. Apply stain in the shade, keep a wet edge, and back-brush. Avoid stain build-up on end cuts and rail bottoms where drips collect.