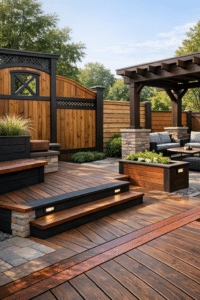

Seasonal Fence and Deck Staining Tips for Spring and Fall
Ready to keep your outdoor spaces looking beautiful and protected all year long? This seasonal staining guide covers the best practices for fences and decks in the two most important maintenance windows: spring and fall. From smart spring deck prep to effective fall fence care, you’ll learn how to clean, select the right stain, and apply it the right way—so your wood resists moisture, UV damage, and everyday wear.
Why Seasons Matter for Staining
Stain performance is highly dependent on temperature, humidity, and sunlight. Spring and fall often deliver the “Goldilocks” conditions—moderate temperatures, lower UV intensity than midsummer, and manageable humidity—that help stains penetrate and cure properly. Aim for daytime temps between 50–85°F, with relative humidity below 70%, and no rain in the forecast for at least 24–48 hours. Avoid direct midday sun and windy conditions that can flash-dry stain on the surface instead of allowing proper penetration.
Wood moisture is equally critical. Stain adheres best when wood is dry to the touch and typically below 15–18% moisture content. After washing, give decks and fences time to dry thoroughly, and always perform a simple water-drop test: if water beads, it’s too soon; if it darkens and absorbs, you’re ready to stain.
Spring Deck Prep: A Fresh Start for Summer
Spring is ideal for restoring your deck before peak outdoor use. A focused spring deck prep routine prevents early-season UV damage and water intrusion from spring storms, setting you up for long-lasting results.
1) Clean, Strip (If Needed), and Brighten
Start by clearing furniture and covering plants. Sweep debris from boards and gaps, then wash with a deck cleaner to remove dirt, pollen, and mildew. If the previous coating is peeling or overly dark, use a stain stripper as directed, followed by a wood brightener to neutralize cleaners, restore color, and open wood pores. Rinse thoroughly. This deep clean improves penetration and color uniformity, especially on weathered softwoods like pine and pressure-treated lumber.
2) Dry Fully and Inspect for Repair Needs
After washing, let the deck dry for 24–72 hours depending on weather and airflow. Inspect for popped nails, raised grain, and splinters. Tighten or replace fasteners with corrosion-resistant screws. Sand rough spots and high-traffic zones with a medium grit to smooth the surface and remove mill glaze on newer boards. Pay attention to stairs and railings where hands and feet cause greater wear.
3) Choose the Right Stain for Spring Conditions
Select a stain that matches your deck’s age, species, and desired look. Semi-transparent formulas highlight wood grain while adding UV protection. Solid stains deliver the most color uniformity and cover imperfections. Oil-based options generally penetrate deeply and shed water well; water-based stains often dry faster and hold color against UV. In cool spring mornings and warm afternoons, fast-drying water-based stains can be convenient—as long as you maintain a wet edge to prevent lap marks.
4) Apply with Care: Brush, Roll, or Spray and Back-Brush
Work in manageable sections with the grain. Use a sprayer for speed, then back-brush or back-roll to push product into the wood and even out sheen. Avoid over-application—thin, even coats beat thick coats that can film and peel. Start on shaded areas or work around the deck as the sun moves to minimize flash drying. Check the forecast to avoid dew, which can dull or spot fresh stain. Allow full cure time before replacing furniture and rugs.
Fall Fence Care: Lock In Protection Before Winter
Autumn is perfect for fall fence care because cooler temperatures and consistent weather windows allow stains to set up before winter moisture, snow, and wind arrive. A well-timed fall treatment helps prevent cracking, warping, and graying over the off-season.
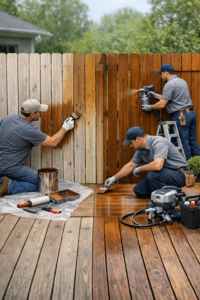
1) Wash Away Summer Grime and Organic Growth
Fences accumulate dust, irrigation minerals, and mildew. Gently wash with a fence cleaner and soft brush, or use a low-pressure setting if you rely on a washer to avoid furring the wood. Treat visible mold and algae with a product labeled for mildew removal, then neutralize with a brightener. Rinse well and allow ample drying—fence pickets can trap moisture near fasteners and at ground contact.
2) Repair, Replace, and Stabilize
Check for loose pickets, wobbly posts, and rotted sections. Replace damaged boards and secure posts with proper footing and fasteners. Dirt line staining is common: trim vegetation away from the base of the fence to promote airflow and reduce splashback. A stable, clean structure ensures even absorption and extends the life of your coating.
3) Select a Fence-Friendly Stain and Color
Because fences present large vertical surfaces with heavy sun exposure, choose a stain with robust UV blockers. Semi-transparent stains showcase cedar and redwood beautifully, while solid stains give aging pressure-treated fences a crisp, uniform look. Consider neighborhood aesthetics and HOA guidelines when picking colors. Oil-based stains excel at water repellency heading into winter; water-based options keep maintenance simple and resist fading in bright climates.
4) Apply Smart: Mind the Wind and Overspray
Use a sprayer for speed on large spans, but always back-brush to drive stain into end grain and knotty areas. Plan your passes with the wind at your back and shield adjoining surfaces. Stain from the top down to manage drips, and keep a wet edge to avoid lap marks at board joints. For privacy fences with both sides exposed, coordinate with neighbors to protect landscaping and maintain consistent appearance.
Choosing Stain by Wood Type and Climate
Cedar and redwood benefit from semi-transparent or transparent stains that highlight grain and oils, but still need UV inhibitors. Pressure-treated pine often looks best with semi-transparent or solid stains that even out color and hide knots. In wet or snowy regions, penetrating options with strong water repellency shine. In high-UV, arid climates, formulas with top-tier UV absorbers and stabilizers maintain color longer. When in doubt, test a small, inconspicuous area to confirm tone and absorption before committing.
Timing, Weather, and Surface Readiness
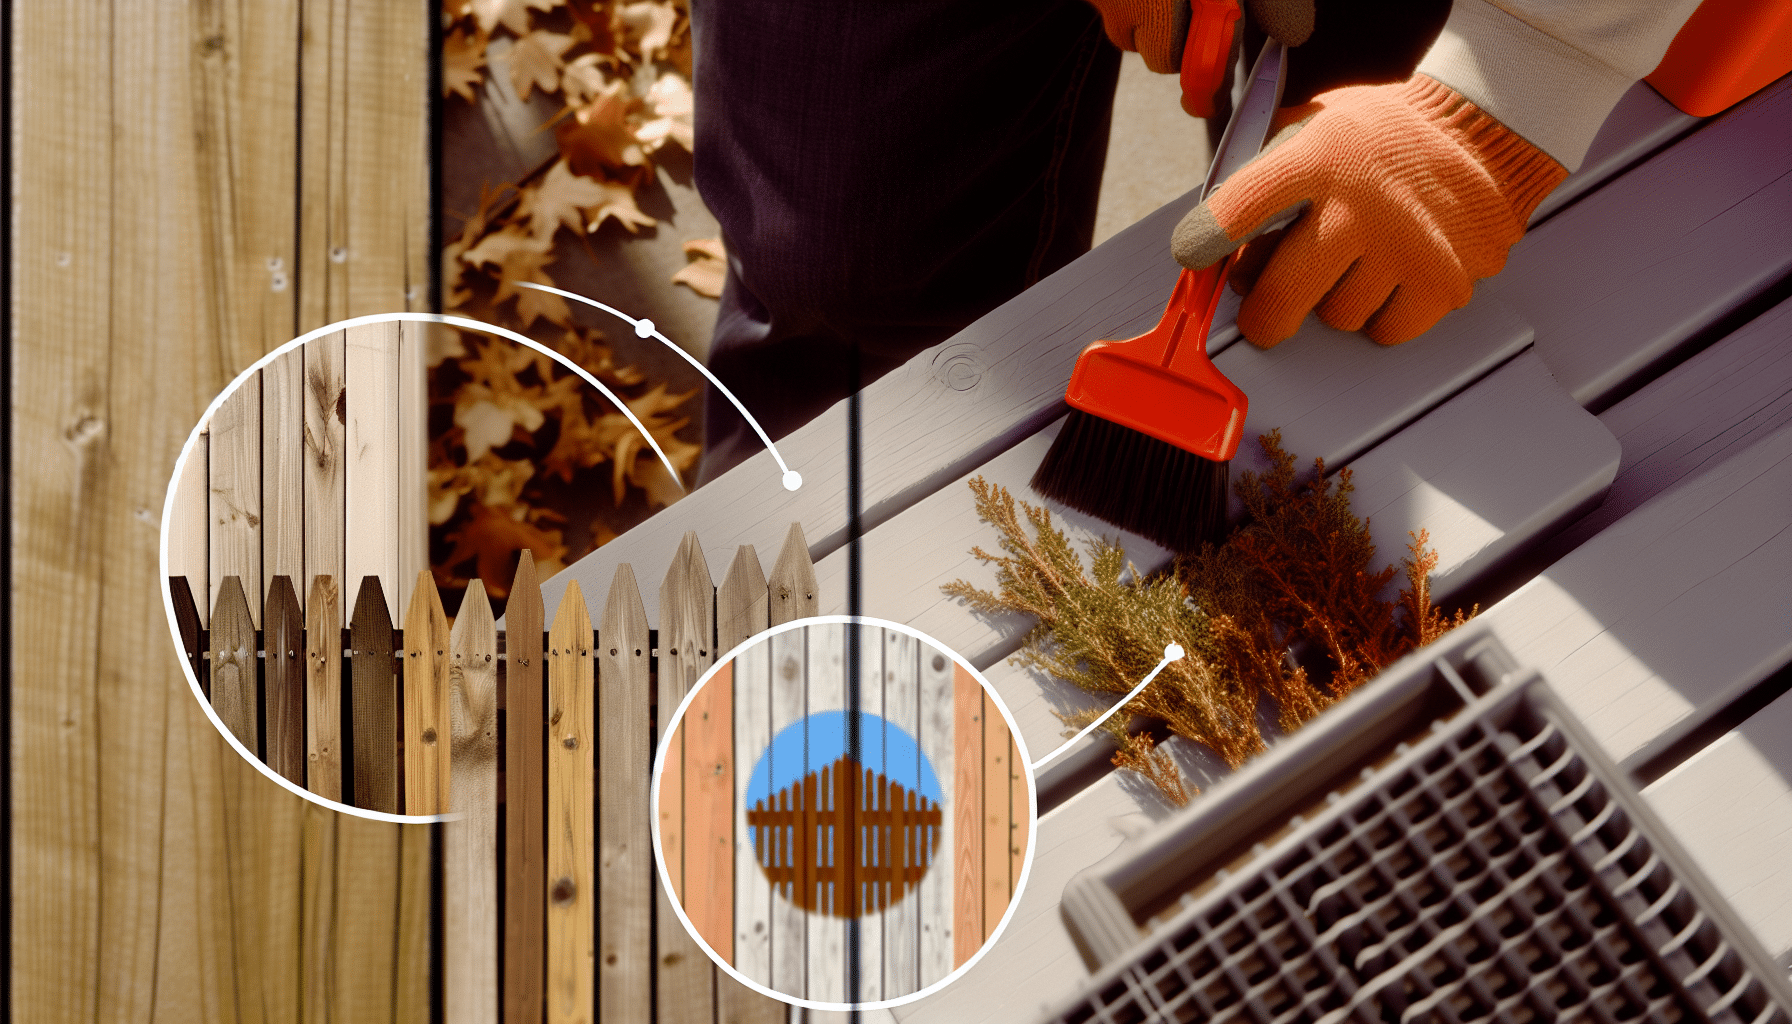
Successful staining hinges on timing. Aim for mild days with stable temperatures and avoid rain 24–48 hours before and after application. Stain in the shade or on the shady side as the day progresses, and stop early enough to avoid evening dew. Perform the tape test for existing coatings: press painter’s tape firmly and pull—if finish lifts, you likely need to strip. Use the sprinkle test for porosity and moisture. If water beads across the surface, allow more dry time or use a light sanding to open the pores.
Maintenance Schedule and Simple Seasonal Checks
Plan on light maintenance annually, with more thorough recoats every 2–4 years depending on product and exposure. Each spring, inspect horizontal surfaces first: if traffic lanes look dry, gray, or absorb water quickly, add a maintenance coat after cleaning. Each fall, walk your fence line for chalking, fading, or exposed end grain darkening—which signals moisture intrusion. Spot-treat problem areas to extend the life of a full recoat.
Keep surfaces clean by promptly removing leaves, dirt, and standing water. Elevate planters and mats to prevent trapped moisture. Tighten hardware that loosens over time and replace missing fasteners to keep boards secure and prevent movement that can crack coatings.
Pro Tips, Mistakes to Avoid, and Safety
Don’t rush dry times. Even if wood feels dry, internal moisture can linger, especially after heavy washes or humid days. Avoid applying stain in direct hot sun or on hot boards, which causes lap marks and poor penetration. Resist the urge to over-apply; thick coats sit on top and are more likely to peel. Always back-brush sprayed stain to prevent uneven sheen.
Protect plants and hardscapes with drop cloths and trim shields to catch overspray and drips. Wear gloves, goggles, and a respirator if ventilation is limited. Follow local guidelines for disposal; oily rags can spontaneously combust, so dry them flat outdoors before discarding. For a truly polished finish, cut in edges and posts with a brush first, then roll or spray open areas and finish with a light back-brush for consistency.
Putting It All Together: Your Seasonal Staining Guide
Use spring for deep cleaning, repairs, and a fresh protective coat on high-wear horizontal surfaces, especially decks that will see heavy traffic. Reserve fall for buttoning up vertical surfaces like fences, sealing end grain, and ensuring winter moisture won’t penetrate. This balanced approach delivers the best of both seasons and maximizes stain longevity.
Final thought: With the right plan, spring deck prep and fall fence care become simple, repeatable routines. If you want a printable checklist and product suggestions tailored to your climate, download our complete seasonal staining guide or contact a local pro for a free consultation. Protect your wood now—and enjoy beautiful, durable results all year long.