
Best Practices for Fence and Deck Stain Application
A beautifully stained fence or deck can transform an outdoor space, adding warmth, protection, and curb appeal all at once. But getting that rich, professional-looking finish is not just about picking the right color. The real difference comes from how the stain is applied. If you want smooth coverage, long-lasting performance, and a finish that looks polished instead of patchy, it helps to follow proven methods from the start.
In this guide, we’ll cover the most important stain application tips for fences and decks, including how to prepare the surface, choose the right tools, apply even stain coats, and focus on avoiding blotches. Whether you are staining brand-new wood or refreshing an older structure, these best practices can help you achieve a flawless finish.
Why Proper Stain Application Matters
Fence and deck stain does more than improve appearance. It also protects wood from sun exposure, moisture, mildew, and everyday wear. When stain is applied incorrectly, the finish may dry unevenly, peel early, or leave dark and light areas that distract from the natural beauty of the wood.
Proper technique improves both the look and lifespan of your project. Good application helps the stain soak into the wood consistently, which is essential for durability. It also reduces wasted product and the need for early rework. In short, investing time in proper prep and technique pays off with better results and fewer headaches later.
Start with the Right Weather Conditions
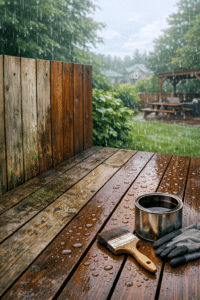
One of the most overlooked stain application tips is timing the project around the weather. Temperature, humidity, and direct sunlight all affect how stain penetrates and dries.
Ideal Conditions for Staining
For most stain products, the best application temperature is between 50°F and 85°F. Check the manufacturer’s label for specifics, but in general, mild and dry weather is best. Avoid staining when:
• Rain is expected within 24 to 48 hours
• The wood is damp from recent rain or washing
• The surface is hot from direct afternoon sun
• Humidity is extremely high
Staining in harsh sun can cause the product to dry too quickly, making it harder to maintain even stain coats. Damp wood can prevent proper absorption, while high humidity can slow drying and lead to tacky or inconsistent results.
Prepare the Surface Thoroughly
If you want a professional finish, surface preparation is not optional. Dirt, mildew, old stain, and damaged wood all interfere with absorption. One of the biggest causes of uneven color is applying stain over a surface that has not been properly cleaned or repaired.
Clean the Wood First
Remove debris, dirt, and organic growth with a wood cleaner or deck and fence wash. For many projects, a scrub brush and cleaning solution work well. Pressure washing can also be effective, but it must be done carefully. Too much pressure can scar the wood or raise the grain, creating an uneven texture.
After cleaning, allow the wood to dry completely. Depending on weather conditions, this may take 24 to 48 hours or longer. Moisture trapped in the boards can ruin stain absorption and make avoiding blotches much more difficult.
Sand Rough or Uneven Areas
Light sanding helps remove surface imperfections and opens the wood grain for more consistent stain penetration. Focus especially on:
• Splintered spots
• Raised grain after washing
• Areas with old, peeling finish
• High-traffic deck sections
Use a medium-grit sandpaper for most surfaces, then remove dust thoroughly before staining. A clean, smooth surface is a major step toward even stain coats.
Replace Damaged Boards if Needed
Rotten, cracked, or severely weathered wood will not accept stain evenly. If some boards are beyond repair, replace them before starting. Keep in mind that new boards may absorb stain differently than older wood, so test the color and adjust your technique if needed.
Choose the Right Stain for the Job
The type of stain you use affects both appearance and application. Transparent, semi-transparent, and solid stains all behave differently on wood surfaces.
Understand Stain Types
Transparent stain highlights the natural wood grain and offers a subtle finish, but it may require very careful application to avoid visible lap marks.
Semi-transparent stain adds more color while still showing grain, making it a popular choice for decks and fences.
Solid stain offers the most coverage and can hide more imperfections, but it behaves more like paint and may require extra care to prevent buildup in corners and edges.
Oil-based stains often penetrate deeply and are forgiving during application, while water-based stains tend to dry faster and can be easier to clean up. No matter which type you choose, always test it on a small, inconspicuous area first.
Use the Best Tools for Better Results
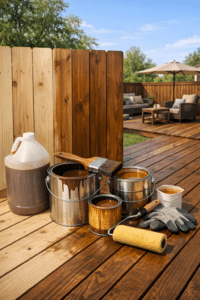
The right tools can make a major difference in speed, control, and finish quality. Different surfaces and stain types may call for different applicators.
Common Stain Application Tools
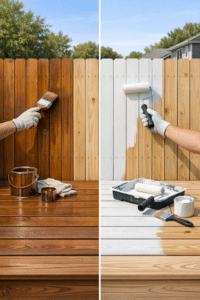
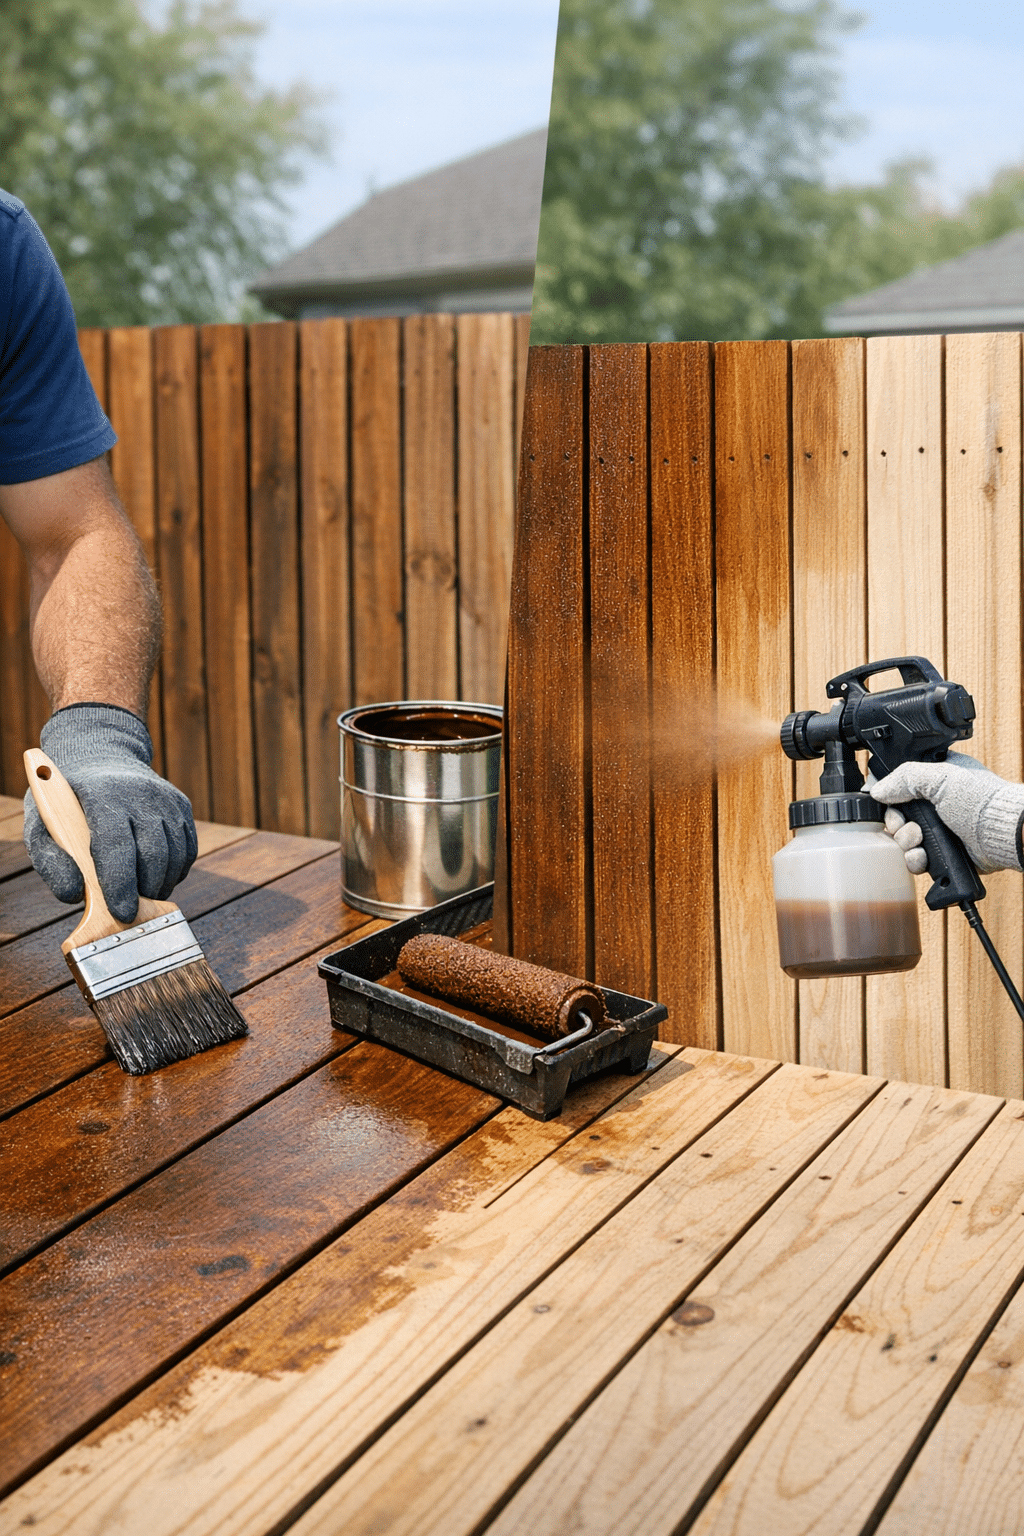
Brushes: Great for working stain into the wood grain and handling detailed areas like railings, posts, and corners.
Rollers: Helpful for large flat surfaces, especially deck boards, but should usually be followed with a brush or pad for better penetration.
Stain pads: Excellent for smooth and controlled coverage on broad surfaces.
Sprayers: Fast and efficient for fences, but they require back-brushing to ensure the stain is distributed evenly and does not pool.
Many professionals use a combination of tools. For example, you might spray a fence panel and then immediately brush over it to create even stain coats and reduce drips.
Stir the Stain and Maintain Consistency
Before and during application, stir the stain thoroughly. Pigments can settle at the bottom of the can, especially with semi-transparent and solid products. If the stain is not mixed consistently, the color may vary from one section to the next.
For larger projects, it can also help to “box” your stain by pouring multiple cans into a larger bucket and mixing them together. This reduces the chance of slight color differences between containers.
Apply Thin, Even Coats
When it comes to successful staining, more product is not better. Thick application often leads to sticky surfaces, uneven absorption, and visible dark patches. One of the most valuable stain application tips is to apply thin, controlled layers rather than flooding the wood.
Work with the Grain
Always apply stain in the direction of the wood grain. This helps the product sink in more naturally and improves the finished appearance. On deck boards, coat the full length of a board whenever possible. On fence panels, work board by board or in manageable sections to avoid lap marks.
Keep a Wet Edge
A wet edge means overlapping each fresh section slightly before the previous area dries. This is essential for even stain coats. If you stop in the middle of a board or let one section dry before blending into the next, you may create visible lines.
Work in small sections and maintain a steady rhythm. On warm days, you may need to move even faster or choose a shaded time of day to prevent quick drying.
Back-Brush or Back-Roll When Needed
If you use a roller or sprayer, follow up with a brush or stain pad. This extra step helps distribute the stain uniformly, pushes it into the grain, and catches runs before they dry. It is one of the most effective strategies for avoiding blotches.
Pay Attention to Problem Areas
Certain parts of fences and decks are more likely to develop uneven color or drips. These areas deserve extra care:
• End grain: The cut ends of boards absorb more stain and can turn much darker if overapplied.
• Knots: Knotted areas may take stain differently than the surrounding wood.
• Corners and seams: Product can collect here and leave glossy or dark patches.
• Horizontal deck boards: These often receive more sun and wear, so consistency matters.
Use a lighter touch in these areas, and wipe away excess stain if it begins to pool. Being proactive is key to avoiding blotches and getting a more refined result.
Wipe Off Excess Stain When Necessary
Not all stains require wiping, but many penetrating formulas benefit from it. If the manufacturer recommends wiping off excess after a few minutes, do not skip that step. Leaving too much stain on the surface can create shiny spots, tackiness, or uneven color.
Use a clean, lint-free cloth and follow the product instructions closely. This simple step can make a noticeable difference in achieving a smooth, uniform look.
Do Not Rush Additional Coats
If your stain system allows or requires a second coat, be sure the first coat has dried according to the manufacturer’s timeline. Applying too soon can trap moisture or soften the first layer, leading to streaking or adhesion problems.
Also, be realistic about whether a second coat is necessary. Some stains are designed for a single-coat application. Overapplying stain can be just as harmful as underapplying it. Read the label carefully and stick to the recommended coverage rate.
Common Mistakes to Avoid
Even experienced DIYers can run into trouble when they overlook the basics. Here are some common errors that interfere with even stain coats and contribute to blotchy finishes:
• Staining damp or dirty wood
• Applying stain in direct midday sun
• Using too much product at once
• Failing to stir the stain regularly
• Stopping in the middle of a board
• Ignoring drips, runs, or pooled stain
• Skipping test patches before full application
By avoiding these issues and following proven stain application tips, you dramatically improve your odds of a beautiful and durable finish.
Maintenance After Staining
Once your fence or deck is fully stained and cured, routine maintenance will help preserve the look. Sweep away debris regularly, wash off dirt and mildew as needed, and inspect the surface every year for signs of fading or wear.
High-traffic decks may need maintenance coats sooner than fences, especially in sunny or wet climates. Staying ahead of wear allows you to refresh the stain before the wood becomes heavily weathered, making future applications easier and more consistent.
Final Thoughts on Getting a Flawless Finish
The best fence and deck staining results come from a combination of preparation, patience, and proper technique. Clean and dry wood, the right weather, good tools, and careful attention to even stain coats all work together to create a finish that looks great and lasts. Most importantly, focusing on avoiding blotches at every stage helps you protect your investment and showcase the natural beauty of the wood.
If you’re planning a staining project, take the time to do it right from the beginning. Follow these stain application tips, choose quality products, and test your approach before covering the entire surface. A little extra care now can lead to a fence or deck you’ll be proud to show off for years. Ready to upgrade your outdoor space? Start with proper prep, choose your stain carefully, and give your wood the flawless finish it deserves.