
How to Protect Newly Built Fences and Decks with Stain
A newly built fence or deck can instantly improve the look, function, and value of your outdoor space. But fresh lumber is only the beginning. If you want that investment to stay strong, attractive, and weather-resistant, it is essential to protect it early with the right stain and sealing approach. From sun exposure to rain, humidity, dirt, and foot traffic, outdoor wood takes a beating from the very first season.
The good news is that with the right approach to new fence staining, smart deck finishing tips, and reliable new wood protection, you can help prevent premature fading, warping, cracking, and moisture damage. In this guide, we will walk through when to stain, how to prepare the surface, what products to choose, and the best application techniques for both fences and decks.
Why Staining New Fences and Decks Matters
Freshly installed wood may look beautiful on its own, but it is vulnerable. Even pressure-treated lumber and naturally durable wood species can suffer when left unprotected. Sunlight breaks down wood fibers, water seeps into pores, and temperature changes cause expansion and contraction. Over time, that leads to discoloration, splitting, mold growth, and structural wear.
Staining does more than improve color. A quality exterior stain provides a protective layer that helps repel moisture and reduce UV damage while allowing the wood to breathe. For homeowners focused on long-term new wood protection, staining is one of the most effective ways to preserve appearance and extend the life of a new fence or deck.
It also helps maintain a consistent finish. Instead of allowing a new structure to weather unevenly, stain gives you better control over the final look, whether you prefer a natural tone, a rich semi-transparent shade, or a more solid finish.
Should You Stain New Wood Right Away?
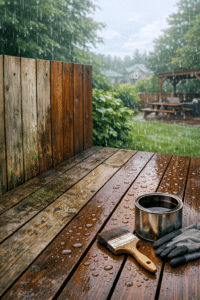
One of the most common mistakes is staining too soon. While it may seem smart to coat your new fence or deck immediately after installation, many types of lumber need time to dry before they can properly absorb stain.
If the wood is still holding excess moisture from treatment or recent weather exposure, stain may not penetrate well. That can cause blotchiness, peeling, or early failure. In many cases, new wood should be allowed to dry out for several weeks to a few months, depending on the type of lumber, climate, and season.
How to Tell if New Wood Is Ready
A simple water test can help. Sprinkle a little water on the surface. If the water beads up, the wood likely needs more time. If it soaks in within a few minutes, the wood may be ready for staining.
For a more accurate check, use a moisture meter. Many professionals recommend staining when the moisture content is below 15 percent, though exact recommendations vary by product and manufacturer. Reading the stain label is always important before beginning your project.
Choosing the Right Stain for Fences and Decks
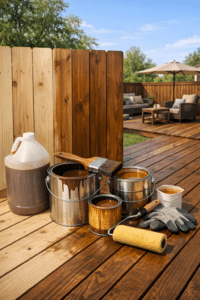
Not all stains perform the same, and the best product depends on the surface, exposure level, and desired appearance. When planning new fence staining or deck finishing, it helps to understand your options.
Transparent Stain
Transparent stain offers a natural look and allows the grain and color variation of the wood to show through clearly. It is a popular choice for beautiful cedar and redwood, but it usually provides less UV protection than more pigmented stains.
Semi-Transparent Stain
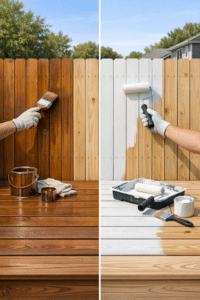
Semi-transparent stain is often the best balance between beauty and protection. It enhances the wood grain while adding more color and better defense against sun damage. For many homeowners, this is the go-to option for both fences and decks.
Solid Stain
Solid stain provides the most pigment and strongest UV blocking. It gives a more uniform appearance, similar to paint, while still soaking into the wood rather than sitting entirely on top of it. This can be a smart choice for decks with heavy sun exposure or for fences where consistency matters more than grain visibility.
Oil-Based vs. Water-Based
Oil-based stains tend to penetrate deeply and are often praised for durability and rich color. Water-based stains usually dry faster, clean up more easily, and offer excellent mildew resistance and color retention. The best choice depends on your climate, maintenance preferences, and the manufacturer recommendations for your specific wood type.
Whatever product you choose, make sure it is rated for exterior use and designed specifically for fences or decks. Product quality plays a major role in long-term new wood protection.
How to Prepare a New Fence or Deck for Staining
Preparation is one of the most important steps in getting a professional-looking and long-lasting finish. Good prep improves stain absorption and helps avoid uneven coverage.
1. Clean the Surface
Even brand-new wood can have dirt, sawdust, mill glaze, or construction residue. Sweep or brush off debris first. Then clean the surface using a wood cleaner appropriate for your stain system. If using a pressure washer, use a low setting and take care not to damage the fibers.
2. Let the Wood Dry Completely
After cleaning, allow the fence or deck to dry thoroughly before staining. Dry time depends on weather conditions, but this step is critical. Applying stain over damp wood can trap moisture and reduce adhesion and penetration.
3. Sand Where Needed
Light sanding can help remove splinters, smooth rough spots, and improve stain absorption, especially on handrails, deck boards, and visible fence sections. If the wood surface feels slick or glazed, sanding can make a noticeable difference.
4. Protect Surrounding Areas
Cover nearby plants, concrete, siding, and furniture before staining. Whether you are tackling new fence staining or applying a finish to a deck, masking and covering surrounding surfaces will make cleanup easier and help prevent accidental splatter.
Best Weather Conditions for Staining
Weather matters more than many homeowners realize. Ideal conditions usually include mild temperatures, low humidity, and no rain in the forecast for at least 24 to 48 hours. Extremely hot surfaces can cause stain to dry too quickly, while cool or damp conditions can slow curing and affect the final finish.
Try to work when the wood is shaded or during parts of the day when direct sun is less intense. Early morning and late afternoon often provide better conditions than the middle of a hot day. These practical deck finishing tips can help you avoid lap marks, uneven absorption, and sticky drying issues.
How to Stain a New Fence
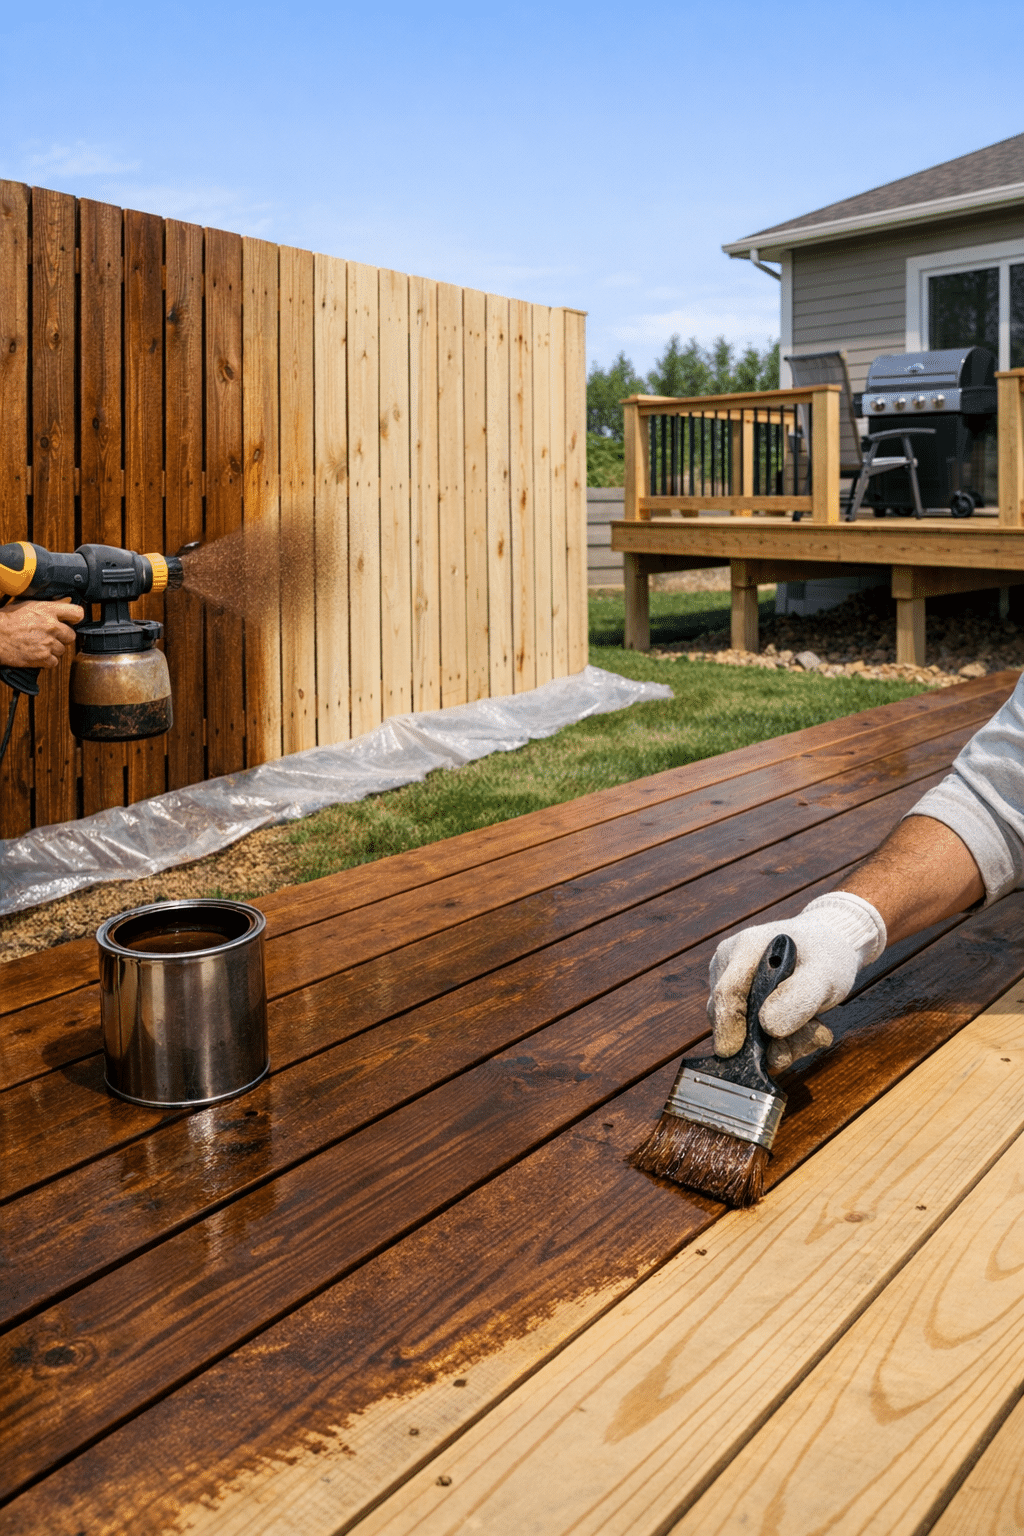
Fences benefit from a systematic approach. Start at the top and work downward so drips do not land on finished sections. If you are using a sprayer, back-brush immediately to work the stain into the wood and ensure even coverage. Brushes and stain pads also work well, especially for smaller fences or detailed sections.
Apply thin, even coats and avoid overloading the wood. More product is not always better. Excess stain can dry unevenly or remain tacky. Pay close attention to end grain and joints, since those areas tend to absorb moisture more easily and are especially important for new wood protection.
When possible, stain one full board or section at a time to maintain a wet edge and avoid lap lines. For a consistent result, stir the stain regularly during use rather than shaking it, which can create bubbles.
How to Stain a New Deck
Decks demand extra care because they experience direct weather exposure and constant foot traffic. Among the most valuable deck finishing tips is to divide the surface into manageable sections and plan your exit path before you start. Nobody wants to stain themselves into a corner.
Start with railings, balusters, and stairs before moving to the deck boards. On horizontal surfaces, apply stain along the length of the boards for a cleaner, more natural finish. Use a brush, pad, roller, or sprayer depending on the product and project size, but always follow up as needed to avoid puddling.
Do not let stain pool between boards or in corners. Back-brushing or spreading out excess product helps the finish cure properly. Since decks face more wear than fences, choosing a durable stain and applying it correctly is essential for long-term new wood protection.
Common Mistakes to Avoid
Even a high-quality stain can underperform if applied incorrectly. Avoid these common issues:
Staining Too Soon
Fresh pressure-treated lumber often needs drying time. If you rush, the stain may not absorb properly.
Skipping Prep Work
Dust, grime, and mill glaze can block penetration and create an uneven appearance.
Applying Too Much Stain
Heavy coats may look wet and rich at first, but they often dry sticky or fail early.
Ignoring Product Instructions
Every stain has recommended drying times, temperature ranges, and coverage rates. Following the label is one of the simplest but most overlooked deck finishing tips.
Choosing Appearance Over Performance
A stain color may look great on the sample card, but be sure it also offers the level of UV and moisture protection your climate demands.
How Often Should You Restain?
Maintenance schedules depend on the product, climate, sun exposure, and how much wear the wood receives. Fences may go several years before needing attention, while decks often require more frequent maintenance due to foot traffic and standing water.
Watch for signs like fading, water no longer beading on the surface, gray discoloration, or roughness in the wood fibers. Staying ahead of wear is better than waiting for visible damage. Consistent maintenance is a major part of successful new wood protection.
Final Thoughts on Protecting New Outdoor Wood
Staining a newly built fence or deck is one of the smartest steps you can take to preserve your outdoor investment. With the right timing, proper prep, and a quality product, new fence staining and deck finishing become much more than cosmetic upgrades. They form the foundation of lasting beauty, durability, and dependable new wood protection.
If you want your fence or deck to look better and last longer, do not wait until weather damage appears. Start with the right stain plan now, follow these proven deck finishing tips, and give your new wood the protection it deserves. Ready to upgrade your outdoor space? Choose a trusted exterior stain and get your project started today.