
How to Blend New Stain with Existing Fence and Deck Color
Refreshing an outdoor surface without creating a patchy, mismatched result can feel tricky, especially when you are trying to stain only part of a fence or deck. Sun exposure, weathering, age, and the original product all affect how wood looks over time, which means applying a new coat is rarely as simple as picking a similar color off the shelf. If you want a smooth, professional-looking finish, the key is understanding how to approach color matching fence stain and the process of blending old and new stain so the transition looks natural rather than obvious.
Whether you are repairing a section of storm-damaged fencing, replacing a few deck boards, or updating faded areas, the right method can help you blend fresh stain into the existing color with much better results. Below, we will cover how to assess the current finish, choose the best stain, test your color, apply it strategically, and maintain the final look over time.
Why Matching Existing Stain Is More Difficult Than It Looks
One of the biggest challenges in blending old and new stain is that the “existing color” on your fence or deck is usually not the same as the original stain color anymore. Outdoor wood changes constantly. UV rays bleach some tones, moisture deepens others, and dirt, mildew, and oxidation all alter the surface appearance.
Several factors make color matching fence stain more complicated than simply buying the same product:
Weathering: A stain that looked rich brown two years ago may now appear lighter, grayer, or warmer in tone.
Wood species: Cedar, pine, redwood, and pressure-treated lumber all absorb stain differently.
Previous coats: The number of stain layers already on the wood influences how a new coat will look.
Sun exposure: Horizontal deck boards often fade faster than vertical fence pickets.
Replacement wood: New boards absorb stain differently than aged wood, even if the same stain is used.
Understanding these variables helps set realistic expectations. In many cases, your goal is not a perfect invisible match on the first pass, but a close, balanced finish that looks cohesive from normal viewing distance.
Step 1: Identify the Existing Stain Type
Before you buy anything, determine what kind of stain is already on the wood. This matters because mixing incompatible finishes can create uneven absorption, sheen differences, or poor adhesion.
Common stain categories
Transparent stain: Shows the wood grain clearly and adds subtle color.
Semi-transparent stain: Adds more pigment while still allowing grain to show through.
Semi-solid stain: Covers more of the grain and offers stronger color.
Solid stain: Looks more like paint, with heavy coverage and minimal visible grain.
If the old finish is transparent or semi-transparent, matching is often more difficult because natural wood tone plays a major role in the final result. With semi-solid or solid stain, coverage is more forgiving, but differences in sheen and weathering can still reveal repairs.
If you know the original stain brand and color, that gives you a useful starting point. If not, bring a removable sample board, fence picket, or a detailed photo into a paint or stain supplier. Some stores can help with color matching fence stain, though real-world testing is still essential.
Step 2: Clean the Surface Thoroughly
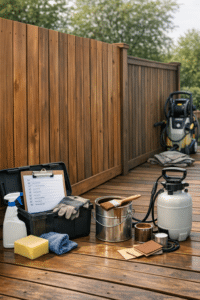
A dirty surface can completely distort how the existing stain appears. Before trying to match anything, clean the wood so you are working with the true current color rather than a layer of grime.
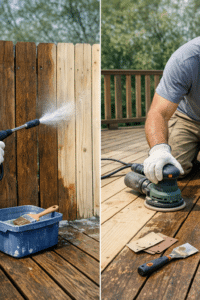
For fences and decks, use a wood cleaner or a deck wash designed to remove dirt, mildew, and oxidation. In many cases, a gentle scrub with a brush is better than overly aggressive pressure washing, which can damage wood fibers and create inconsistent absorption.
After cleaning, allow the wood to dry completely. This step is critical. Wet wood looks darker than dry wood, so any decisions you make before it dries can lead to poor stain selection and a mismatched finish.
Step 3: Evaluate Whether Spot Blending or Full Restaining Makes More Sense
Sometimes the best solution is not a perfect patch repair, but a broader recoat. If the surrounding fence or deck is heavily faded, worn unevenly, or several years old, spot repairs may still stand out even with careful work.
Ask yourself:
Is the repaired area small? If yes, localized blending may work well.
Is the surrounding stain still in good condition? If yes, targeted touch-ups are more realistic.
Are the new boards very different in color from the old boards? If yes, full-panel or full-section staining may create a better result.
Is the old finish patchy across the whole structure? If yes, consider restaining the entire fence side or deck section.
When blending old and new stain, the most seamless outcome often comes from treating a complete visual section rather than only the exact repaired spot. For example, stain an entire fence panel instead of just two replaced boards, or stain a full run of deck boards rather than a single isolated patch.
Step 4: Test Stain Colors Before Applying Widely
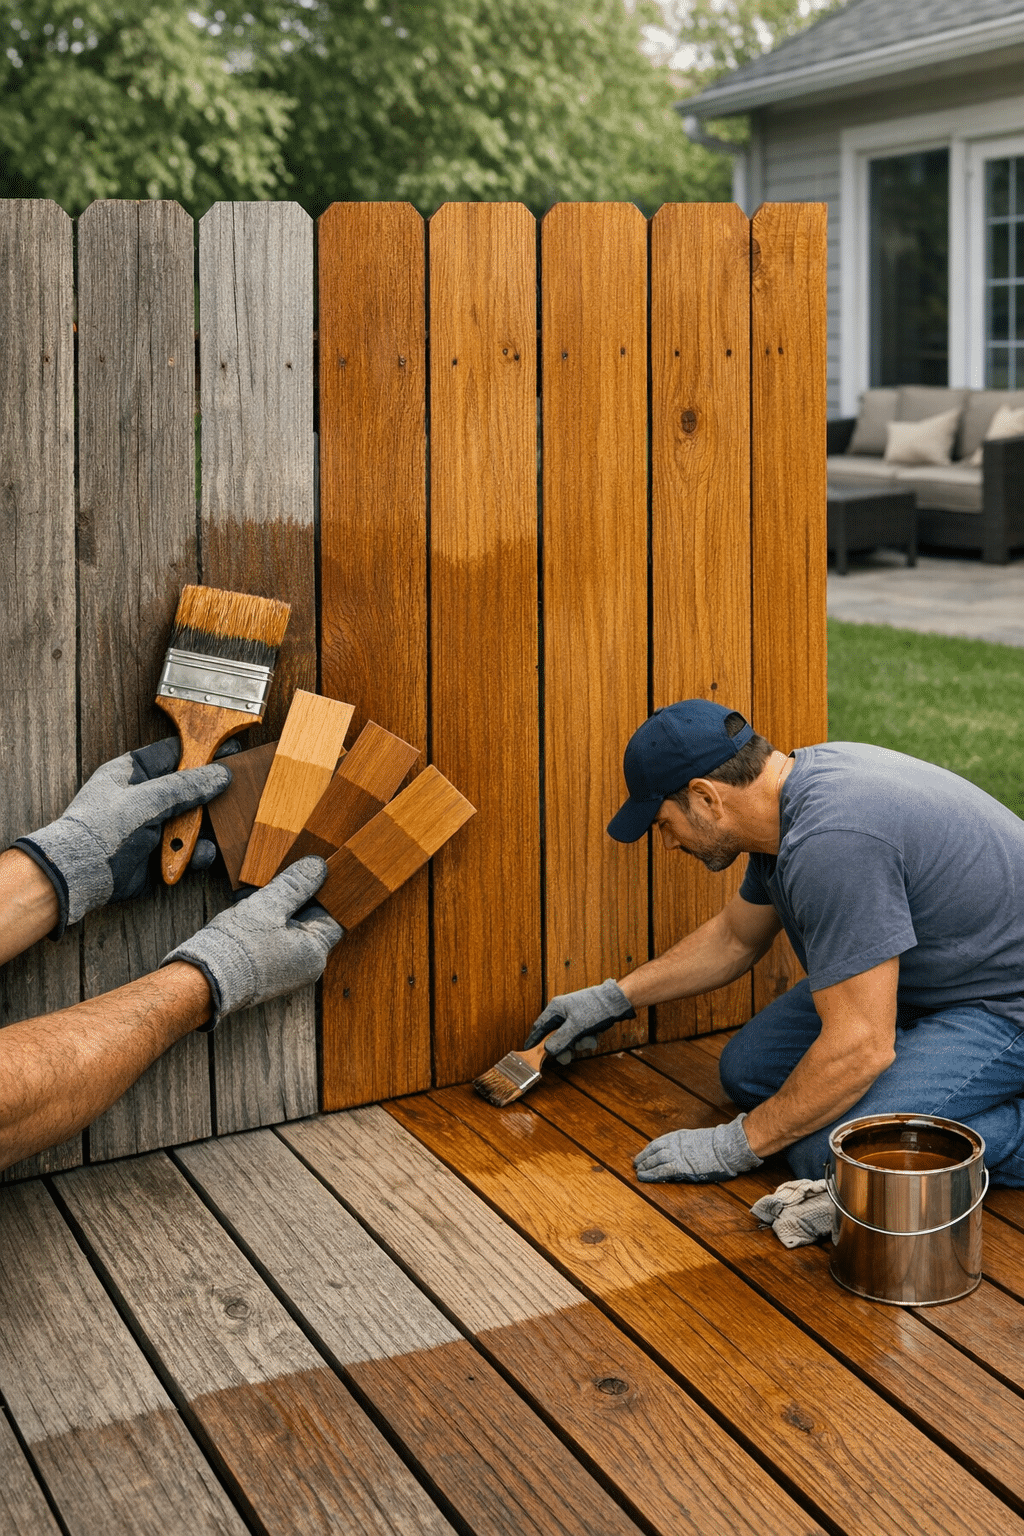
This is the most important part of color matching fence stain. Never trust the can label alone. Instead, test multiple options in inconspicuous areas or on scrap wood from the same material as the repaired section.
How to test correctly
Apply a small amount of stain to the test area and let it dry fully. Many stains change significantly as they cure. Compare the dry sample to the surrounding wood in both sun and shade.
If one sample is close but slightly off, you may be able to improve it by:
Applying a thinner coat to reduce color intensity
Layering a second coat to deepen the tone
Mixing two similar stain colors from the same brand and product line
Using a toner or tinted sealer if the product system allows it
For successful blending old and new stain, testing should mimic the final application method. If you plan to brush and wipe, test that way. If you plan to spray and back-brush, test that way too.
Step 5: Prepare New Wood to Accept Stain More Like Old Wood
Fresh wood almost always stains differently than aged wood. New boards tend to absorb stain more aggressively or more evenly, which can make them appear cleaner, brighter, or darker than surrounding wood.
To reduce that contrast, lightly sand the new wood to open the grain consistently and remove any mill glaze. Mill glaze is a smooth, compressed surface left by manufacturing that can block even penetration.
In some cases, using a wood brightener or conditioner can help create a more balanced base for the stain. The goal is not to make new wood look old instantly, but to make its absorption pattern closer to the existing surface.
If the existing wood has a rough, weathered texture, you may also need to avoid oversanding the repair area. A repair that is too smooth can reflect light differently and stand out even if the stain color is close.
Step 6: Use Feathering Techniques for a Smoother Transition
When the new stain meets the old stain abruptly, the repair line becomes much easier to see. One of the best ways to improve blending old and new stain is by feathering the edges of the fresh application.
What feathering means
Feathering is the process of gradually reducing the amount of stain as you move from the repaired area into the surrounding wood. This softens the transition so there is no hard visual line.
To feather effectively:
Start on the new or repaired area first, where more stain is needed.
Work outward with a lighter touch onto the adjacent older wood.
Wipe excess stain quickly so the overlap area does not become too dark.
Maintain a wet edge to avoid lap marks.
For fences, feathering often works best along natural board boundaries or at rails. For decks, try to blend across the full length of a board whenever possible instead of stopping in the middle.
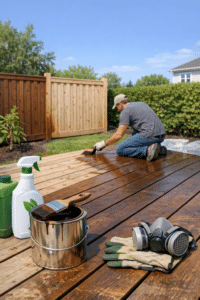
Step 7: Apply Stain in the Right Conditions
Even the best color choice can look wrong if the stain dries too quickly or unevenly. Temperature, sunlight, and humidity all affect the final appearance.
For better color matching fence stain results, apply stain when:
The wood is dry
Temperatures are moderate, usually according to the manufacturer’s label
The surface is shaded or not in direct hot sun
No rain is expected during the curing period
Direct sunlight can cause stain to flash dry, which often leads to darker overlaps, lap marks, and inconsistent penetration. Working in smaller sections and following the grain pattern helps create a more uniform look.
Step 8: Adjust Color with Additional Coats If Needed
Sometimes the first coat gets you close, but not perfect. That is normal. With many stain systems, a second light coat or a carefully selected glaze effect can improve the match.
If the repair area looks:
Too light: Apply another thin coat or use a slightly darker toner.
Too dark: Wipe more aggressively during application, or consider lightly sanding and reapplying.
Too warm or red: Shift toward a cooler brown or weathered tone.
Too gray or cool: Add a stain with a warmer undertone.
This is where patience matters. Successful blending old and new stain usually happens through small adjustments rather than one heavy application.
Step 9: Consider Restaining the Entire Section for Best Visual Uniformity
If your touch-up still looks noticeable, do not assume you failed. In many situations, the most professional result comes from applying the newly matched stain over a larger area so everything settles into the same color family.
For example:
On a fence, stain the full panel from post to post.
On a deck, stain all boards in a traffic zone or one complete side.
This approach minimizes contrast and creates a more intentional finish. It is often the best answer when color matching fence stain is difficult because the surrounding wood has aged unevenly.
Common Mistakes to Avoid
Skipping the cleaning step: Dirt and mildew can make the old stain appear darker or duller than it really is.
Not testing samples: Color chips are helpful, but real wood always tells the truth.
Applying stain too heavily: Thick coats often turn darker and blotchier than expected.
Ignoring undertones: Two “brown” stains can still clash if one leans red and the other leans gray.
Stopping mid-board: This creates visible transition lines, especially on decks.
Using a different product type: Mixing oil-based and water-based systems without proper prep can lead to inconsistent results.
How to Maintain a Blended Finish
Once you achieve a close match, regular maintenance helps keep old and new sections from drifting apart again. Clean the fence or deck annually, address mildew promptly, and inspect for fading every season. Recoating the entire structure on a routine schedule is often easier than repeatedly trying to spot match aging wood year after year.
Maintenance is especially important after blending old and new stain because repaired areas may weather at a slightly different rate at first. A light maintenance coat down the road can help everything continue to even out visually.
Final Thoughts
Blending a fresh stain into an existing fence or deck color takes more than choosing a similar shade. It requires cleaning, testing, understanding wood condition, and using careful application techniques. With the right approach to color matching fence stain, you can create a finish that looks cohesive, attractive, and far less noticeable than a basic patch job.
If you are getting ready to tackle a repair or refresh, take time to test first and work section by section for the best result. Need help choosing products or planning your staining project? Reach out to a trusted wood care professional and get your fence or deck looking seamless again.