
How to Choose Staining Products for Pressure-Treated Wood
Pressure-treated decks and fences are built to last, but they only look their best when protected with the right stain. Choosing a pressure-treated wood stain that plays well with the lumber’s preservatives, the local climate, and your maintenance habits is the difference between a rich, even finish and a peeling, blotchy mess. This guide walks you through everything you need to know—from timing and prep to stain compatibility and application—so you get durable, beautiful results on your next outdoor project.
Why Pressure-Treated Wood Needs Special Attention
Pressure-treated lumber is infused with wood chemicals designed to resist rot, decay, and insects. Common preservatives include copper-based formulas like ACQ, CA, or MCA. These treatments push deep into the wood under pressure, safeguarding it from the elements—yet they also change how stains penetrate and cure. That’s why selecting a pressure-treated wood stain isn’t the same as picking a product for cedar or redwood. You’ll want a formula proven for treated lumber and clear instructions from the manufacturer on stain compatibility with treated substrates.
Another factor is moisture. Freshly treated boards are often shipped “wet.” Excess moisture inside the board can block penetration, slow drying, and trap solvents or water—leading to premature failure. Understanding when your lumber is ready for finish is just as important as which product you buy.
When Is Pressure-Treated Wood Ready to Stain?
Timing matters. If you stain too early, the coating may sit on the surface and peel; too late, and UV light can degrade fibers and turn the wood gray.
Check the moisture content
Use a moisture meter if possible. Most penetrating stains work best when wood is under about 15% moisture content. If you don’t have a meter, try a simple water test: sprinkle water on the surface. If it beads up, the wood is still too wet. If it soaks in within a minute, you’re getting close.
KDAT vs. standard treated lumber
Some boards are Kiln-Dried After Treatment (KDAT). These can often be stained much sooner—sometimes within a few weeks of installation—because excess moisture has already been driven off. Standard treated lumber may need 2–6 months in warm, dry climates and longer in cool, humid zones. Always confirm with the stain manufacturer for best stain compatibility guidance.
Understanding Stain Types for Treated Wood
Not all stains behave the same on treated lumber. Your goal is to balance penetration, UV protection, and maintenance ease while ensuring stain compatibility with the wood’s preservatives.
Penetrating oil-based stains
These formulas soak into the fibers, enhancing grain and providing water repellency. They’re often recommended as a first pressure-treated wood stain on new decks because they minimize the risk of film-forming and peeling. Modern alkyd emulsions and low-VOC oils can deliver good penetration while meeting air-quality rules. They tend to be easier to refresh: clean, dry, and recoat as needed.
Water-based acrylic and hybrid stains
Quality water-based stains offer strong UV resistance and color retention. Many newer hybrids blend acrylic resins with oil-modified technology to improve adhesion and penetration on treated lumber. They can be an excellent choice for fences and older decks because they resist fading and are often more durable on vertical surfaces.
Opacity and UV protection
Opacity influences both look and longevity:
Transparent: Maximum grain show-through, minimal pigment, least UV protection. Best for fresh, high-quality boards you plan to maintain frequently.
Semi-transparent: A popular balance for decks and fences; visible grain with meaningful pigment for UV resistance.
Semi-solid: More pigment to even out color and hide flaws; excellent for weathered or mismatched boards.
Solid-color: Paint-like uniformity and top-tier UV shielding; ideal for older, gray, or patchy fences and rails. On decks, ensure excellent stain compatibility and prep because heavy films can peel if overapplied or applied too soon.
Stain Compatibility: Matching Product to Wood Chemicals
The preservatives in treated lumber can interact with finishes. That’s why stain compatibility with wood chemicals is crucial. Always check the label or technical data sheet for phrases like “suitable for pressure-treated lumber,” “ACQ compatible,” or “for treated pine.” If the product directions are vague, contact the manufacturer’s tech line for confirmation.
Perform a test patch on an inconspicuous area. You’re checking for even absorption, proper dry time, and absence of surface residues. If the stain beads, stays tacky, or looks blotchy after the recommended cure period, reassess your prep and product choice. A properly designed pressure-treated wood stain will penetrate and cure predictably on dry, clean lumber.
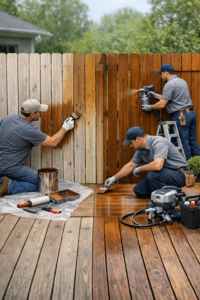
Surface Preparation for Lasting Results
Good prep makes any stain better. On treated wood, it’s non-negotiable.
Clean and decontaminate
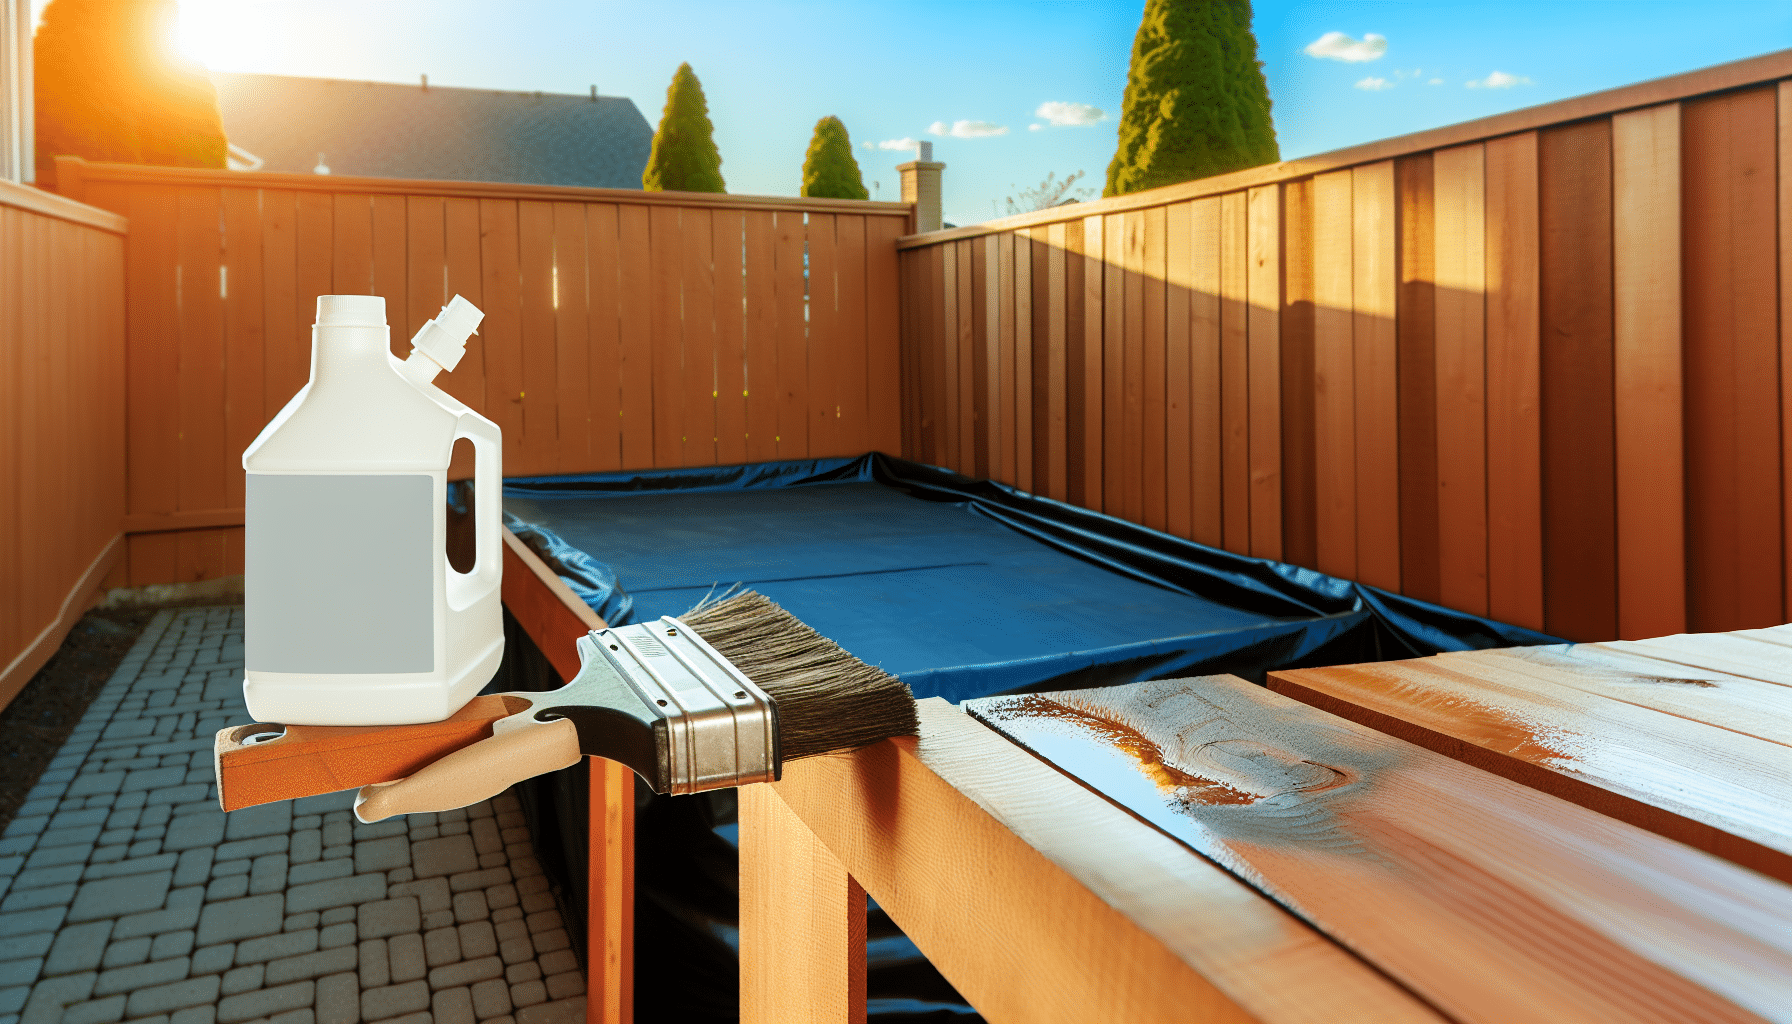
Use a deck cleaner to remove dirt, mildew, and mill glaze. Oxygenated cleaners (sodium percarbonate-based) lift grime without harsh residues. Scrub gently with a stiff brush or use a low-pressure rinse. Avoid aggressive power washing that can scar soft fibers.
Brighten and neutralize
After cleaning, a brightener based on oxalic or citric acid helps neutralize the surface, restore natural color, and improve stain compatibility. This is especially helpful if the wood darkened after cleaning or shows tannin streaks.
Dry thoroughly
Let the wood dry according to product directions—typically 24–72 hours, depending on weather. Remember, trapped moisture undermines even the best pressure-treated wood stain.
Light sanding where needed
Feather-sand fuzzy fibers or raised grain with 80–100 grit. Don’t polish the surface; overly smooth wood can reduce penetration. Vacuum and wipe dust before staining.
Seal cut ends
End-grain drinks moisture. Seal fresh cuts with an end-grain sealer compatible with your stain system to block water wicking and reduce checking.
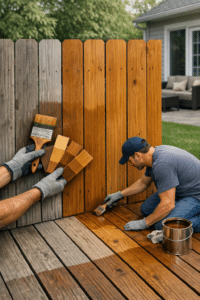
Choosing the Right Color and Finish
Color affects both appearance and performance. More pigment equals more UV protection. For sun-drenched decks, consider semi-transparent or semi-solid tones to extend life between maintenance cycles. On fences, solid-color finishes can mask age and weathering while delivering strong fade resistance.
Always sample first. Brush your chosen pressure-treated wood stain on a spare board or hidden area. Colors look different on treated pine versus cedar, and wood chemicals can subtly shift tone. View samples in shade and direct sun to confirm.
Application Best Practices
Proper technique locks in durability and beauty.
Watch the weather
Apply between about 50°F and 90°F with no rain in the forecast for 24–48 hours. Avoid blazing sun and hot boards, which cause lap marks and flash drying. Ensure the surface temperature is at least 5°F above the dew point to reduce condensation risk.
Tools and method
Use a high-quality brush, stain pad, or an airless/handheld sprayer with back-brushing. Work two to three boards at a time, maintaining a wet edge to prevent lap marks. On vertical fencing, start at the top and work down, back-brushing drips immediately.
Coats and coverage
Follow the label. Most penetrating stains call for one saturated coat, sometimes a second “wet-on-wet” application within a set window. Over-application leads to stickiness and sheen inconsistencies. Typical coverage ranges from 150–300 sq ft per gallon depending on porosity and opacity.
Dry and cure
Foot traffic may be allowed after 24–48 hours, but full cure can take longer. Keep furniture and planters off the surface until the stain is fully set.
Maintenance: Protect Your Investment
A great finish is a system: prep, stain, and maintenance. Plan to wash surfaces annually with a gentle cleaner, then reassess water repellency. If water no longer beads or color has notably faded, it’s time to recoat. Horizontal deck boards might need attention every 12–24 months; vertical fence pickets can go 2–4 years depending on exposure.
Stick with the same product line whenever possible for seamless stain compatibility. If switching brands or chemistries, clean, brighten, and test on a small area first to confirm adhesion and appearance.
Common Mistakes to Avoid
Staining too soon: Wet wood blocks penetration. Wait until it passes the water test or moisture target.
Skipping neutralization: Cleaners can leave residues that impair pressure-treated wood stain performance. Brighten and rinse thoroughly.
Over-applying: More is not better. Excess stain can become sticky, attract dirt, and peel.
Ignoring chemistry: Not all products are suited to treated lumber. Verify stain compatibility with your wood’s preservatives.
Applying in harsh conditions: Direct sun, high heat, or imminent rain increases the risk of lap marks and wash-off.
Neglecting safety: Dispose of oily rags in water-filled, sealed containers to prevent spontaneous combustion. Use gloves, eye protection, and masks as recommended.
Environmental and Safety Considerations
Local regulations may limit VOCs and govern how you use and dispose of finishes. Choose products that meet rules in your area and follow the label’s environmental guidance. Protect landscaping by pre-wetting plants and covering delicate shrubs, then rinsing after work. Collect drips and dispose of used applicators responsibly.
Quick Decision Guide
New, standard-treated deck (still somewhat wet)
Let it dry for a few months, then prep with cleaner and brightener. Choose a penetrating semi-transparent or light semi-solid pressure-treated wood stain designed for treated lumber. Verify stain compatibility with ACQ/CA/MCA preservatives.
KDAT deck or recently dried boards
After a brief weathering and prep, you can stain sooner. Consider an oil-modified, penetrating formula for easy maintenance or a high-quality hybrid water-based stain for color durability.
Older gray fence with uneven color
Clean, brighten, and spot-sand rough areas. A semi-solid or solid-color stain can unify the look and add strong UV protection. Ensure the product is rated for treated substrates and check stain compatibility if switching from an oil to a water-based system.
High-UV, hot-sun exposure
Lean toward more pigment for longer intervals between recoats. Semi-solid tones are a strong balance for decks; solid-color finishes excel on fences and rails.
FAQs
Do I need a primer on pressure-treated wood?
Typically no for penetrating stains. Some solid-color systems include specialized primers; follow the manufacturer’s instructions for stain compatibility.
Can I apply a water-based stain over a previous oil-based coat?
Sometimes, but only after thorough cleaning, light sanding if needed, and a successful test patch. Many pros prefer staying in the same product family to ensure compatibility.
Why does my stain look blotchy?
Causes include uneven moisture, inadequate cleaning, mill glaze, or using a product not