
Common Fence and Deck Staining Mistakes Homeowners Should Avoid
Staining a fence or deck can dramatically improve curb appeal, protect wood from moisture and UV damage, and extend the life of an outdoor structure. But while staining may seem like a straightforward weekend project, small missteps can lead to blotchy color, peeling, premature fading, and wasted time and money. Understanding the most common stain mistakes before you begin is the best way to get a clean, even, long-lasting finish.
Whether you are refreshing an aging deck or finishing a newly installed fence, it helps to know where DIY projects usually go wrong. In this guide, we will cover the most frequent fence staining errors, explain why they happen, and offer practical deck staining troubleshooting tips to help you avoid problems and get better results.
Why Staining Mistakes Matter
Fence and deck stain does more than add color. It acts as a protective barrier against rain, sun exposure, mildew, and daily wear. When stain is applied incorrectly, that protection weakens. The result may be wood that absorbs water too quickly, fades unevenly, or starts to crack and splinter earlier than expected.
Many homeowners focus on the stain color and overlook the preparation and application process. In reality, most lasting finish problems come from steps taken before the stain even touches the wood. Avoiding these common stain mistakes can save you from redoing the entire project much sooner than planned.
1. Skipping Proper Cleaning and Surface Preparation
One of the biggest fence staining errors is staining a dirty surface. Wood collects dust, pollen, mildew, algae, old stain residue, and grime over time. If you apply stain over that buildup, it cannot penetrate evenly. Instead, it sits on the surface, often creating a patchy or streaked appearance.
What can go wrong?
Dirty wood can cause uneven absorption, discoloration, and premature stain failure. Mildew trapped under the stain can also continue growing, leading to dark spots and a shorter finish lifespan.
How to avoid it
Clean the fence or deck thoroughly before staining. Use a wood cleaner or deck wash designed to remove contaminants. If there is old failing stain or sealer, you may need a stain stripper or brightener. Let the wood dry completely before moving to the next step.
For effective deck staining troubleshooting, always check whether the wood feels clean and porous. A simple splash test can help: if water beads on the surface, the wood may still have residue or old sealer that needs to be removed.
2. Staining Wet or Damp Wood
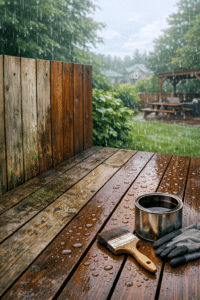
Another one of the most common stain mistakes is applying stain before the wood is fully dry. Even if the surface looks dry, moisture may still be trapped inside after rain, washing, or pressure washing.
Why this causes problems
Wood stain is meant to soak into the grain. When moisture is present, the stain cannot absorb properly. That often leads to peeling, blotchiness, sticky spots, or a finish that wears away too quickly.
Best practice
After cleaning, allow enough drying time based on weather conditions. In many cases, wood needs at least 24 to 48 hours of dry weather, and sometimes longer. A moisture meter can be especially helpful if you want more confidence before staining.
This is one of the most overlooked fence staining errors, especially when homeowners are trying to finish a project quickly between rainy days.
3. Choosing the Wrong Weather Conditions
Weather has a major impact on staining results. Too much heat, direct sunlight, high humidity, wind, or incoming rain can all interfere with how stain absorbs and cures.
Common weather-related issues
If the wood is hot from direct sun, stain may dry too fast and leave lap marks. If rain hits before the stain cures, it can wash away or leave streaks. High humidity can slow drying and increase the chance of tacky surfaces.
Ideal staining conditions
Most manufacturers recommend moderate temperatures, low wind, and dry conditions for at least a day or two after application. Always read the product label, since different stains have different requirements.
When it comes to deck staining troubleshooting, weather is often the hidden factor behind a poor-looking finish. Planning the project around the forecast is just as important as choosing the right product.
4. Using the Wrong Type of Stain
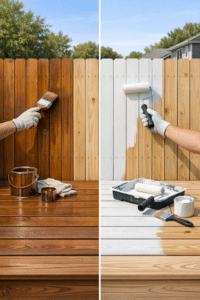
Not all stains are made for the same purpose. Some are better for older wood, while others are ideal for new installations. There are transparent, semi-transparent, semi-solid, and solid stains, each offering different levels of visibility and protection.
Where homeowners go wrong
A common problem is choosing a stain based only on color without considering the condition of the wood or the previous coating. For example, applying a transparent stain to very weathered wood may highlight flaws instead of improving appearance. Likewise, trying to switch from one stain type to another without proper prep can create adhesion issues.
How to choose correctly
Consider the age of the wood, whether it has been stained before, how much grain you want to show, and how much maintenance you are willing to do. New wood may need time to weather slightly before accepting stain properly, while older wood may need restoration first.
Product selection is one of the more expensive common stain mistakes, because using the wrong stain can mean redoing the whole project much sooner than expected.
5. Applying Too Much Stain
Many people assume that more stain equals more protection, but overapplication is a frequent cause of failure. Unlike paint, stain is designed to penetrate the wood, not sit heavily on top.
Signs of overapplication
Sticky areas, shiny patches, slow drying, and peeling are all common signs that too much stain was used. Excess stain can create a film that does not bond well to the wood surface.
The right approach
Apply thin, even coats and follow the manufacturer’s directions carefully. Back-brushing or back-rolling can help distribute stain evenly after spraying. Wipe away excess product when necessary, especially with oil-based penetrating stains.
This is one of the most preventable fence staining errors, yet it happens often because homeowners want a richer, darker look in one pass.
6. Ignoring Uneven Absorption and Lap Marks
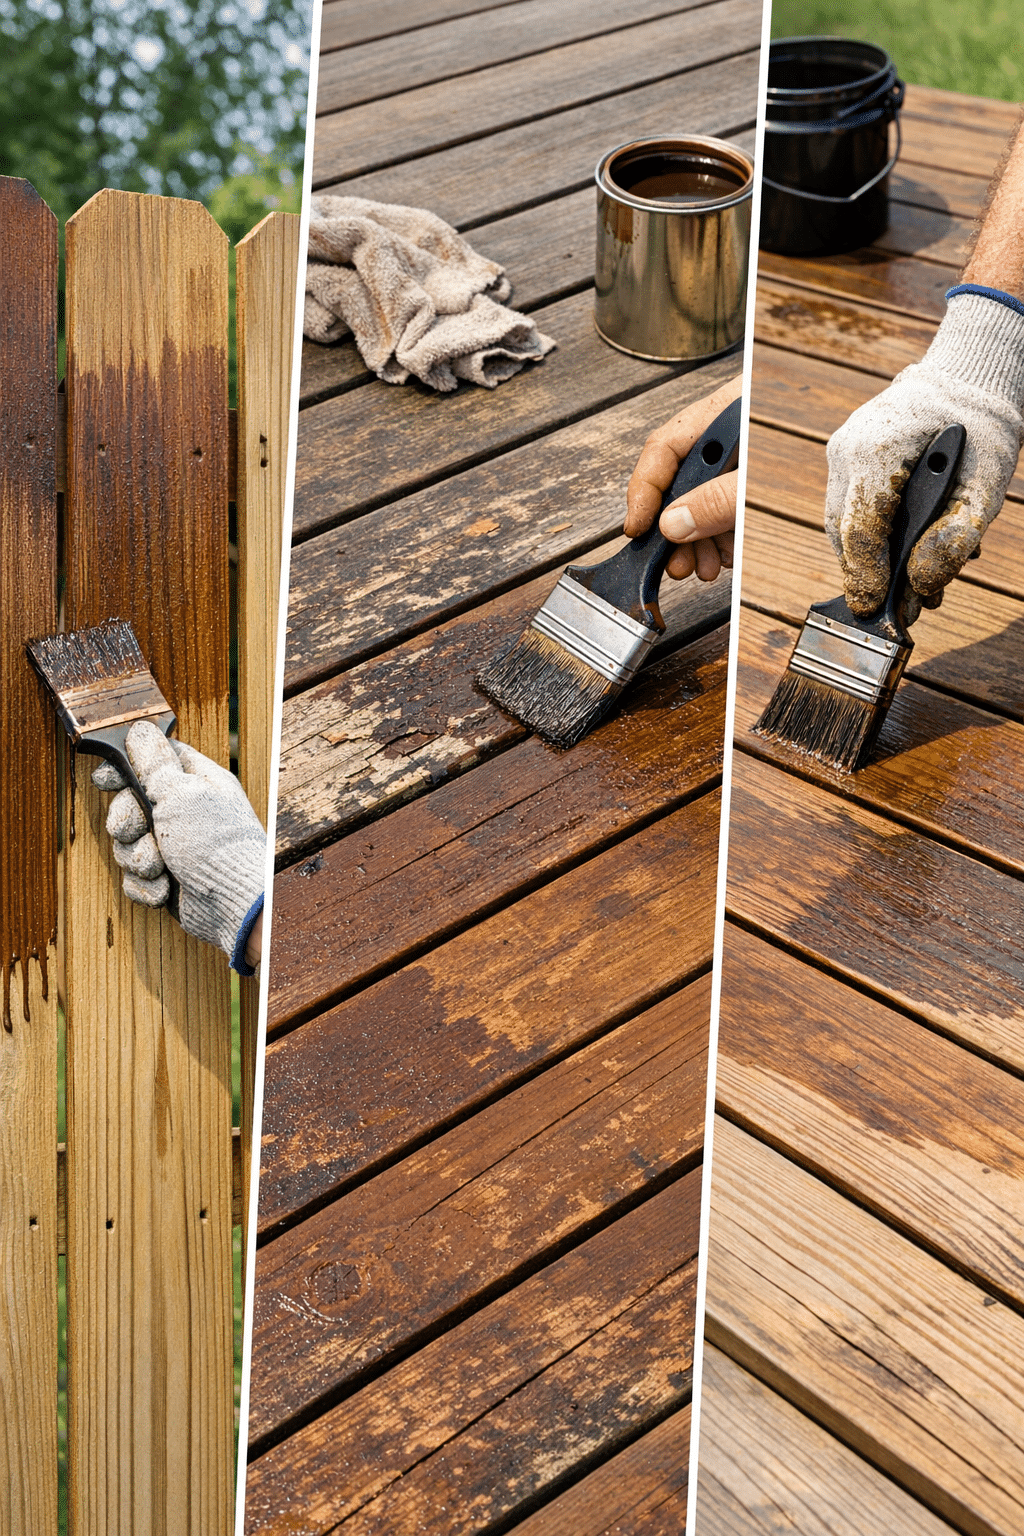
Fences and decks can absorb stain differently from board to board, especially if the wood varies in age, density, or sun exposure. Stopping in the middle of a board or section can leave visible lap marks once the stain dries.
Why this happens
When stain is applied inconsistently or allowed to dry before blending into the next area, darker overlap lines can appear. This is especially noticeable on large deck boards and flat fence panels.
How to fix and prevent it
Work in manageable sections and maintain a wet edge. Stain from one end of the board to the other whenever possible. On fences, complete a full panel or a natural break before stopping. On decks, avoid applying stain randomly across different boards.
If you are dealing with visible lines, deck staining troubleshooting may involve re-blending the area while still wet or lightly cleaning and restaining the affected boards.
7. Failing to Protect Surrounding Areas
Stain can easily splatter onto siding, concrete, plants, patio furniture, and windows. While this may seem like a minor issue, cleanup can be difficult, especially if the stain dries quickly.
What to do instead
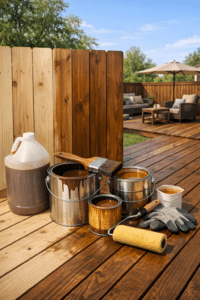
Use drop cloths, painter’s tape, plastic sheeting, and shields where needed. Cover nearby landscaping and move outdoor items out of the work zone. Taking a little time to protect the area can make the project much cleaner and more professional.
Though this may not be the most damaging of all common stain mistakes, it is one of the most frustrating once the stain has dried somewhere it should not be.
8. Not Testing the Stain First
Colors often look different on actual wood than they do on the can or color swatch. Wood species, age, and previous treatments all affect the final appearance.
Why testing matters
Without a test spot, homeowners may finish an entire fence or deck only to realize the color is too dark, too orange, or too opaque. That can be difficult and expensive to correct.
Best practice
Apply the stain to a small hidden section first and let it dry fully. Review the color in different lighting conditions before committing to the whole project.
This simple step helps eliminate one of the easiest fence staining errors to avoid.
9. Forgetting About Maintenance After Staining
Even a perfectly stained fence or deck needs ongoing care. Dirt, standing water, leaves, and sun exposure slowly break down the finish over time. Some homeowners assume that once the stain is applied, the job is done for years with no upkeep.
What happens without maintenance?
Neglected surfaces may fade unevenly, grow mildew, or begin to absorb water again before the next planned staining cycle. Small issues become bigger restoration projects when ignored.
Smart maintenance habits
Inspect your fence and deck at least once or twice a year. Clean away debris, wash the surface as needed, and look for early signs of wear in high-traffic or sun-exposed areas. Timely touch-ups can extend the finish and delay full re-staining.
Good maintenance reduces the need for major deck staining troubleshooting later.
10. Rushing the Project
Perhaps the most common of all common stain mistakes is simply trying to move too fast. Homeowners may skip prep, ignore cure times, stain in bad weather, or apply product too heavily because they want to finish in a single day.
Fence and deck staining is a process, not just an application step. Cleaning, drying, selecting the right stain, applying it evenly, and allowing proper curing time all matter. Cutting corners at any stage usually shows up in the final result.
Quick Deck Staining Troubleshooting Tips
If your project does not turn out as expected, these quick checks can help identify the issue:
Sticky or tacky surface
Usually caused by overapplication or staining damp wood.
Blotchy color
Often linked to poor cleaning, uneven wood absorption, or inconsistent application.
Peeling or flaking
May happen when stain forms a surface film, especially if too much product was used or the previous coating was not removed properly.
Fading too soon
Can result from harsh weather exposure, low-quality stain, or lack of maintenance.
Dark lap marks
Typically caused by failing to keep a wet edge during application.
These deck staining troubleshooting signs often point back to one of the major preparation or application issues covered above.
Final Thoughts
A beautiful, durable finish starts with patience and preparation. By avoiding these common stain mistakes, watching for typical fence staining errors, and using practical deck staining troubleshooting strategies, homeowners can get better-looking results that last longer. The right process protects your investment and helps your outdoor wood look its best through every season.
If you are planning a staining project, take the time to do it right—or reach out to a trusted professional if you want expert results with less guesswork. A little extra care now can save you from major repairs and rework later.