
How to Upgrade Your Fence and Deck with Multi-Tone Staining
If your outdoor spaces are looking flat or faded, a creative stain job can completely transform them. By layering complementary colors and accents, you can add depth, visual texture, and unmistakable curb appeal. This guide covers smart, inspiring ways to use multi-tone stains on fences and decks—plus practical steps, product tips, and pro-approved two-color techniques that make your project look custom without a custom price tag.
What Is Multi-Tone Staining—and Why Use It?
Multi-tone staining combines two or more stain shades to create contrast, highlight wood grain, and define features such as deck borders, rails, and fence posts. Instead of one uniform color, you build a palette that makes the surface feel dimensional and intentional.
Benefits include:
Enhanced depth and grain: A darker tone in grooves and a lighter wash on high points makes the wood’s character pop.
Design flexibility: You can echo your home’s trim, stonework, or patio furniture while showcasing unique fence artistic staining patterns.
Camouflaged wear: Strategic color placement can minimize the look of aging boards or small repairs.
Elevated curb appeal: Thoughtful multi-tone stains look high-end and fully customized.
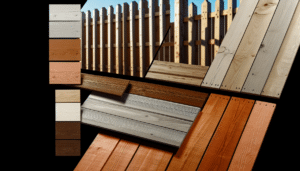
Color Strategy: Build a Palette That Works Outside
Understand Your Wood’s Undertone
Wood species carry natural hues that influence how stains read. Cedar leans warm and red; pressure-treated pine tends to be greenish; redwood has rich, rosy undertones. Test swatches on actual boards in sunlight and shade to see how your colors shift throughout the day. The best two-color techniques start with tones that complement your wood, not fight it.
Pick a Coordinated Pair (or Trio)
Most successful outdoor palettes rely on two dominant colors and, optionally, one accent. Consider these combinations for multi-tone stains:
Warm + Warm: Honey amber body with chestnut rails for a classic, cozy look.
Cool + Cool: Driftwood gray decking with charcoal picture-frame borders for modern minimalism.
Contrast Pair: Weathered oak planks with espresso accents to sharpen lines and define edges.
Nature-Inspired: Sage-tinted wash with walnut posts evokes forest tones—perfect for fence artistic staining that blends into landscaping.
Balance Saturation and Sheen
Use deeper, more opaque tones on high-traffic or high-wear areas, and lighter or more translucent tones where you want grain to show. Keep sheen consistent if you want a unified look, or vary it subtly (matte field, satin railings) for added sophistication.
Plan and Prep Like a Pro
Prep is everything. A stunning two-tone scheme can only succeed on a clean, sound surface.
Inspect: Replace rotted or split boards and secure loose fasteners. Spot-sand splinters and sharp edges.
Clean: Use a wood cleaner or brightener to lift dirt, mildew, and old graying. Rinse thoroughly and let dry per product directions.
Sand (if needed): Lightly sand to remove raised grain or stubborn finish, then vacuum/wipe down dust. For decks, a uniform 80–120 grit usually works well.
Mask and map: Tape off borders, rails, post bases, or any sections for color blocking. Snapping chalk lines and using stencils can streamline fence artistic staining patterns.
Tools and Materials You’ll Need
Applicators: Quality brushes, stain pads, and a low-pressure sprayer (for even coverage on fence panels). Keep lint-free rags for wiping excess during two-color techniques.
Stain types: Penetrating oil-based stains tend to enhance grain and are forgiving during blending; water-based options dry faster, resist fading, and are lower in VOCs. Gel stains help with controlled accents and vertical surfaces.
Conditioners and sealers: Use a pre-stain conditioner on blotch-prone woods (like pine). Finish with a compatible clear sealer if your color products don’t include built-in protection.
Test boards: Always create a small mockup of your multi-tone stains to check color interaction and dry-down.
Signature Two-Color Techniques for Elevated Results
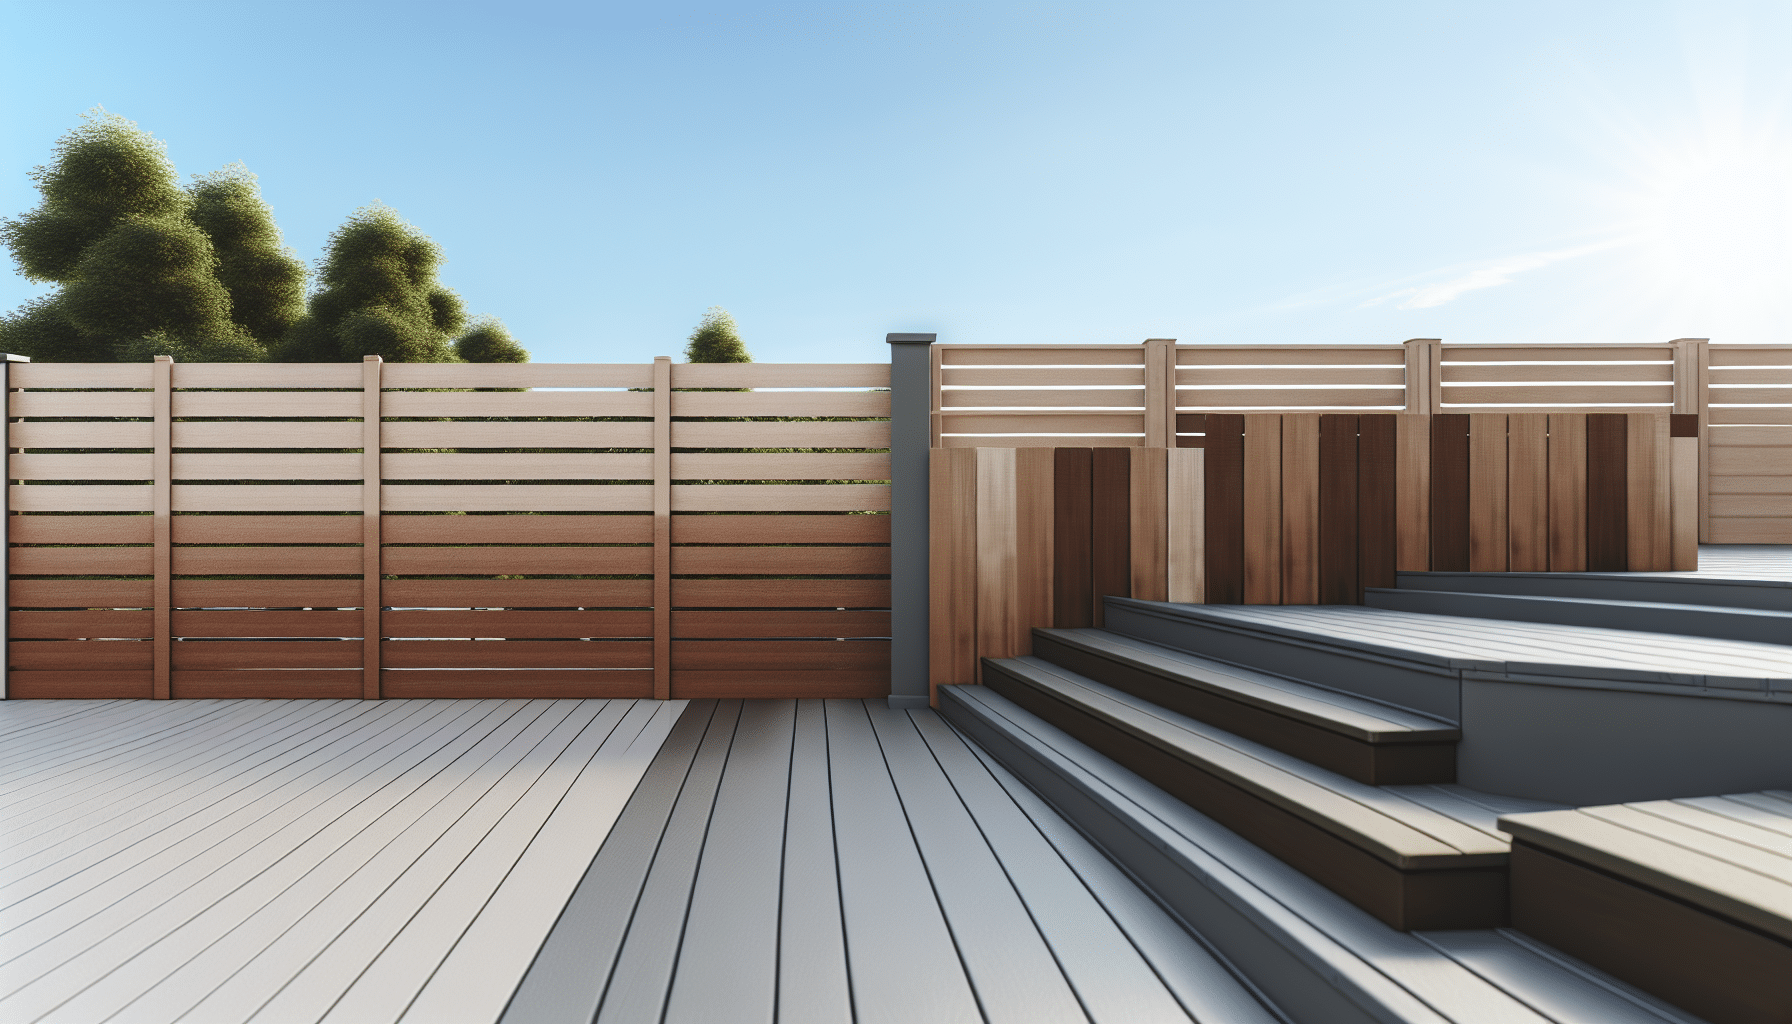
1) Picture-Frame Borders (Deck Essential)
Outline the deck field boards with a darker border plank. This crisp line defines the space, hides end grains, and reduces the look of scuffs at edges. Use a mid-tone gray or brown on the field, then a richer tone on the frame. This is one of the most effective two-color techniques for adding polish.
2) Rail, Post, and Cap Accents
Keep balusters light and posts dark—or vice versa—to create rhythm. Accenting post caps in a third coordinating tone adds just enough contrast without visual clutter, an easy win for fence artistic staining and decks alike.
3) Gradient or Ombre Wash
Blend a darker stain at the base of a fence that lightens toward the top, echoing natural shadow. Work wet-on-wet with a sprayer and follow immediately with a brush or pad to control transitions. This artistic approach to multi-tone stains provides subtle drama and depth.
4) Color Blocking and Panel Patterns
Alternate vertical fence panels between two complementary hues, or create horizontal bands with a thin accent stripe. For decks, try a contrasting color on stair risers or a center “rug” panel. These two-color techniques add structure and modernity.
5) Dry Brushing and Grain Highlighting
Apply a darker base, let it set, then lightly drag a brush with a lighter stain across the high points. This highlights texture and saw marks. It’s a fast, convincing way to achieve a hand-crafted, fence artistic staining effect.
Step-by-Step: A Deck Multi-Tone Makeover
Step 1: Choose your palette. Select a field color, a border color, and an optional accent for rails or risers. Ensure all are compatible products.
Step 2: Test swatches. Apply on an inconspicuous board and let dry fully. Review in sun and shade to confirm the look.
Step 3: Stain the field first. Work a single wet edge, board by board. Back-brush to avoid lap marks.
Step 4: Tape and tackle borders. After the field cures, mask the frame boards and apply the darker border tone carefully for crisp lines.
Step 5: Add accents. Stain railings, posts, and caps in your accent tone. Keep drips in check with light, controlled passes.
Step 6: Even out and detail. Feather any transitions with a pad. Wipe excess to prevent sticky spots.
Step 7: Seal, if needed. If using a non-sealing stain, topcoat with a compatible clear finish for UV and moisture defense.
Fence Artistic Staining: Ideas That Turn Heads
Alternating Slats: Stain every other picket in a slightly darker shade to create a woven effect that feels dynamic yet subtle.
Geometric Panels: Use tape or stencils to create triangles, chevrons, or diamonds in two coordinating tones. This is a showcase of fence artistic staining that pairs well with modern landscaping.
Board-and-Batten Contrast: Keep boards mid-tone and stain battens a deeper color to emphasize architecture.
Top Rail Highlight: Anchor the fence line by running a deep espresso or charcoal along the top rail while the field remains a weathered gray.
Garden Backdrop: Use a neutral base with a muted green or bronze accent behind planters—plants will pop, and multi-tone stains will feel integrated with the landscape.
Timing, Weather, and Application Tips
Check the forecast: Aim for mild temperatures (generally 50–90°F) with low wind and no rain for 24–48 hours. High humidity slows dry times and can affect blending in two-color techniques.
Work in shade: Direct sun can flash-dry stain, causing lap marks. Move with the shade line for even results.
Maintain a wet edge: Especially critical on large deck fields and wide fence runs.
Stir, don’t shake: Stir frequently to keep pigments suspended and colors consistent throughout the project.
Maintenance: Keep Multi-Tone Magic Looking Fresh
Annual cleaning: Gently wash with a deck/fence cleaner to remove dirt and mildew. Avoid aggressive pressure that can erode soft grain.
Touch-ups: Keep a small jar of each stain for quick spot fixes, particularly on high-wear stair treads and gate handles.
Recoat schedule: Transparent and semi-transparent stains typically need refreshing every 1–3 years, depending on sun and weather exposure. Heavily pigmented or solid stains may last longer but can mute grain—balance durability with the look you love.
UV and moisture protection: Choose stains or topcoats with UV inhibitors and mildewcides to preserve the color contrasts that make multi-tone stains shine.
Common Mistakes to Avoid
Skipping prep: Color won’t hide dirt, mildew, or glossy old finish. Prep thoroughly for consistent absorption.
Over-applying: Too much product can create sticky patches and uneven sheen. Wipe or back-brush excess promptly.
Ignoring compatibility: Mixing water-based over uncured oil-based (or vice versa) can cause adhesion problems. Follow manufacturer guidance and allow proper cure times.
Neglecting test areas: Always test your two-color techniques together. Some tones look great alone but clash when layered.
Sustainability and Safety
Low-VOC options: Water-based stains reduce fumes and environmental impact while offering excellent color stability.
Proper disposal: Rags soaked in oil-based stain can self-heat. Dry them flat outdoors and dispose of per local regulations.
Protect yourself: Use gloves, eye protection, and a respirator if recommended. Ventilate well, even outdoors.
Quick Design Formulas to Try
Modern Coastal: Pale driftwood deck field + charcoal picture frame + soft black posts.
Rustic Lodge: Warm chestnut field + espresso rails + bronze post caps.
Garden Classic: Weathered gray fence field + deep green top rail + walnut posts for an elevated, nature-forward fence artistic staining scheme.
Ready to Reimagine Your Outdoor Spaces?
With thoughtful planning, smart product choices, and a few well-placed two-color techniques, your deck and fence can go from ordinary to unforgettable. Whether you prefer subtle gradients or bold color blocking, multi-tone stains