
How to Prevent Stain Peeling on Your Fence and Deck
Few things are more frustrating than investing time and money into staining your fence or deck only to see it peel, flake, or wear unevenly months later. The good news: most peeling is preventable. With the right preparation, product choice, and proper application, you can dramatically extend the life of your finish and keep your outdoor wood looking its best season after season. This guide breaks down the most common peeling stain causes, proven prevention methods, and a step-by-step process for flawless results.
Understanding Peeling Stain Causes
Knowing why stain fails is half the battle. Here are the primary peeling stain causes that lead to premature failure on fences and decks:
Moisture and Vapor Pressure
Moisture is the number one enemy. If water is trapped in the wood when you stain—or if your stain forms a film that prevents moisture from escaping—heat from the sun can drive that moisture outward, pushing the coating off. High humidity, rain within 24–48 hours of staining, wet soil line contact on fence boards, and insufficient drying after washing are frequent culprits.
Wrong Product for the Job
Film-forming coatings (solid-color stains and many paints) sit on the surface. They can look great initially but are more likely to peel on horizontal surfaces like decks due to foot traffic and water pooling. Penetrating, semi-transparent stains soak into the wood and are far less prone to peeling; they typically wear gradually instead.
Surface Prep Problems
Leftover grime, mill glaze on new lumber, gray UV-damaged fibers, or a slick, over-sanded surface can all impact adhesion. Likewise, failing to neutralize cleaners or brighteners leaves the wood at the wrong pH, which can interfere with bonding and curing.
Incompatibility with Existing Coatings
Applying a new stain over an unknown or incompatible old coating can cause lifting. Some water-based stains won’t adhere to oily residues; some oil-based products struggle over acrylic films. Without a proper test or full removal, the risk of peeling skyrockets.
Over-Application and Puddling
Too much product creates a surface film—even with penetrating stains. Puddles, lap build-up, or multiple heavy coats reduce breathability and can lead to flaking. Most penetrating products require thin coats, back-brushing, and removing excess.
Bad Weather Windows
Applying stain when the surface is too hot or too cold, in direct midday sun, or when dew is imminent can sabotage adhesion. Wind can flash-dry the surface before the stain penetrates; cold can slow cure; and impending rain can wash or spot an uncured coating.
Wood Species, Age, and Condition
New pressure-treated lumber can be too wet to accept stain. Dense hardwoods like ipe or mahogany resist penetration and need specially formulated products. Softwoods like cedar release tannins that can discolor or interfere with adhesion if not prepped correctly.
Prevention Methods That Actually Work
These proven prevention methods address the root causes of failure and set you up for a long-lasting finish:
Let the Wood Reach the Right Moisture Level
Use a moisture meter. Target below 15% for most stains (always check your product’s spec). New pressure-treated wood often needs weeks to months of dry time; timing varies with climate and exposure.
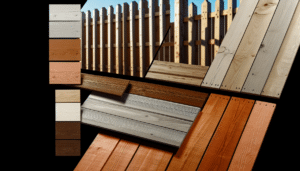
Choose a Penetrating Stain for Decks
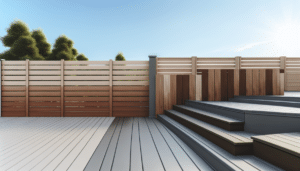
For horizontal surfaces, opt for a high-quality penetrating semi-transparent stain—oil-modified alkyds or advanced water-borne penetrating formulas are ideal. Reserve film-forming solid stains for verticals (like fences) if you want more color coverage, and even then, ensure meticulous prep and maintenance to avoid peeling.
Clean, Then Brighten (Neutralize)
Wash with an oxygenated cleaner (sodium percarbonate) to remove dirt, mildew, and old gray fibers. Rinse thoroughly. Follow with a wood brightener (oxalic or citric acid) to neutralize and restore pH, which improves color and adhesion. Allow 24–72 hours of dry time depending on weather and airflow.
Address Mill Glaze and Weathered Fibers
On new smooth lumber, lightly sand to break mill glaze—typically 80–100 grit for decks, 100–120 for fences. Avoid over-sanding beyond 120 grit, which can burnish the surface and block penetration. On weathered wood, remove loose fibers and any failing coating completely.
Fix Drainage and Splash Issues
Correct structural problems that trap water—tighten board spacing where needed, ensure deck boards crown correctly, promote airflow under the deck, add drip edges to fence caps, and redirect sprinklers so they don’t mist the wood daily.
Mind the Weather Window
Ideal application conditions are 50–90°F with low-to-moderate humidity. Work when the surface is shaded and cool to the touch. Ensure the surface temperature is at least 5°F above the dew point to prevent condensation. Check the forecast for a clear 24–48 hour window after staining.
Test for Compatibility
If you are not stripping to bare wood, perform a small test patch for adhesion and color. Rub after curing; if it scratches or lifts easily, remove the old coating before proceeding.
Proper Application: A Step-by-Step Process
A flawless finish depends on proper application. Follow this practical, field-tested workflow from prep to cure:
1) Inspect and Plan
Walk the entire fence or deck. Note failing areas, fastener rust, mold, and soft or rotted boards. Replace damaged lumber. Tighten loose boards and set protruding screws or nails below the surface.
2) Deep Clean the Surface
Apply an oxygenated cleaner with a pump sprayer. Allow dwell time per label, then agitate with a soft brush. Rinse thoroughly from top down. Use low pressure if you power-wash (under ~1200 PSI, with the fan tip 12–18 inches away) to avoid furring the wood.
3) Brighten and Neutralize
After cleaning, apply a wood brightener to restore pH and open the grain for even absorption. Rinse well. This step is essential for proper application—skipping it is a common hidden cause of adhesion issues.
4) Dry Completely
Let the wood dry at least 24–72 hours depending on climate. Use your moisture meter to confirm levels below the product’s threshold. Shade, airflow, and warm temperatures help.
5) Sand Strategically
Spot sand rough patches and remove raised fibers, aiming for 80–100 grit on decks and 100–120 on fences. Vacuum or blow off dust; wipe with a clean, dry cloth—avoid tack cloths that can leave residue.
6) Protect Surroundings
Mask adjacent concrete, siding, plants, and hardware. Cover the ground near fences to catch overspray or drips.
7) Stir, Don’t Shake
Thoroughly mix the stain to evenly distribute pigments and resins. Avoid shaking, which can introduce bubbles that interfere with penetration and appearance.
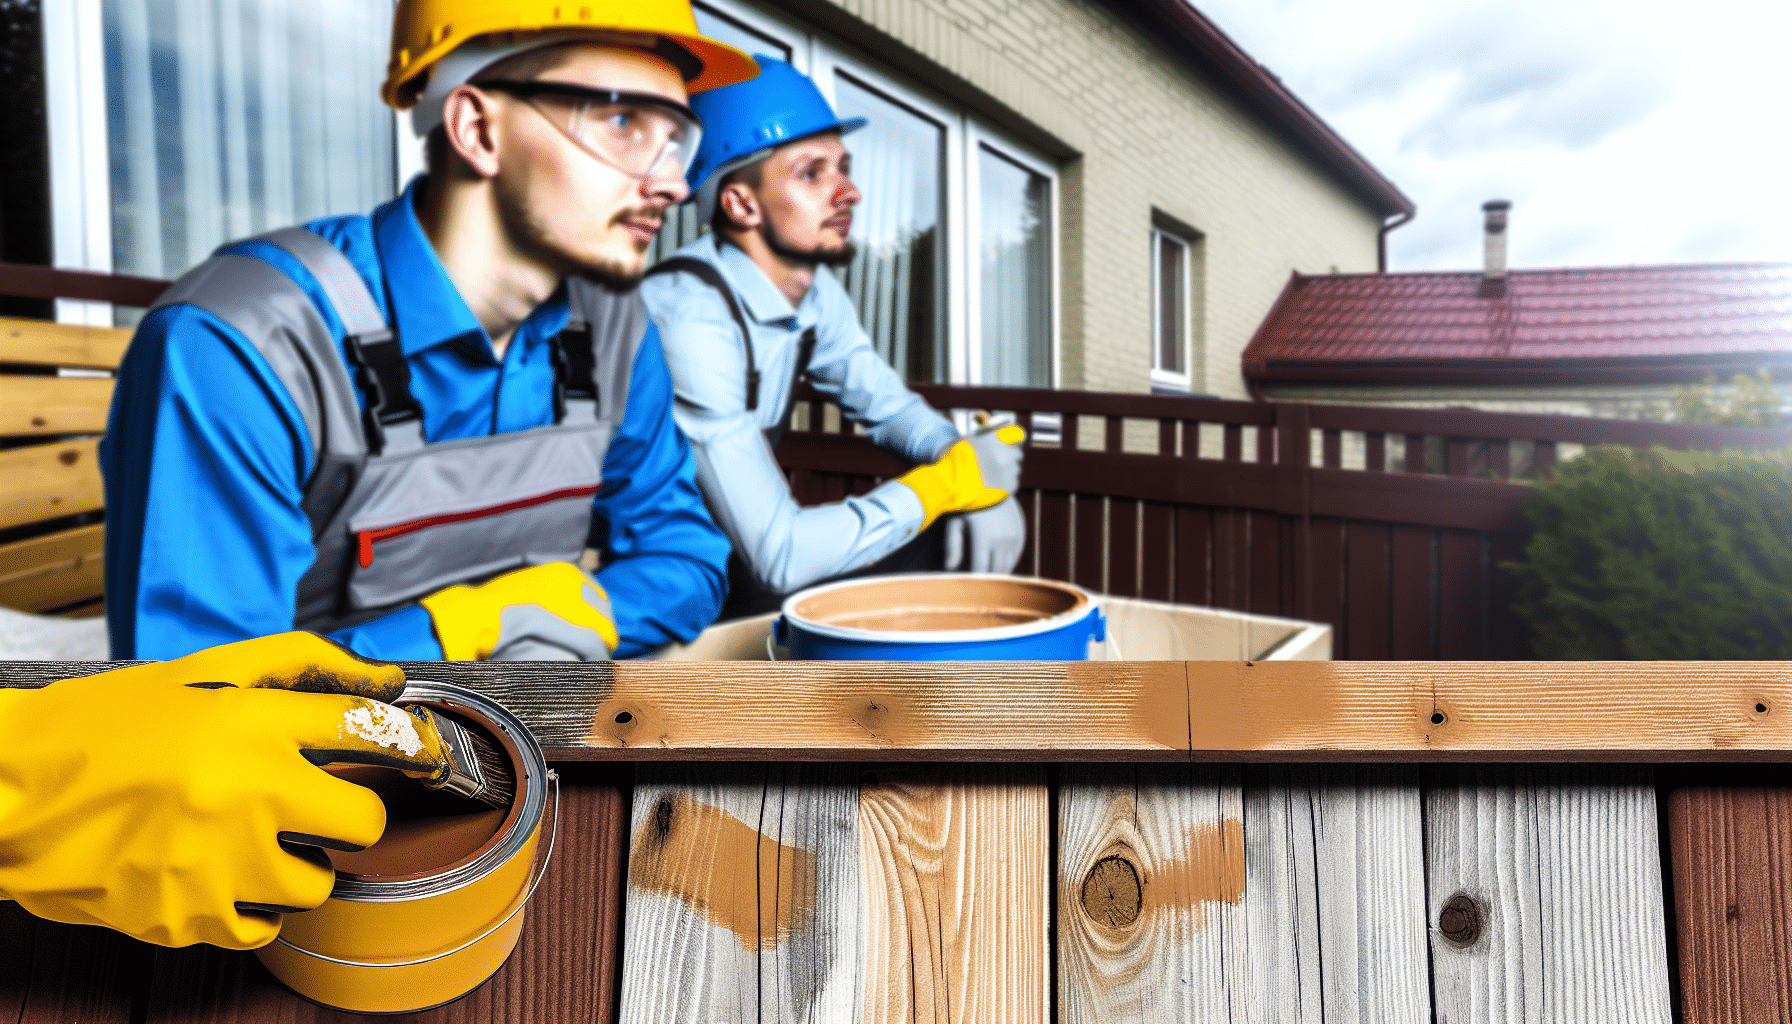
8) Apply Thin and Even
Use a brush, stain pad, or roller. On fences, a low-pressure sprayer followed by immediate back-brushing works well. Maintain a wet edge to avoid lap marks. Most penetrating stains call for a single coat to refusal; for very absorbent wood, a second “wet-on-wet” coat may be recommended within 15–30 minutes. Always back-brush to drive the stain into the grain and remove excess.
9) Treat End Grain and Cut Edges
End grain drinks water. Give posts, rail ends, and board cuts extra attention—often a second light pass—so they don’t become moisture gateways that drive peeling from the inside out.
10) Wipe Puddles and Drips
After 10–20 minutes, revisit the surface to wipe any shiny spots, runs, or puddles. Excess film is a major contributor to peeling.
11) Respect Dry and Cure Times
Allow light foot traffic only after the manufacturer’s minimum (often 24–48 hours for decks); avoid moving furniture for 72 hours or more. Keep sprinklers and pets away. Full cure can take several days depending on weather.
Maintenance That Prevents Peeling Long-Term
Even a perfect application needs care. These prevention methods keep your fence and deck in top condition year after year:
Gentle Cleaning Twice a Year
Remove pollen, dirt, and mildew with a mild cleaner and soft brush. Avoid harsh detergents or high-pressure washing that can damage the coating and fibers.
Quick Touch-Ups Before Failure
Penetrating stains wear gradually. When high-traffic zones or sun-exposed sections lighten, clean and apply a maintenance coat to those areas before the coating fully fails. This approach avoids the cycle that leads to peeling.
Promote Airflow and Drainage
Trim vegetation away from fences. Keep debris out of deck gaps. Ensure downspouts and sprinklers don’t soak the wood. In winter, use a plastic shovel on decks and avoid rock salt that can stain or degrade finishes.
Inspect Annually
Look for soft spots, fastener stains, or mold. Address issues early to prevent moisture intrusion that can push coatings off the surface.
How to Fix Minor Peeling Without Starting Over
Sometimes, despite proper application and care, small areas may peel—especially on older coatings. Here’s a practical repair process:
Feather sand the failing edges to bare, sound wood. Clean and brighten the spot to restore pH and color balance. Dry thoroughly, then re-stain using the same product, blending slightly into the surrounding area and back-brushing to minimize lap lines. If widespread peeling is present, the best solution is full removal and a switch to a penetrating stain that wears rather than flakes.
Pro Tips for Best Results
Match the stain to the wood: Dense hardwoods require specialty penetrating products; softwoods may accept standard penetrating stains more readily.
Check dew point and surface temperature: Keep the substrate at least 5°F above dew point during and after application.
Mind UV exposure: UV breaks down lignin at the surface. Using a stain with quality UV inhibitors and adequate pigment helps protect against sun damage that undermines adhesion.
Follow the label: Manufacturer instructions override general advice—coverage rates, recoat windows, and curing times vary by product.
Recap: The Formula to Prevent Peeling
Beat the most common peeling stain causes with meticulous prep, smart product selection, weather-aware timing, and proper application. Favor penetrating stains on decks, control moisture, apply thin coats, and commit to routine maintenance. These prevention methods don’t just enhance appearance—they extend the life of