
How to Prepare Your Deck or Fence for Summer Staining
Sunshine, barbecues, and barefoot evenings are around the corner—which makes now the perfect time to get your outdoor wood surfaces ready. A thoughtful, step-by-step preparation plan sets the stage for richer color, stronger protection, and longer-lasting results. This guide walks you through complete summer staining prep for both decks and fences, including expert deck cleaning methods and practical fence stain tips you can put to work this weekend.
Why Thorough Prep Matters for Summer Staining
Stain longevity and appearance depend far more on surface preparation than on the product label. Dust, mildew, graying lignin, and worn or failing coatings block penetration and lead to premature peeling. Proper summer staining prep opens wood pores, balances pH, evens porosity, and ensures your stain bonds well so color stays truer and protection lasts through the heat, UV exposure, and sudden rain bursts that are common in summer.
Step 1: Inspect and Plan Your Project
Evaluate Wood Condition
Walk your deck and fence carefully. Look for loose fasteners, popped nails, rotted boards, cracked pickets, splinters, and sunken screws. Probe suspect areas with a screwdriver; soft or spongy wood needs replacement. Check railings and posts for wobble. Scan for mold, mildew, and green algae, especially near sprinklers or shady sections. Note any shiny, intact coatings that may require stripping rather than simple cleaning. Identifying what you’re up against lets you choose the right cleaner, stripper, brightener, and sanding approach.
Gather Tools and Materials
Before you start, assemble essentials: a stiff-bristle brush, pump sprayer, garden hose or pressure washer, oxygenated wood cleaner, stain stripper if needed, wood brightener, plastic sheeting or drop cloths, painter’s tape, moisture meter, random-orbit sander, 60–80 grit sanding discs for decking and 100–120 for rails and hand-touch areas, and the stain and applicators you’ll use later (brush, pad, or sprayer). Having everything on hand keeps momentum and prevents halfway shortcuts that undermine results.
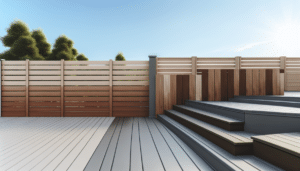
Step 2: Deep Deck Cleaning and Fence Washing
Effective deck cleaning and fence washing is the foundation of great summer staining prep. The goal is to remove contaminants without damaging the wood fibers.
Choose the Right Cleaner
For gray weathering, dirt, and mildew, oxygenated cleaners (sodium percarbonate) are a go-to. They lift organic grime and brighten without harsh bleaching. Avoid household chlorine bleach on cedar and redwood; it can strip natural color and degrade fibers. For heavy mildew or algae, use a cleaner labeled for exterior wood, following dilution and dwell-time instructions. If your deck or fence has an aging, film-forming coating that beads water, a dedicated stain stripper is usually necessary before cleaning.
Pressure Washing Best Practices
Pressure washing is effective when done gently. Use a wide fan tip and keep pressure in a safe range—generally 1,000–1,500 PSI for most decks and 500–1,000 PSI for fences and softer species like cedar or pine. Keep the nozzle 8–12 inches from the surface and move with the grain to avoid lap marks and furring. Let the cleaner dwell, then rinse thoroughly until runoff runs clear. The objective is a clean, even surface—not carved wood. If you do not have a pressure washer, a garden hose with a high-pressure nozzle and a scrub brush can still do a solid job with the right cleaner and patience.
Spot-Treat Stains
Rust marks from furniture or fasteners often respond to oxalic acid-based products. Tannin bleed from cedar and redwood can be lightened with a brightener. Oil and barbecue grease may require a degreaser. Always test a small area first and rinse thoroughly to prepare for the next steps.
Step 3: Strip and Brighten When Needed
When to Strip Old Stain
If water beads stubbornly or you see intact film, it’s time to strip. Apply a quality wood stain stripper with a pump sprayer, keep it wet per label instructions, and agitate with a brush as needed. Rinse thoroughly. You don’t need to chase every last pigment in crevices, but you do want an even, open surface with the old coating removed from traffic areas and boards.
Why Brightening and Neutralizing Matters
After cleaning and especially after stripping, a wood brightener (often oxalic or citric acid) restores natural color, neutralizes high pH left by cleaners/strippers, and reopens the pores for better stain penetration. Apply evenly, let it work, and rinse until the surface is uniformly fresh. Skipping this step can lead to blotchy color and reduced adhesion—two headaches that show up right after staining.
Step 4: Sanding and Surface Smoothing
Sanding levels raised grain, removes stubborn residue, and reduces splinters. For decking, 60–80 grit is usually ideal; going too fine can burnish the surface and reduce penetration. Focus on high-traffic areas and board ends. For railings, top caps, and hand-touch surfaces, 100–120 grit leaves a comfortable, smooth feel. Always sand with the grain and vacuum or blow off dust afterward. If your deck is brand-new and appears glossy, break the “mill glaze” with a light sanding or a specialized pre-stain conditioner to ensure even absorption.
Step 5: Drying, Moisture, and Weather Windows
Dry wood is non-negotiable. After washing, allow 24–72 hours of dry time depending on temperature, sun exposure, and humidity. Use a moisture meter to confirm most boards read below 12–15% before staining. If you lack a meter, tape a small square of plastic to a few boards for several hours; condensation indicates excess moisture.
Check the forecast. Ideal staining conditions are typically 50–90°F with relative humidity under 85% and no rain expected for 24–48 hours. Avoid direct midday sun that can flash-dry stain and cause lap marks. Plan to work in shaded zones or follow the shade across your deck and fence for a controlled, even application.
Step 6: Protect Surroundings and Stay Safe
Cover plantings, grass, and delicate landscaping with breathable drop cloths. Mask metal hardware, light fixtures, and concrete to prevent staining and etching. Wear eye protection, gloves, and a respirator when using strippers, brighteners, or oil-based products. Good airflow reduces odors and speeds dry time. Responsible summer staining prep keeps both your project and your property in top shape.
Step 7: Choose the Right Stain for Summer
Oil-Based vs. Water-Based
Oil-based stains penetrate deeply and can be more forgiving on weathered wood. Water-based stains dry faster, resist mildew growth, and meet stricter VOC requirements in many regions. In high-heat climates, fast-drying water-based formulas help avoid dust pickup; in shaded, older decks, penetrating oil may enrich color and enhance water resistance.
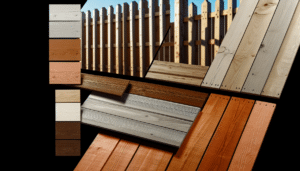
Transparency Levels
Clear and transparent stains show the most grain but offer the least UV protection. Semi-transparent is a sweet spot for many decks and fences, delivering visible grain with meaningful UV defense. Semi-solid or solid stains offer the strongest UV shield and can help unify color on patchy boards or older fences, though they obscure more grain. Match the product to your surface, climate, and maintenance goals.
Compatibility and Local Rules
Confirm compatibility with any existing coating if you didn’t strip to bare wood. Check local VOC regulations before purchase. Look for features like UV inhibitors, mildew-resistant additives, and a non-slip or low-sheen finish for deck surfaces. For fences, consider spray-friendly formulas if you plan to use an airless sprayer paired with back-brushing.
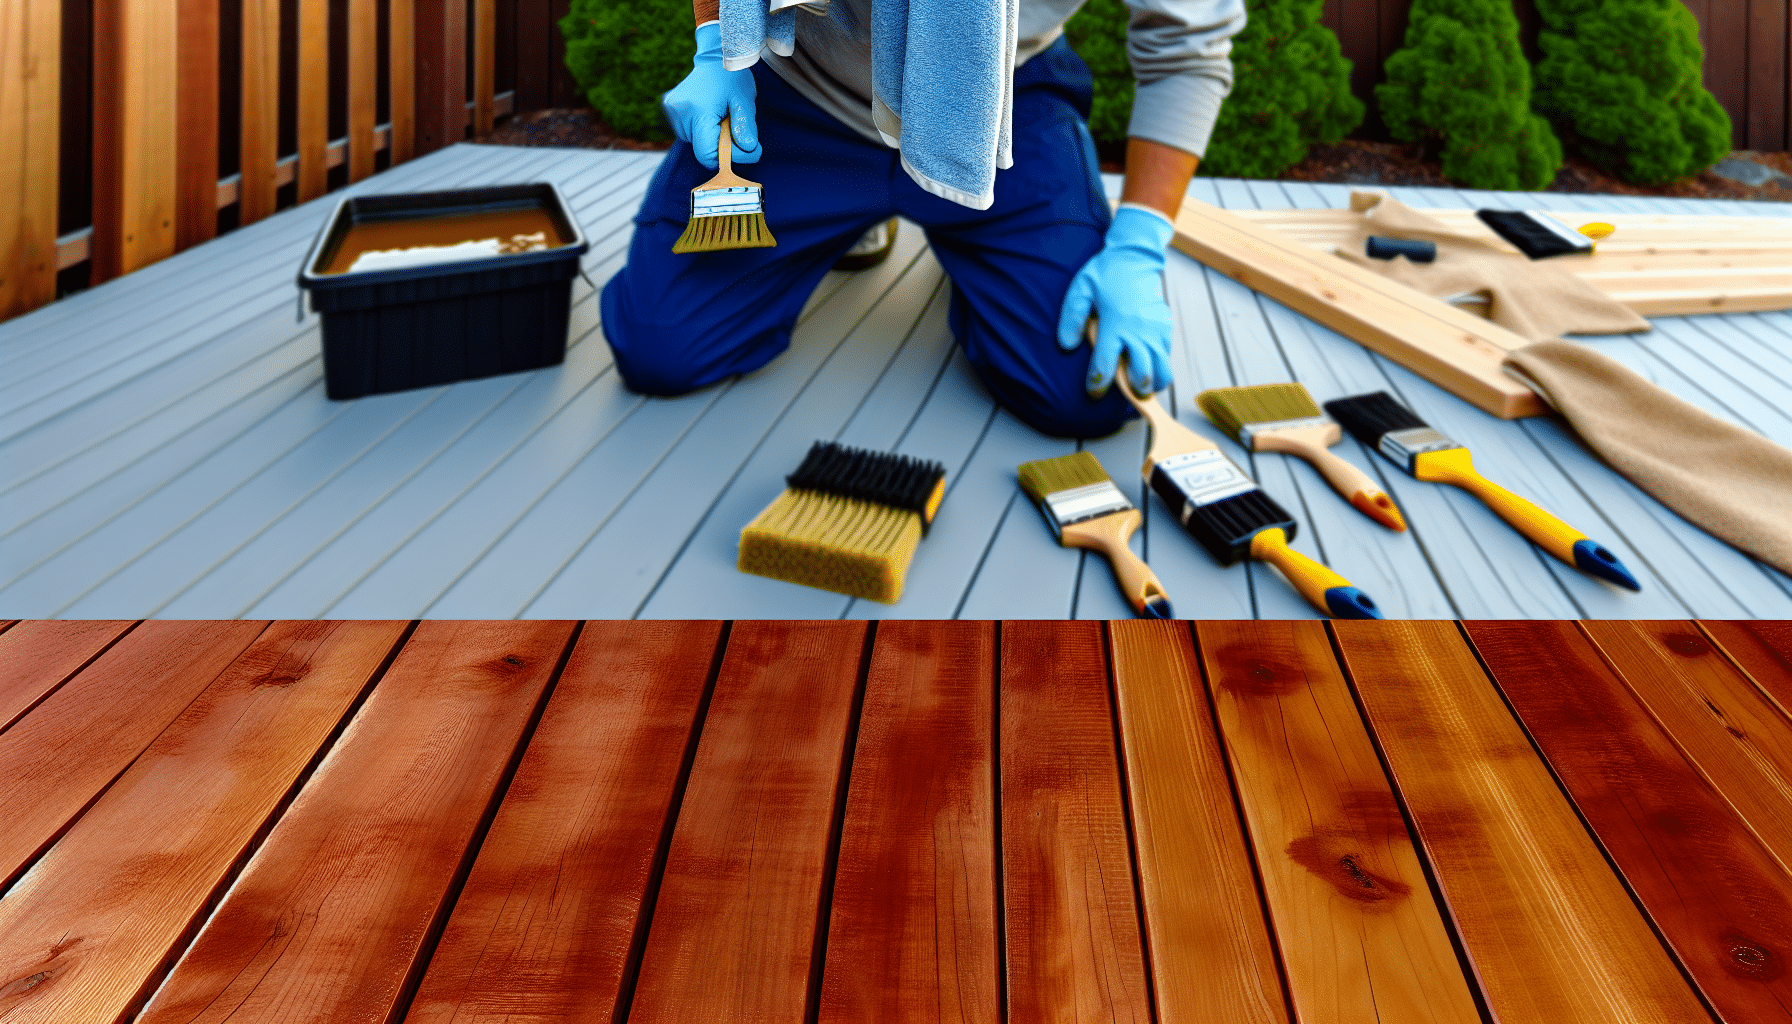
Step 8: Final Application Readiness
Test Spots and Technique
Always test a small, inconspicuous area to confirm color and absorption. On decks, work two to three boards at a time, maintaining a wet edge and back-brushing to even out penetration. On fences, start at the top and work down to control drips, with light passes that avoid overloading vertical surfaces. End-grain drinks stain—seal it carefully to prevent water wicking.
Most semi-transparent stains call for one thin, even coat. If a second coat is recommended, apply it wet-on-wet (within the window specified by the manufacturer) to prevent lap marks. Wipe off excess before it becomes tacky. Proper technique is the difference between a professional look and tiger-striping.
Common Fence Stain Tips and Deck Mistakes to Avoid
Among the most valuable fence stain tips is to address drips immediately—gravity works against you on vertical pickets. Keep a brush in hand even if you spray, so you can back-brush and smooth runs. For decks, don’t over-sand to a polished sheen, or your stain may struggle to penetrate. Avoid staining in full sun or on hot boards; heat accelerates drying and can cause uneven color. Don’t rush dry times between cleaning and staining; trapped moisture is the number one culprit behind early failure. And never skip brightening after stripping—your eyes may not see the pH imbalance, but your stain will.
Quick Timeline for Summer Staining Prep
Day 1 often focuses on repairs and cleaning. Day 2 is ideal for stripping and brightening if needed, followed by initial dry time. Days 3–4 allow full drying and sanding touch-ups. Plan staining on a day with mild temperatures and cloud cover or consistent shade. This cadence balances efficiency with the deliberate pace that high-quality results require. Thoughtful summer staining prep pays you back with a finish that looks great all season—and beyond.
FAQs
How long should I wait to stain after washing?
Most decks and fences need 24–72 hours, but rely on a moisture meter for accuracy. Readings under 12–15% indicate you’re ready.
Do I need to strip if the old stain looks patchy?
If water still beads or you see intact film in spots, strip for uniform results. If the previous coat is mostly worn and absorbent, a thorough deck cleaning plus brightening may be enough before applying a compatible semi-transparent stain.
What’s the best way to prevent lap marks?
Work in manageable sections, keep a wet edge, stain in the shade, and back-brush. On fences, move board by board from top to bottom; on decks, run the full length of a few boards at a time.
Bring It All Together
Flawless results start long before you open a can. From targeted deck cleaning to careful brightening, sanding, moisture checks, and smart product selection, each step of summer staining prep builds toward a finish that lasts. Ready to transform your outdoor space? Start with this checklist today and, if you’d like expert help, contact a local pro for a color consult and estimate—then enjoy a summer of low-maintenance, beautiful wood.