
Fence and Deck Stain Touch-Up Tips Between Major Projects
Keeping your outdoor wood features looking sharp doesn’t always require a full weekend overhaul. With a smart stain touch-up routine and a few quick fixes, you can maintain the rich color and protection of your fence and deck throughout the year. Whether you’re dealing with scuff marks from patio furniture, sun-faded rails, or a gate that needs minor fence repair, these practical deck maintenance strategies will help you extend the life of your last major stain job and postpone the next one—without sacrificing curb appeal.
Why Small Touch-Ups Make a Big Difference
Sun, rain, and foot traffic slowly break down stain, especially on horizontal deck boards and south-facing fence panels. Instead of waiting until everything looks tired, tackling small areas as they appear keeps the finish consistent and the wood protected. Routine stain touch-up prevents moisture from sneaking into bare spots, reduces splintering, and keeps UV damage at bay. In short, small, timely interventions add years to your investment while preserving that just-finished look.
What to Inspect Monthly and Seasonally
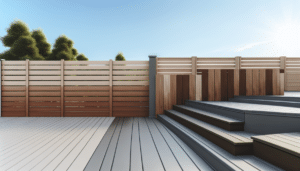
Make a quick visual inspection part of your regular deck maintenance. Look for dull or gray patches, peeling, raised grain, and water no longer beading on the surface. On fences, check the tops of posts and rails where water lingers, as well as shaded sections that may harbor mildew. Seasonally, look for loose fasteners, cracked boards, and gate areas that rub. These simple checks help you decide where a fast stain touch-up or minor fence repair will have the biggest impact.
Prep: Clean, Dry, and Ready
Good prep is the difference between a seamless touch-up and a short-lived patch.
Wash: Sweep away debris, then clean the target area with a mild wood cleaner or diluted dish soap. For algae or mildew, use a wood-safe cleaner with mildewcide. Avoid harsh pressure washing on softwoods; it can raise the grain and make blending harder.
Rinse and Dry: After cleaning, rinse thoroughly and allow the wood to dry completely—typically 24–48 hours depending on humidity and temperature. Applying stain to damp wood leads to uneven absorption and poor adhesion.
Light Sanding: Feather-sand edges around worn spots with 120–150 grit to remove loose fibers and create a smooth transition. Wipe away dust before staining.
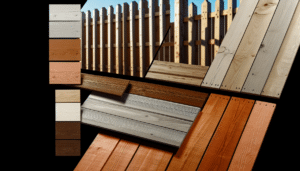
Dial In a Perfect Color Match
Matching your existing stain is key to a natural-looking repair. If you still have the original product, check the label and mix the can thoroughly; pigments settle over time. If the stain has thickened, a small amount of the manufacturer-recommended thinner can restore consistency.
When the original stain is unknown, take a discreet photo in natural light and visit a paint store with a wood sample. Bring a spare board or remove a small piece from an inconspicuous area if possible. Test on scrap or an unseen edge first—sun exposure lightens stain, so you may need to slightly adjust toward a lighter shade or dilute semi-transparent products to blend.
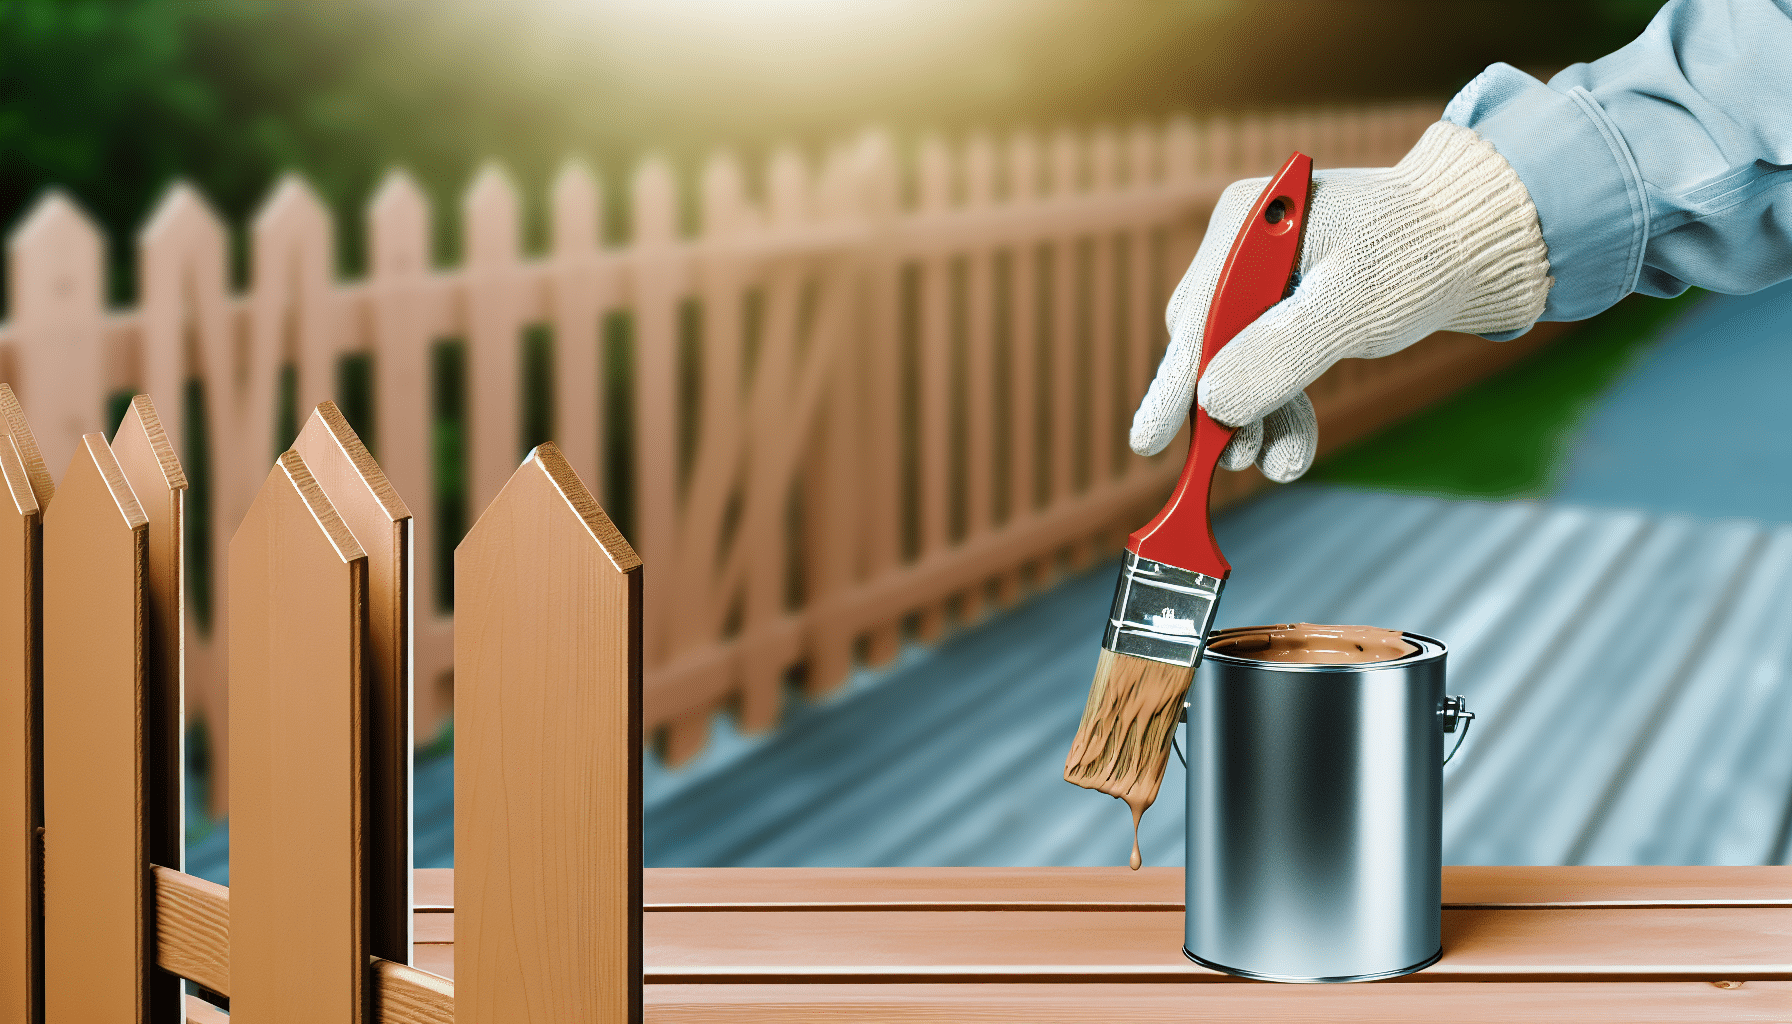
Techniques for a Seamless Stain Touch-Up
Choose the Right Applicator
Small angled brushes offer control on rails and narrow fence slats. A stain pad or lint-free rag works well for broad, flat deck boards and allows you to work thin coats into the grain. Avoid foam brushes—they can create bubbles and uneven coverage.
Feather the Edges
Load minimal product and apply to the center of the worn spot first. As the brush or pad runs dry, lightly extend into the surrounding area to “feather” the edge. This softens transitions and disguises overlap marks, especially with semi-transparent stains.
Thin, Even Coats
More isn’t better. Two thin coats often blend better than one heavy pass and reduce lap marks. Maintain a wet edge, especially on horizontal boards, and wipe excess stain from grooves to prevent shiny or sticky patches.
Blend Across Natural Breaks
Use board ends, post corners, or rail joints as boundaries. If a single board is heavily worn, run the stain from end to end so your blend line matches a natural seam. On fences, follow the full height of a slat rather than spot-dabbing the center.
Weather and Timing Matter
For best results, aim for 50–85°F with low humidity and no rain forecast for at least 24 hours after application. Avoid direct midday sun; it can flash-dry stain and lead to lap marks. Early morning or late afternoon windows are ideal. On breezy days, watch for airborne pollen or dust that can settle on wet stain. Planning around the forecast is a small step with big payoff for any stain touch-up.
High-Wear Deck Maintenance Hotspots
Deck stairs, entry boards by doors, grill zones, and under dining chairs take the most abuse. Make these areas a priority during your deck maintenance routine:
Stairs and Landings: Scuff-sand and apply a thin touch-up coat every few months during the season. These areas show wear first and benefit from frequent reinforcement.
Furniture Zones: Use protective pads on chair legs and rotate furniture occasionally to prevent repetitive scuffing. Touch up micro-scratches promptly before moisture penetrates.
Board Ends: End grain absorbs more water. Seal board ends carefully when you see fading or checking to prevent swelling and premature rot.
Quick Fence Repair Before You Stain
Minor fence repair ensures your touch-up lasts. Tighten loose screws, replace popped nails with coated or stainless screws, and straighten leaning panels with new brackets. For small cracks, fill with an exterior wood filler compatible with stain—test for color acceptance first. Replace severely split or rotten pickets; spot-staining compromised wood won’t solve the underlying problem.
Gate areas endure extra movement and sun exposure. Lubricate hinges, realign latches, and sand friction spots so the stain doesn’t rub off immediately. Once mechanical issues are resolved, a feathered stain touch-up will blend and protect more effectively.
Stain Types and How They Affect Touch-Ups
Transparent and Semi-Transparent: These allow grain to show and are the most forgiving for blending. Work in thin layers and feather carefully to avoid dark “double-stained” patches.
Semi-Solid and Solid: These offer stronger color and UV protection but can highlight overlap lines. Extend your touch-up to a natural break, and consider a light scuff-sand over a slightly larger area for seamless results.
Oil-Based vs. Water-Based: Oil-based stains penetrate deeply and can be easier to blend on dry, porous wood. Water-based products dry faster, have low odor, and resist mildew better. Match your existing chemistry—mixing types on the same spot can cause adhesion issues. If you must switch, clean thoroughly, allow full cure, then test adhesion in a hidden area first.
Guard Against Mold, UV, and Moisture
Sun and moisture are the main culprits behind fading and peeling. Choose stains with UV inhibitors and mildewcides for areas with heavy exposure or shade. Keep vegetation trimmed back from fences and decks to improve airflow, and remove leaves that trap moisture. A biannual gentle wash and strategic stain touch-up on faded zones will break the cycle of degradation.
Must-Have Tools for Quick Touch-Ups
Build a small kit so you can act fast when you spot wear:
Essentials: Angled sash brush, stain pads, lint-free rags, 120–150 grit sandpaper, painter’s tape, drop cloth, wood cleaner, and your matching stain labeled with date and color.
Nice-to-Haves: Small detail brush for corners, end-grain sealer, screw kit for fence repair, and a moisture meter to confirm wood is below 15% before staining.
Common Mistakes to Avoid
Skipping Prep: Staining over dirt or mildew locks in problems and shortens lifespan.
Heavy Coats: Over-application can cause sticky surfaces and uneven sheen, especially on dense woods.
Poor Timing: Touching up before rain or in direct sun leads to lap marks and wash-off.
Mismatched Stain: Always test first; a quick test patch saves time and frustration.
Eco and Safety Tips
Wear gloves and eye protection, and work in well-ventilated areas. Store stain tightly sealed away from heat. Never pour leftover stain or cleaners down drains—follow local disposal rules or bring leftovers to a hazardous waste facility. Choose low-VOC products when possible to reduce odors and environmental impact during routine deck maintenance.
When to Call a Pro
If you see large-scale peeling, wood rot, widespread grayness, or structural issues like sagging rails, it may be time for a full restoration rather than piecemeal touch-ups. A professional can assess moisture intrusion, recommend the right product system, and execute a cohesive refresh. Think of stain touch-up as your maintenance plan and a pro-grade refinish as the periodic reset.